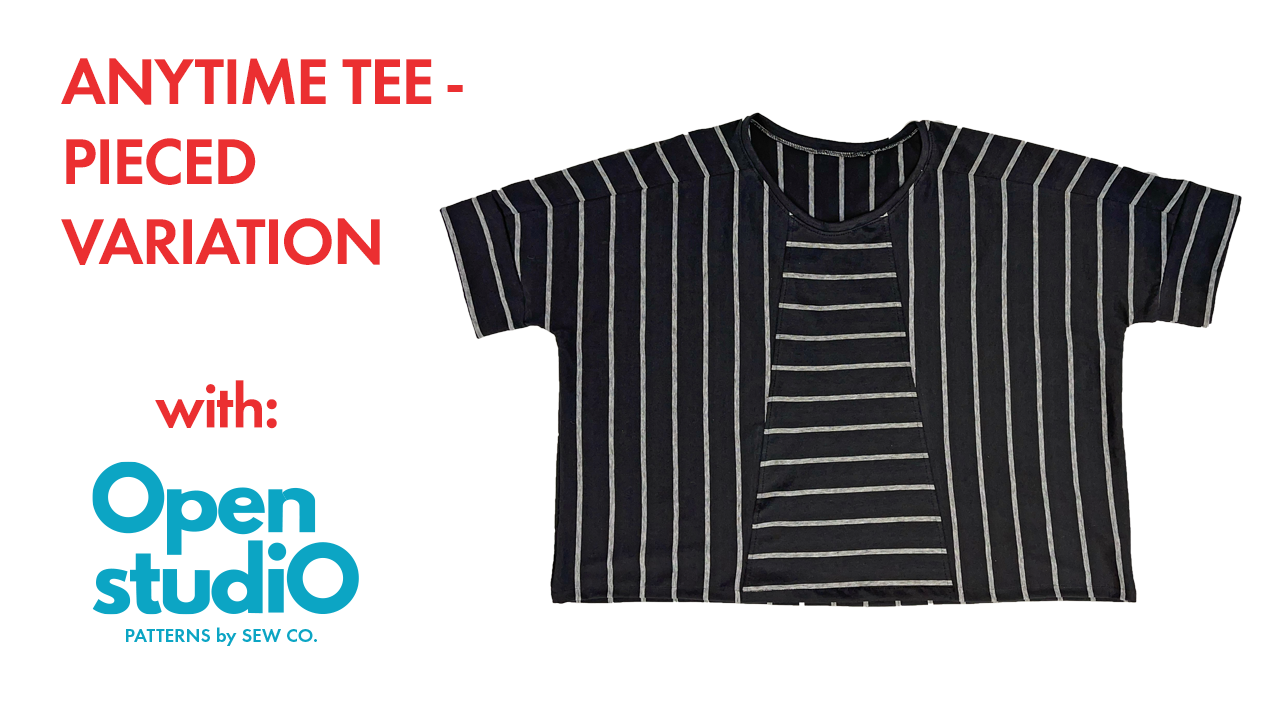
Anytime Set - Pieced Tee Variation

Hello there!
Spring seems to have finally sprung, and now is the perfect time for all your favorite tees to make their way into the spotlight. We have a great tee pattern in the Anytime Set, but I have been on a bit of a mixing patterns kick lately, so I decided I wanted to add a bit more piecing to it.
I ended up using a stripe fabric that we had at Sew Co, but sent it in the opposite direction down the center. It's a great cotton knit fabric that was dead stock from a North Carolina cut and sew, purchased from The Material Return. Both pieces in this set are unisex, and would look great on anyone.
This tutorial has very basic pattern hacking, and skills you could use on many of your sewing patterns, like adding color blocking to a sweatshirt, panels down the side of pants, or inset pieces into jacket backs. The steps are the same, and you can vary the seam placement in lots of different ways. Basic idea is to draw lines where you want new seaming to be, cut along lines, tape in paper and add seam allowance to any new lines you have added. We have a step-by-step video at the bottom of the page, but here’s the lowdown…

First thing I like to do is a sketch, where I can decide where I want my new seam lines to be. I love the way the Anytime Tee’s shoulders come towards the front, so I decided to emphasize that radiating shape by adding 2 more seam lines coming from the neckline and ending at the hem.
Pattern Adjustments

First I draw a line from the neckline to the bottom hem on the pattern front. I chose a point about halfway from the shoulder seam to the center front. This will be one of my cut lines, and will be mirrored on the other side. This placement could vary, and you could add more pieces.

I next marked the center of the front and folded along the line. To get a nice mirror image on the other side, I used a tracing wheel with spikes to trace along the line. This transfers the line to the other side of the folded paper, which I can then draw over. Cut along both of those lines you drew to either side of the center line.

This is what your new front looks like!
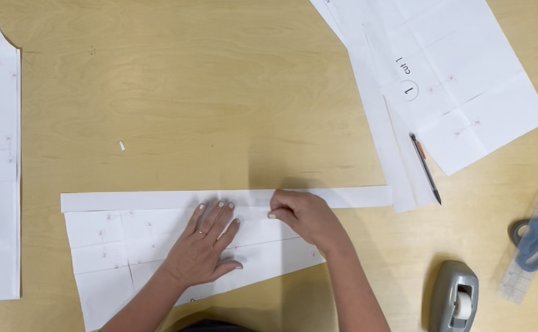
After cutting apart, seam allowance will need to be added to all cut sections. Using clear tape, attach strips of paper to all edges, then draw in your seam allowance with a ruler. Since I am using a serger, that seam allowance is 1/4” for me, and we will need to add that to any new cut lines.
Having made this shirt before, I know that the sleeve band was a bit tight on me, so I decided to add an inch to it to make it a little roomier. Since it is a rectangle, I can get away with just adding that to one side. Tape paper again, mark with a ruler, and cut.
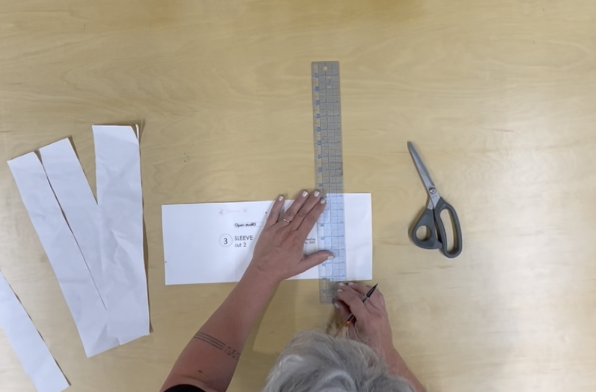
Next, we need to balance the 1” that we just added by also adding it in where that sleeve band attaches to the body. Tape paper, then add that to each shoulder seam, but to keep it balanced, I will add 1/2” to each of the front and back panels along that shoulder seam, totaling up to that 1”. I like where the neckline sits, so that line will be angled, ending at 0” added to the neck. Since all seam allowance has been added to the pattern, we are not adding any here since this is a not a new seam line as we’re just making the original one bigger.


Always lots of paper taping! Then we can add that same amount to the back shoulder seams, 0” at the neck and 1/2” at the sleeve.

Here’s all the pieces laid out. I kept the back solid, but could also be really fun to add a yoke, or a center seam, or more angled piecing. It's a great style with lots of potential! As we look for ways to be more sustainable in our sewing practice, it's great to think about ways we can alter the indie sewing patterns we already have to create a number of styles. It's the best kind of re-use - nothing new bought, lots of options for material choices, and it gives a nice skill challenge.
The Anytime Top is a fairly easy make, with fast and simple techniques for sewing with knits. Get creative and share with us your new t-shirt hacks!

Here it is all finished! Check below for a more detailed video on all these steps, and some jazzy music :)