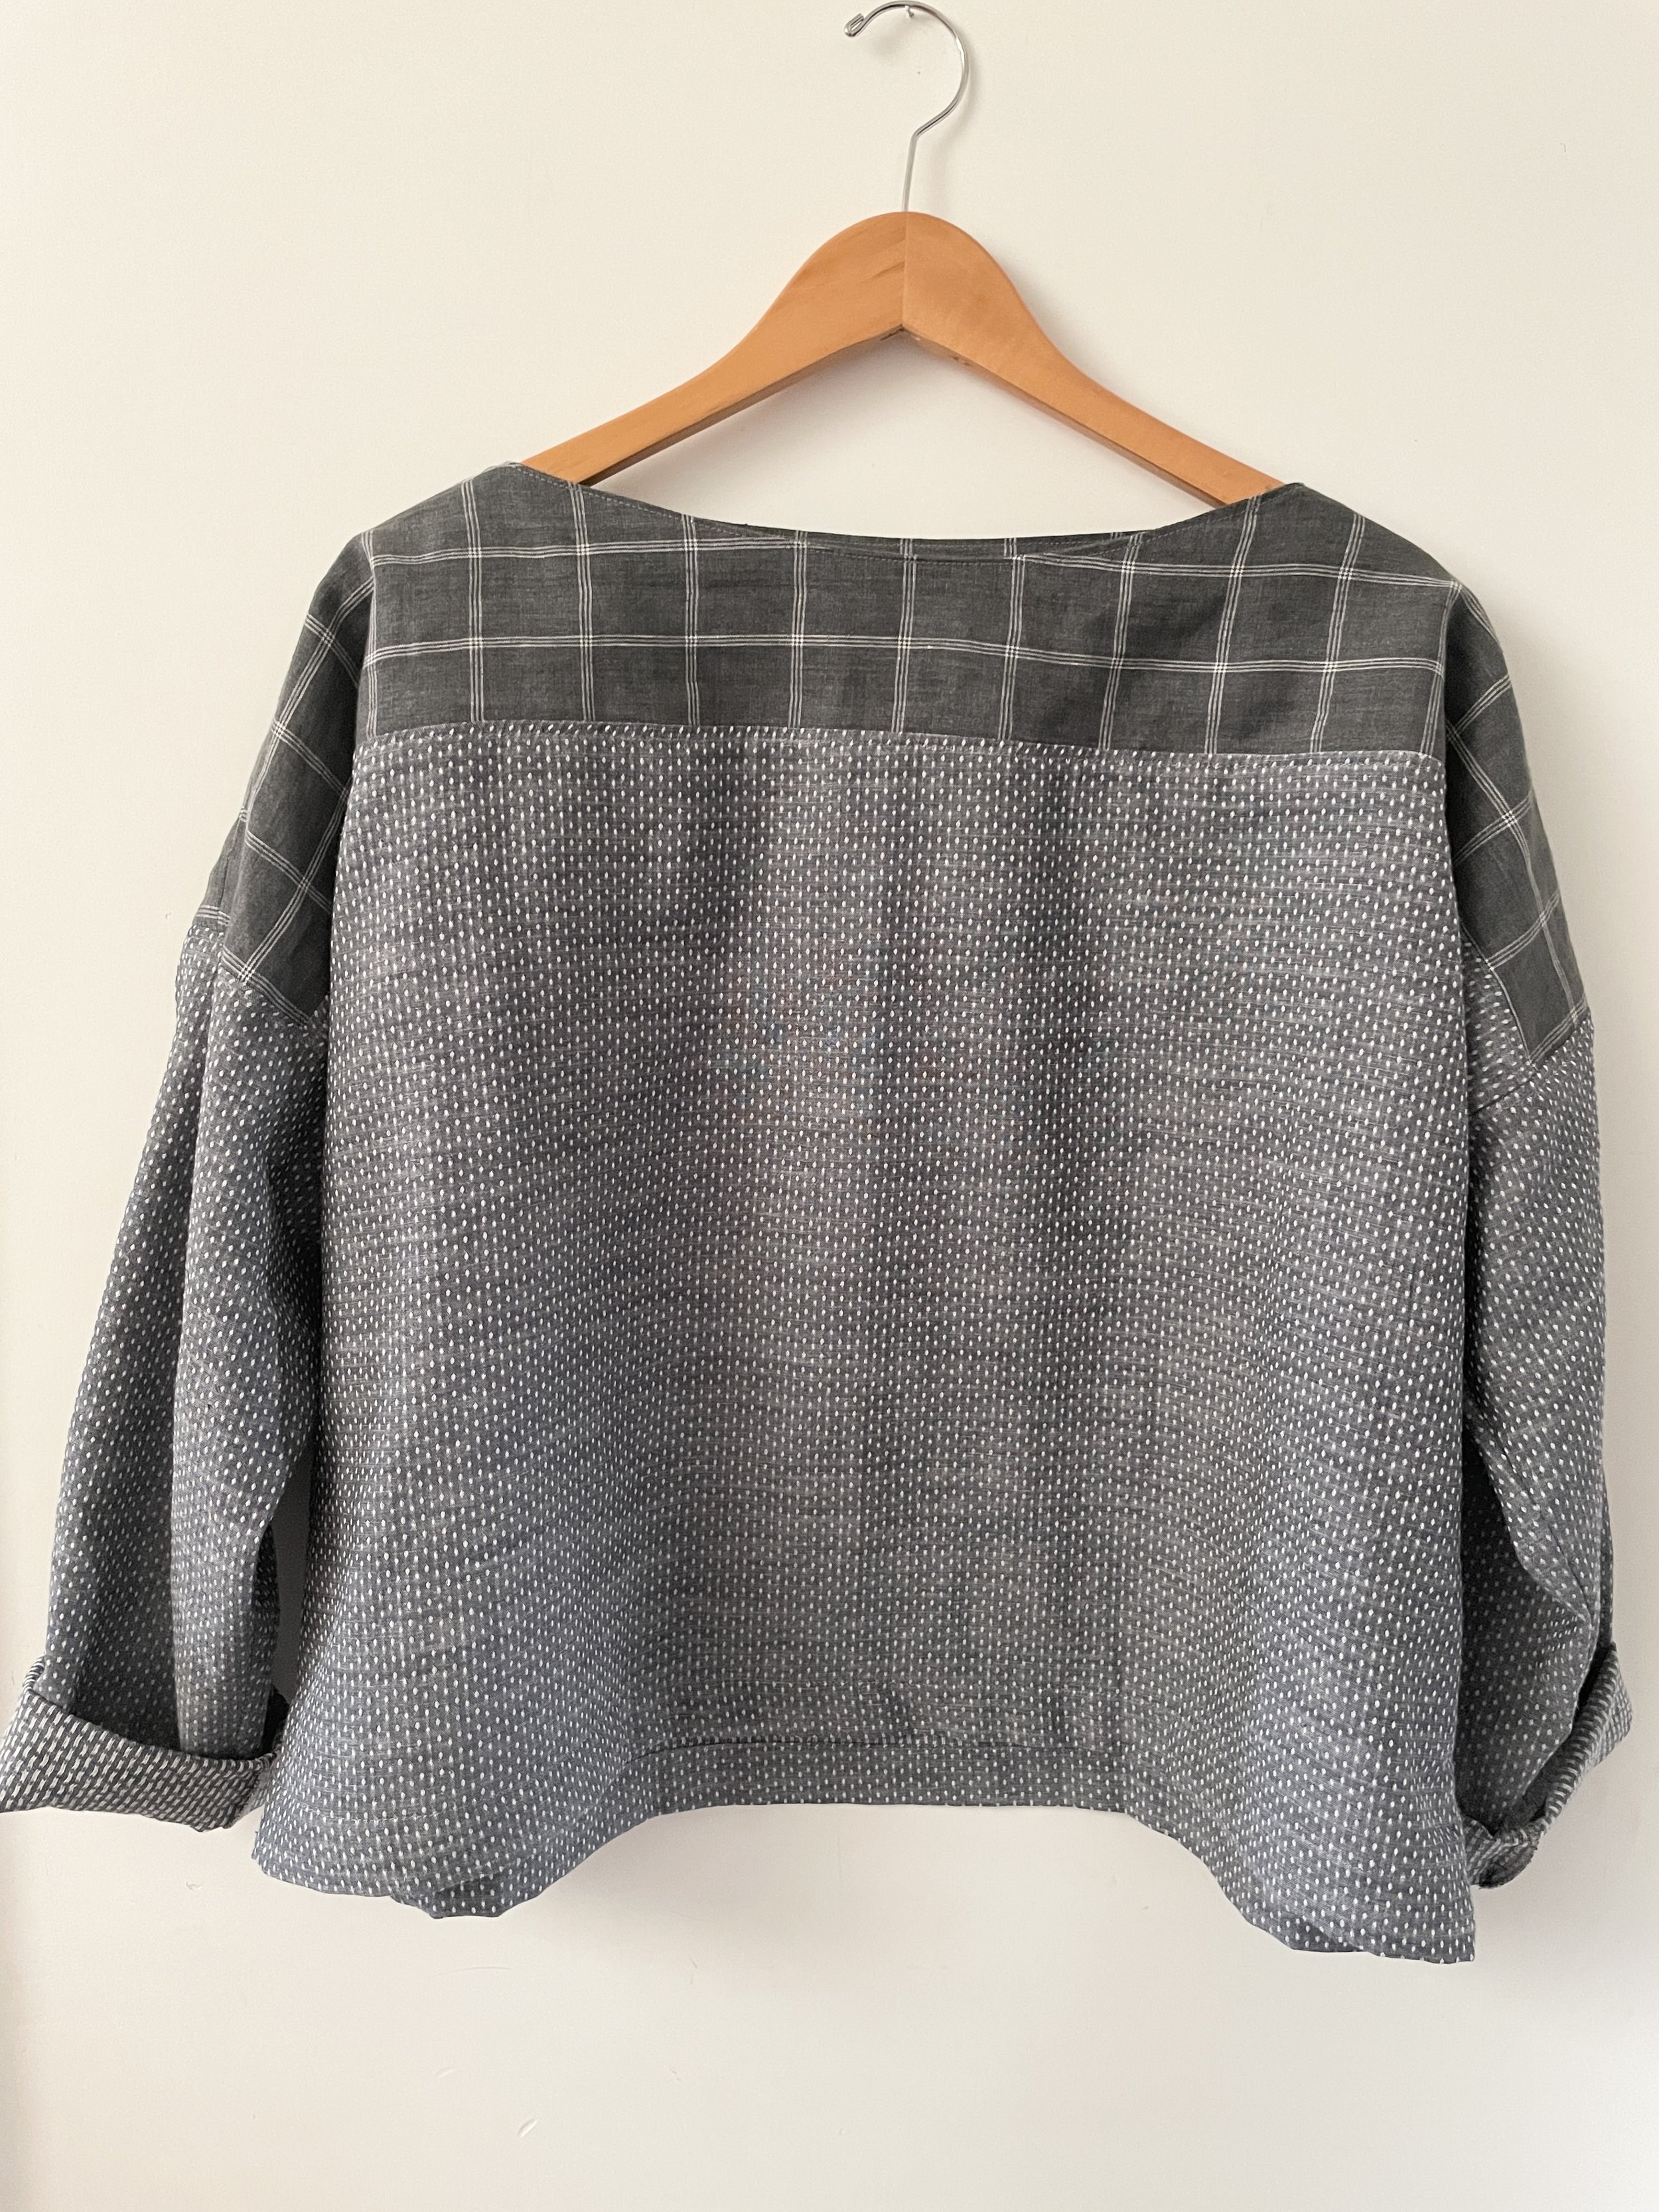
Crossover Cardigan Hack

Here in the midst of a seemingly never ending winter, the Crossover Cardigan is a very cozy edition to a huddled up lifestyle. Having made one already, I decided to give it another go, but all closed up! I love the yoke, and kept it in a contrasting fabric, while working some basic pattern making skills to turn this into a nice pullover with a classic boat neck.
You will need the Crossover Cardigan pattern, pencil, measuring tape, ruler, paper scissors and pattern weights.
Pattern Modifications:
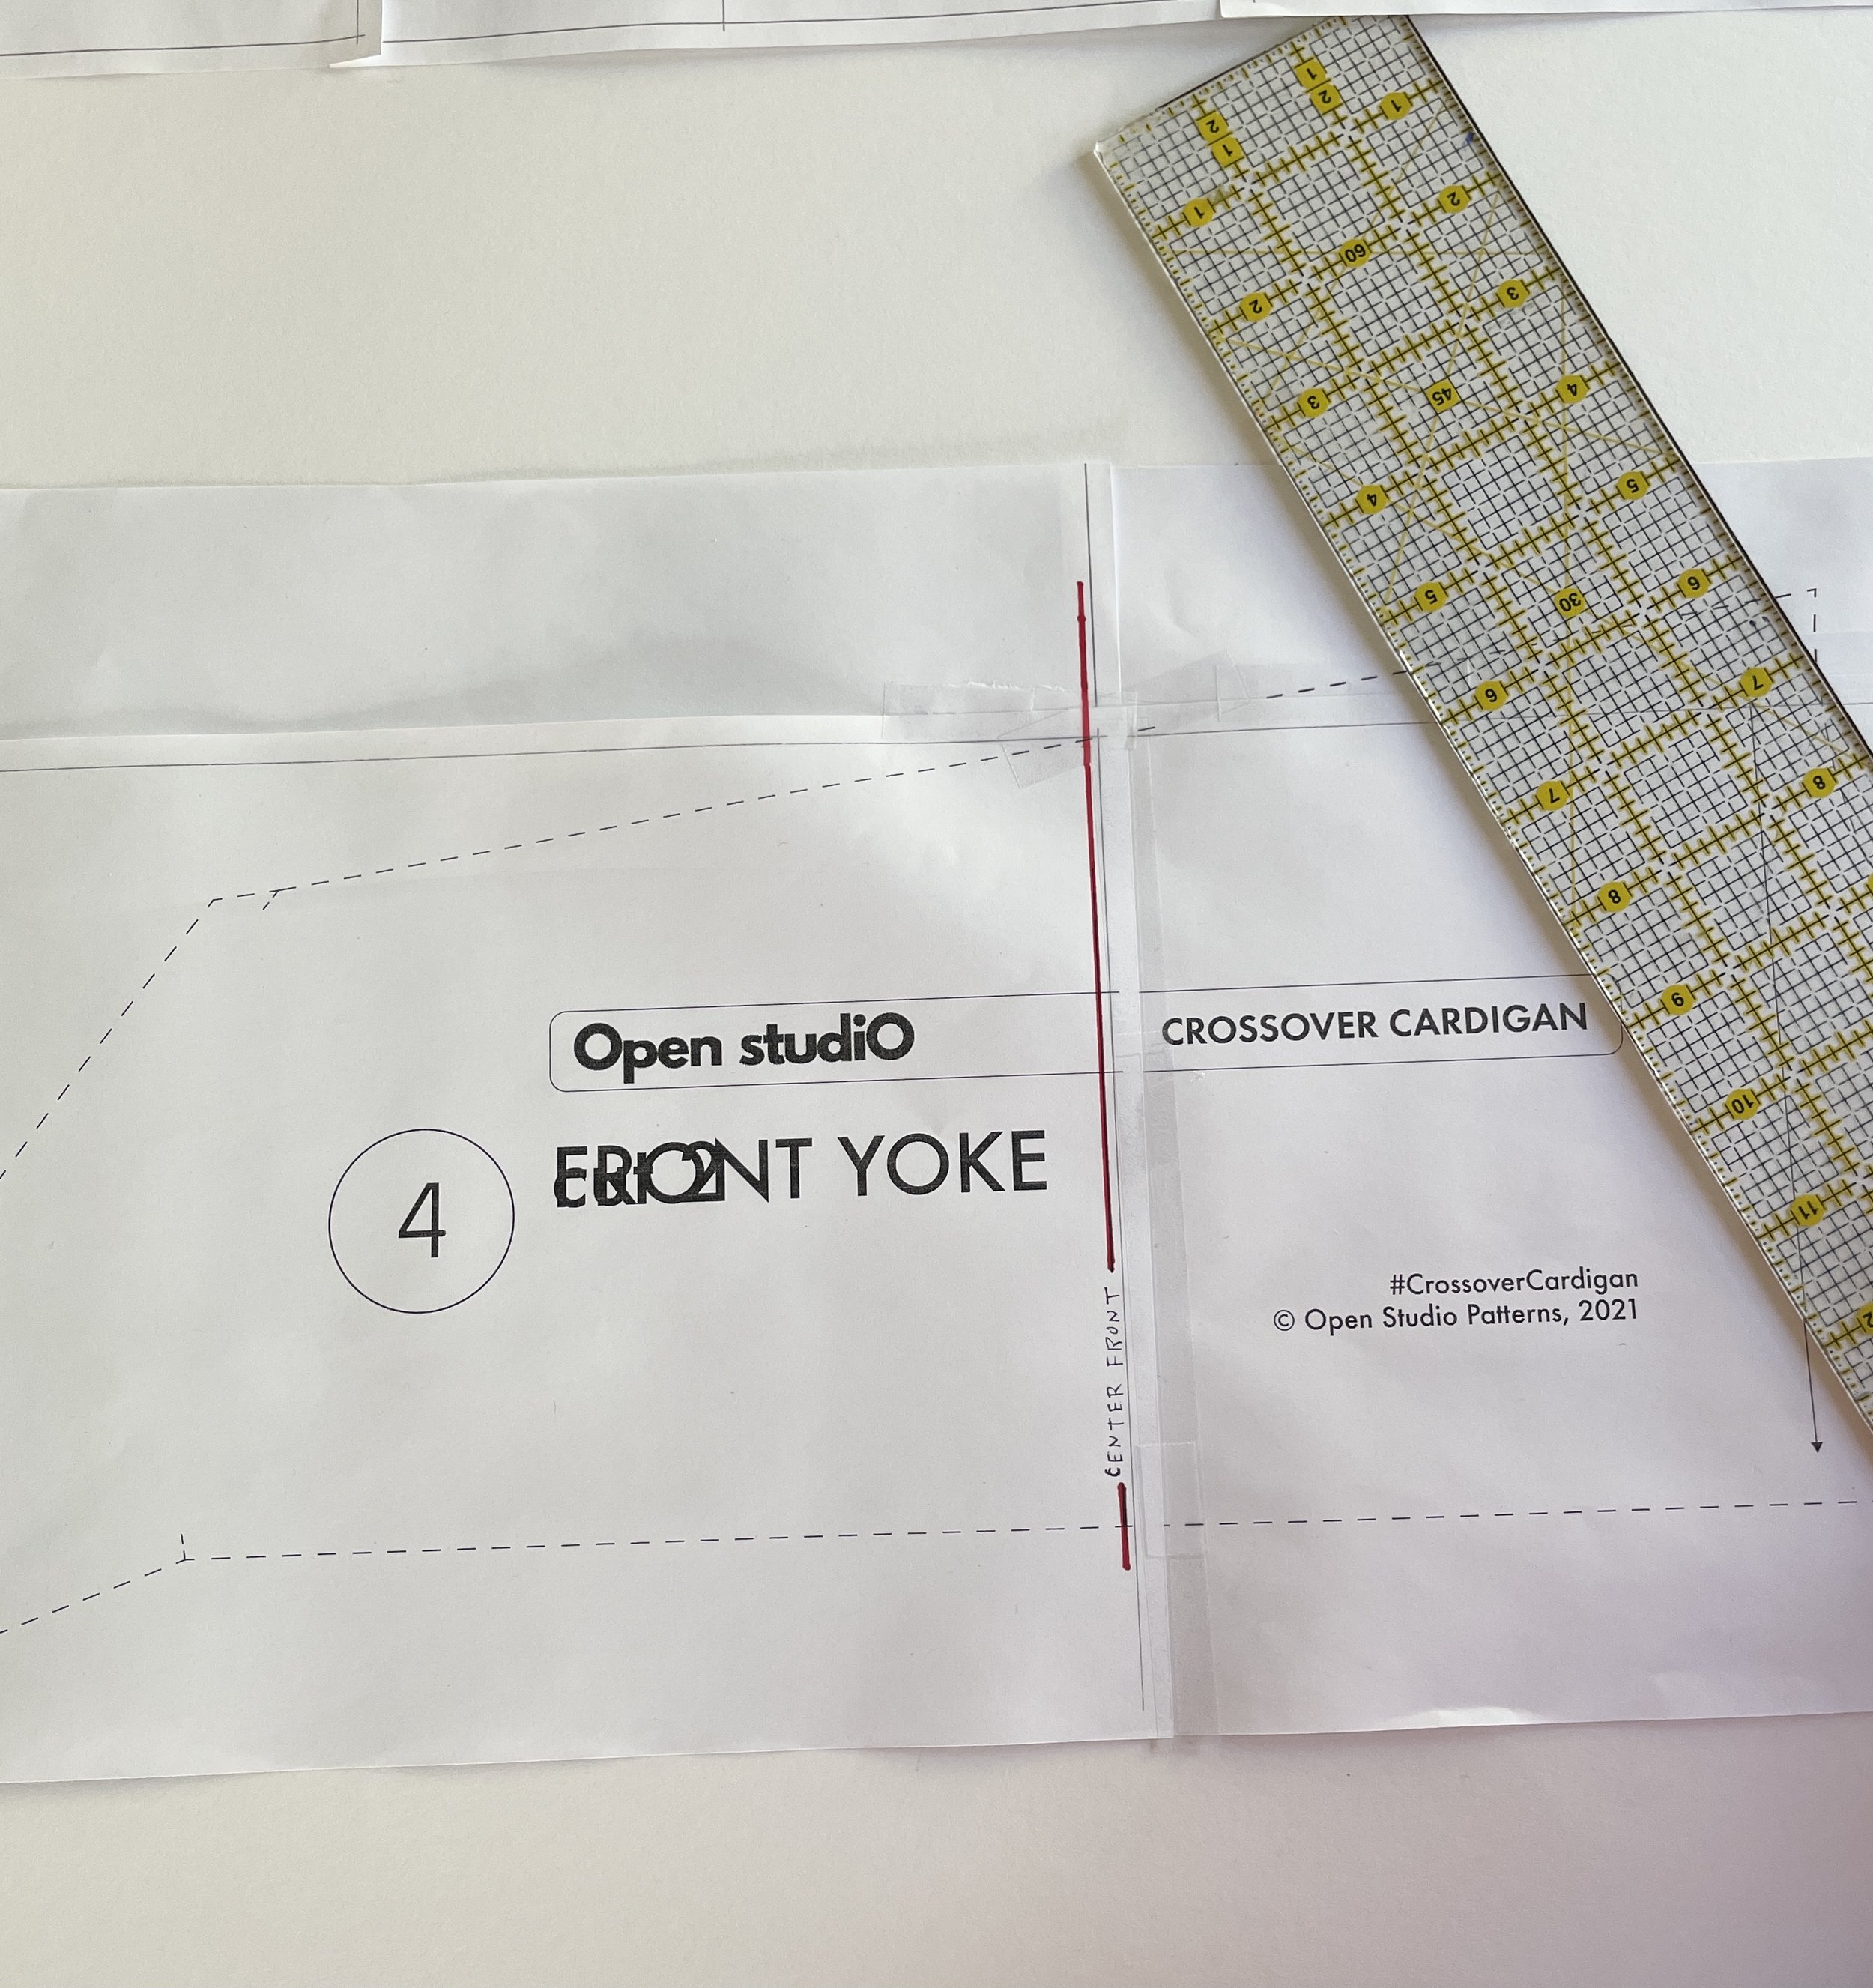
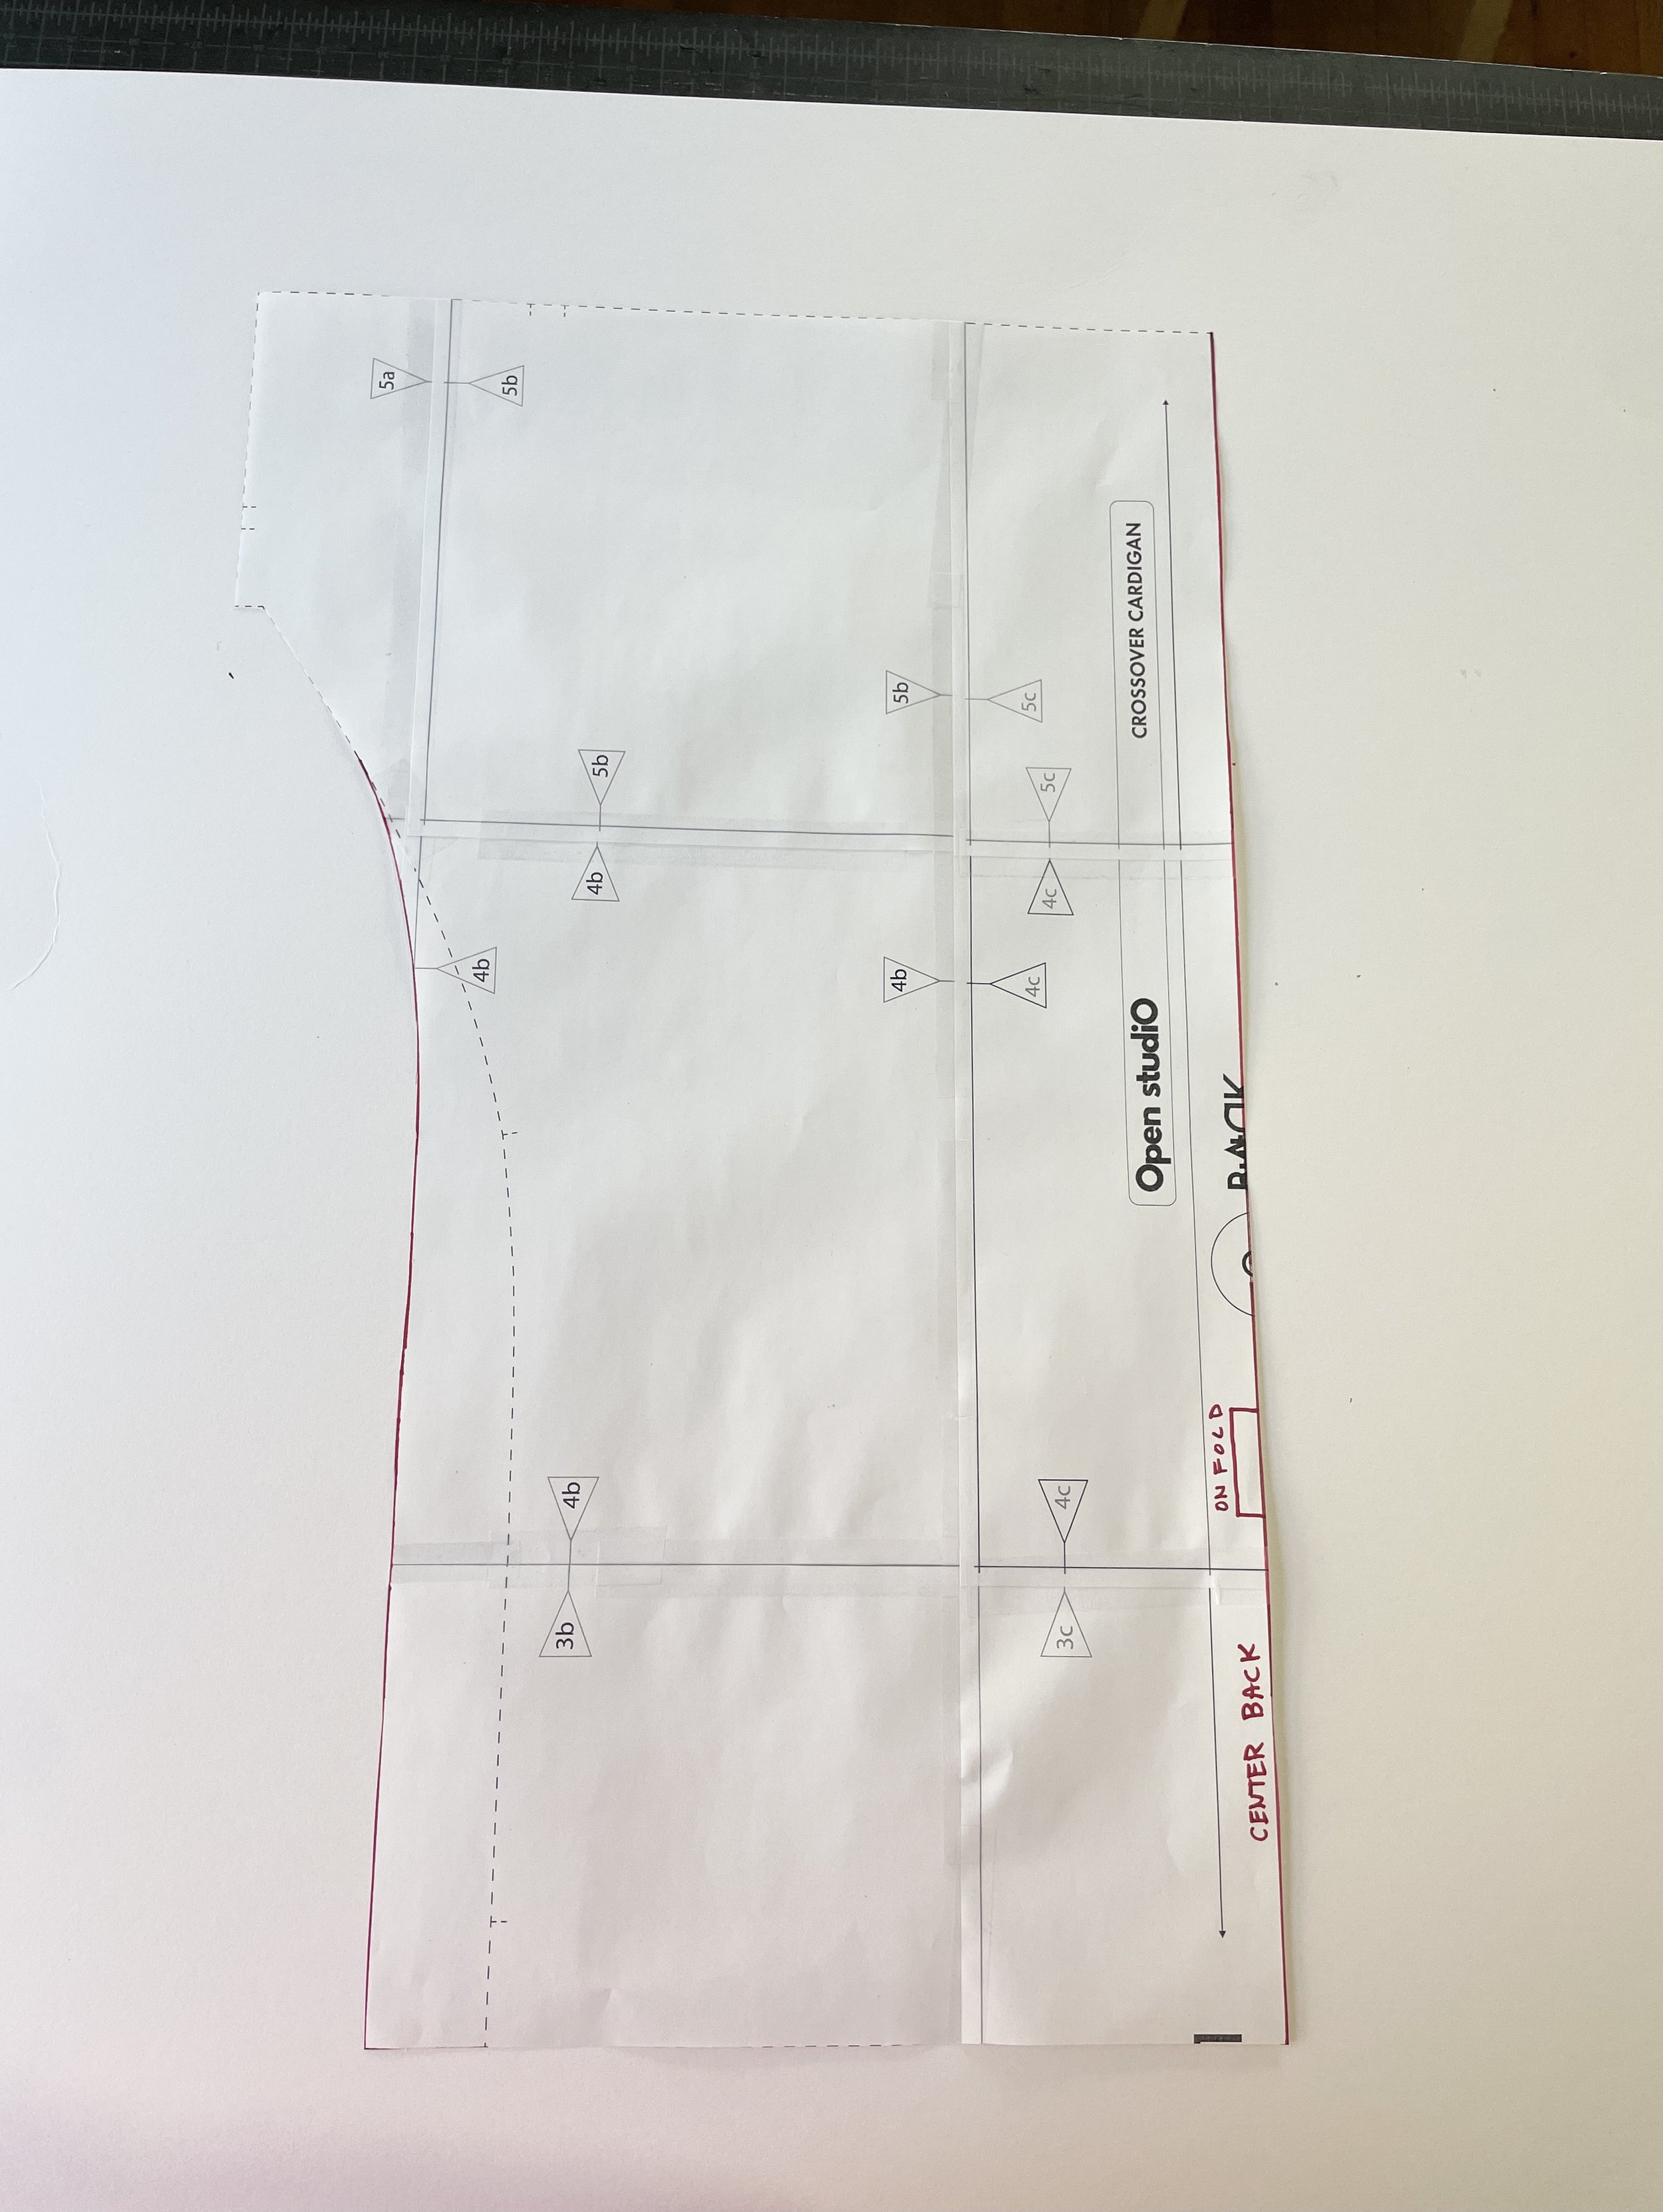
Since I have several copies of this pattern, I am working straight on the print out. You could print out extra copies to edit, and keep one unaltered, or copy it onto plain paper and then make your changes on the new one. Any changes I marked in red so that you can see them a bit better. I would encourage you to make a muslin for a pattern hack like this. I did, and it helped me get the neckline just right.
Sleeve - Per the pattern, this sleeve is sized for knit. Since I have made it before, I knew I needed to make it a little bigger to accommodate a woven, so I added a full 2 inches for ease of movement. This went down either side of the long arm seam.

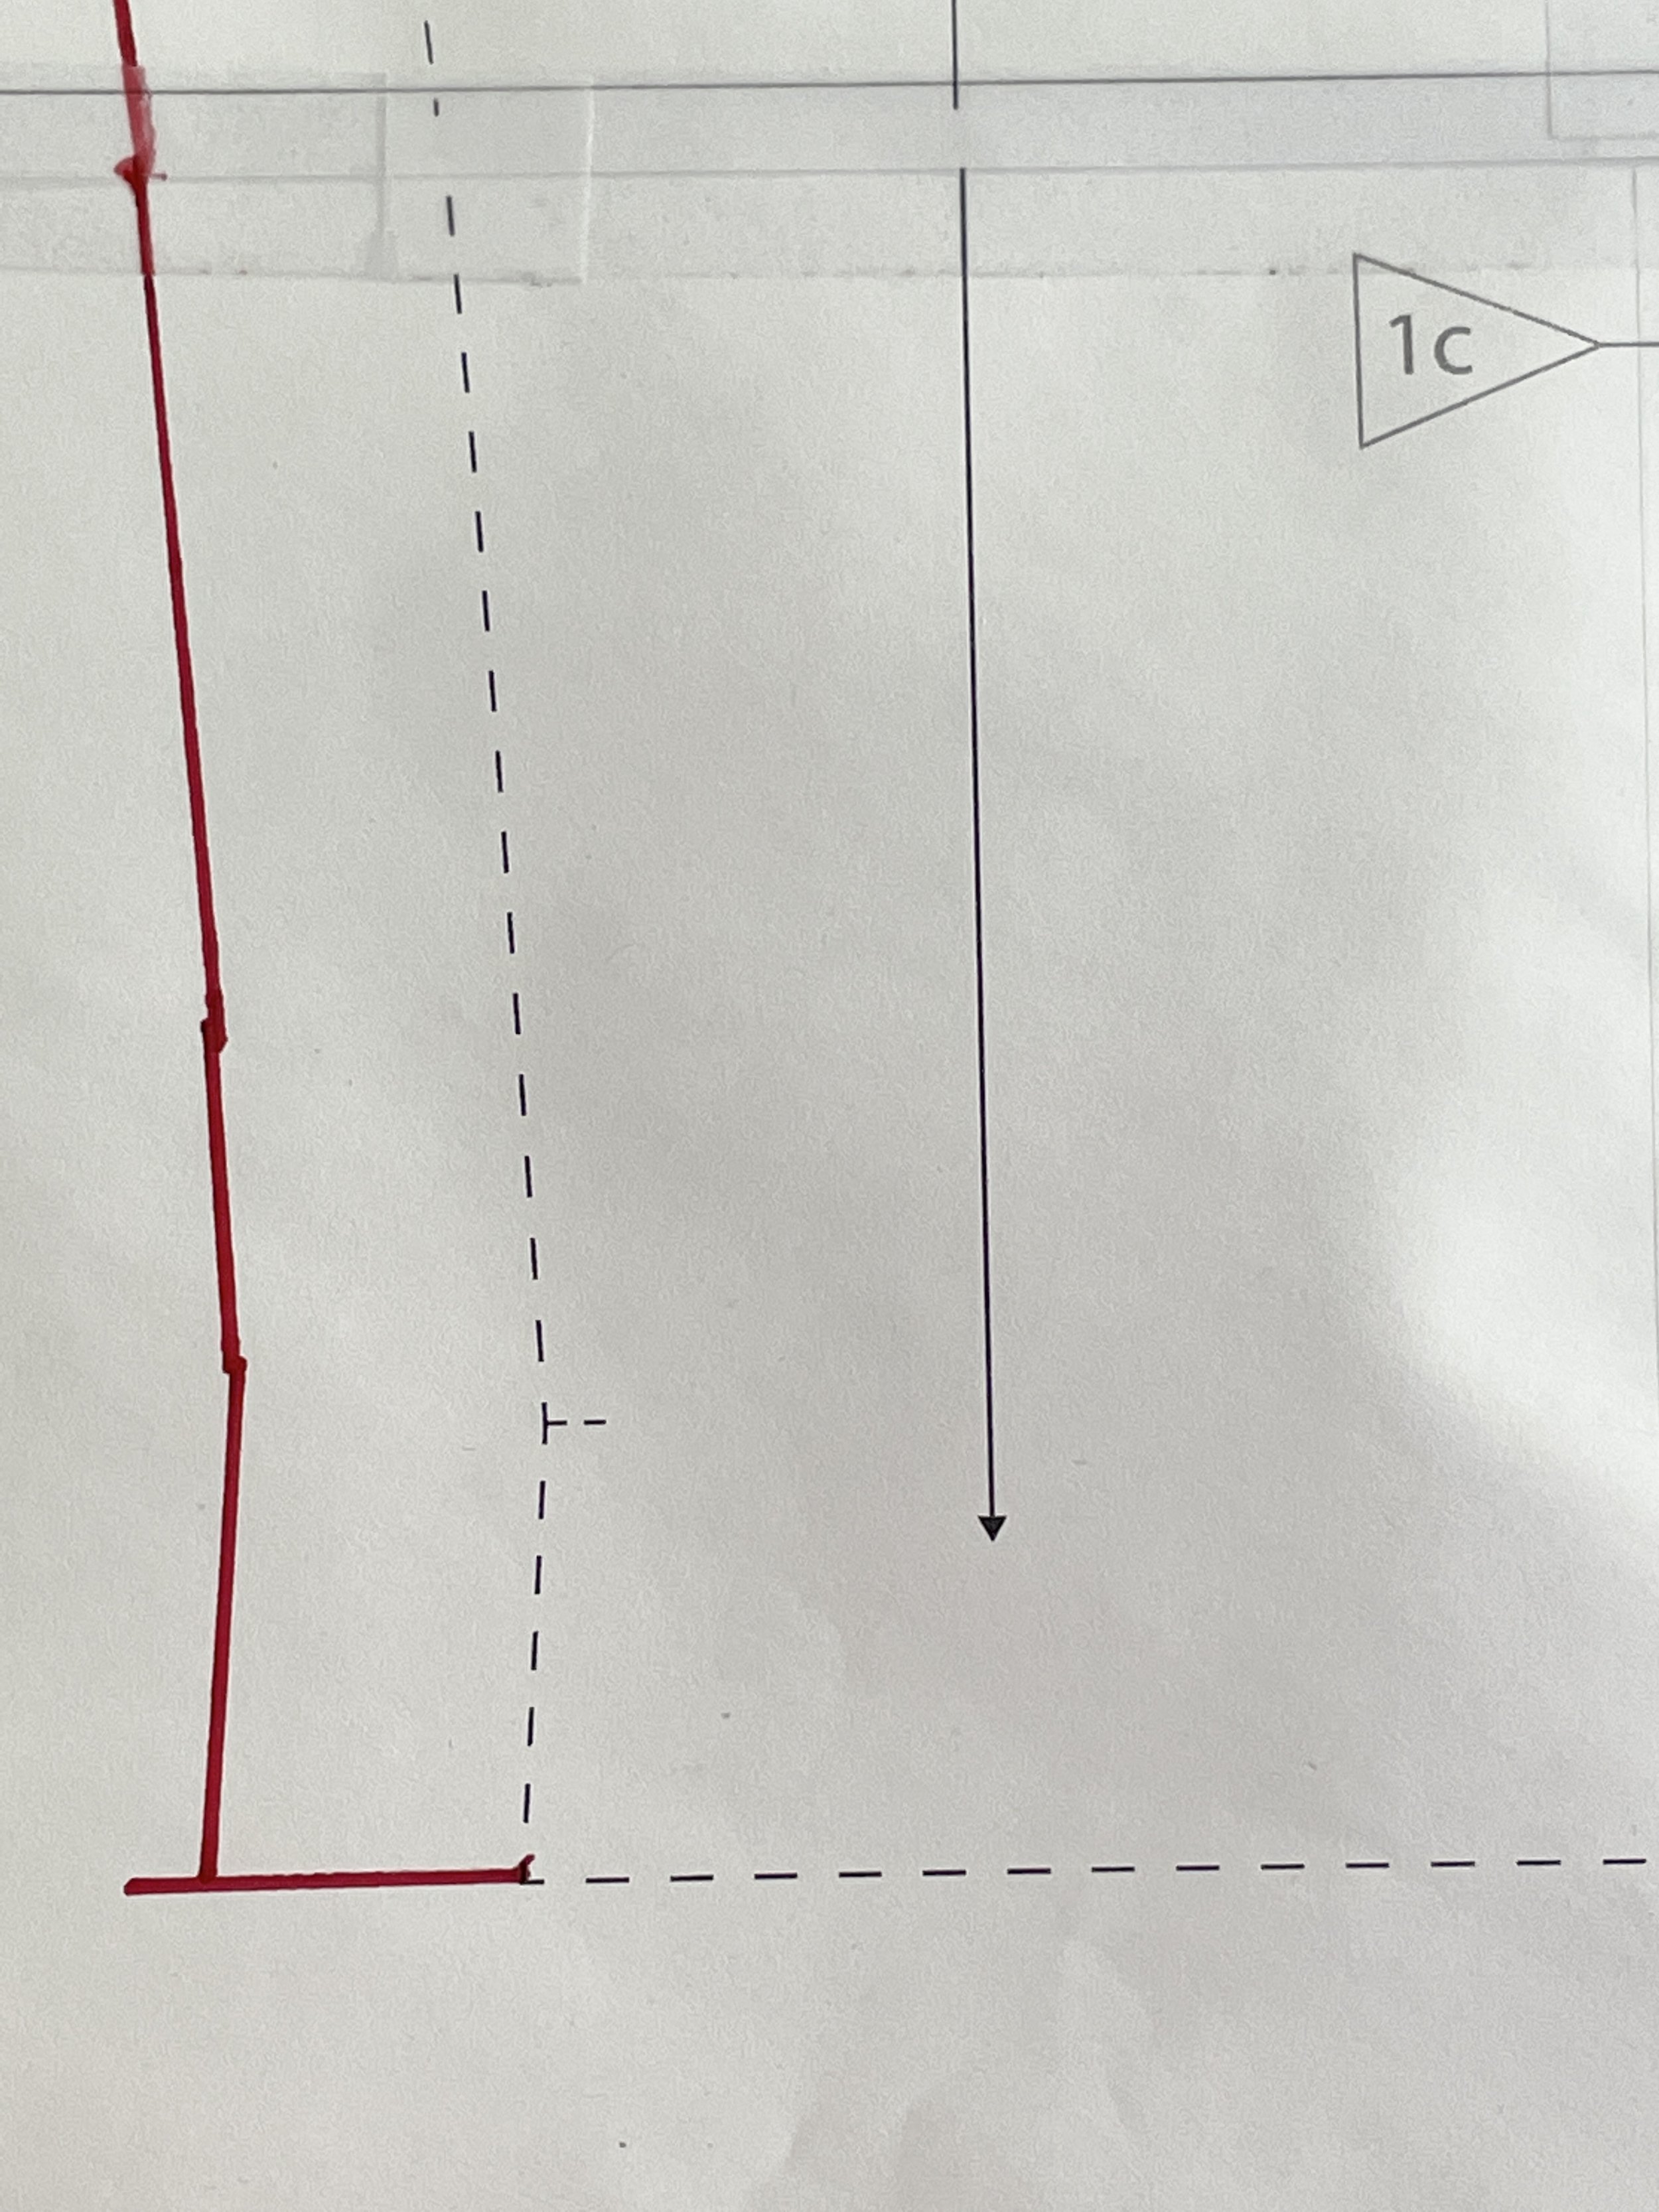
Yokes - The first step on each piece moving forward is to find the center line which is marked with a small line parallel to the straight grain line. After finding the center mark, go ahead and draw a center line all the way down the piece. To save myself some time in having to mark 2 sides of each piece, I will make this a new “place on fold” line so that there is less editing to do with the mirror image on the other side.
After marking the center line of each yoke, I then cut off the side (without the neck curve) that I did not need. I also took 3” in height from the neck to remove the stand, and brought it in 1/2” at the neck seam to lay nicer as a boat neck. Remember the 2” I added to the sleeve? That has to go somewhere, and along the bottom of the yoke is an easy place to add it, so I split the difference with each yoke getting 1”.

Repeat on the back yoke. I did make front a bit lower along the neckline. This is what they now look like:

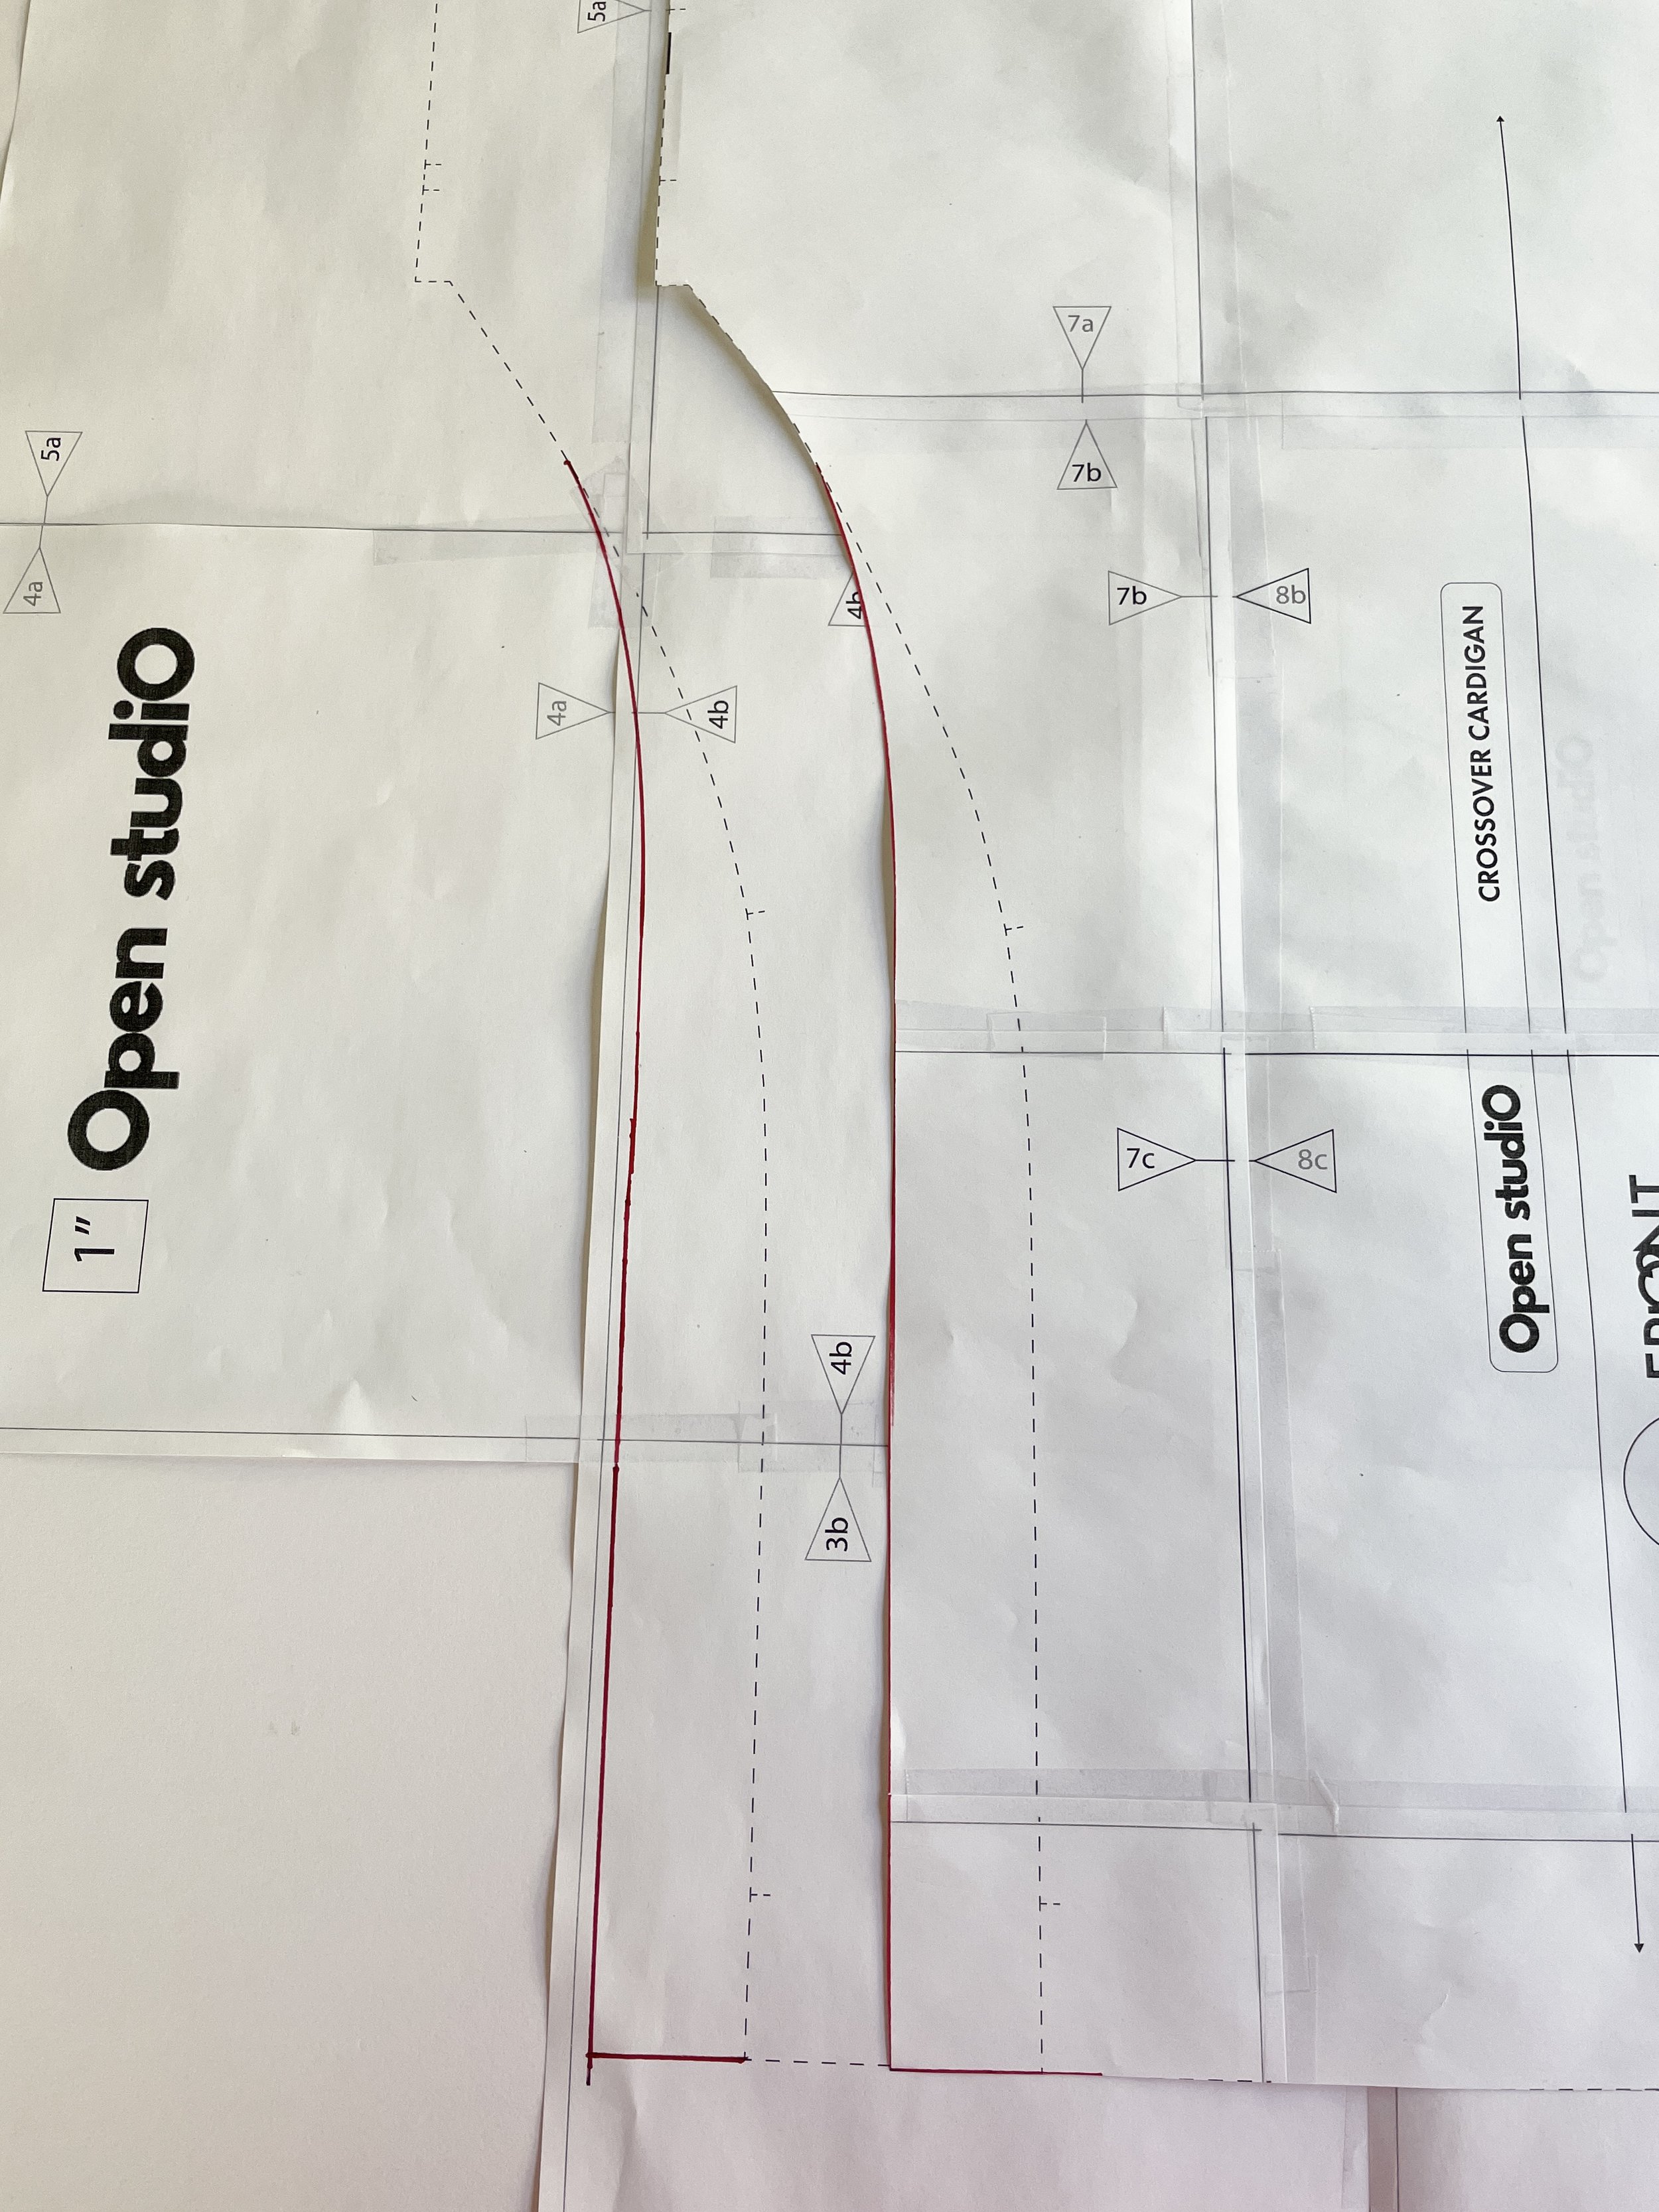
Front - The only thing I needed to do here was to add a bit into the side seam for some room, as I wanted this to fit boxy. After marking the center line…

I added 1 1/2” at the hip but didn’t need that much at the bust and underarm, so I tapered that seam as it started to get into that area. A good curved ruler can help here.

Finished front, after removing the asymmetrical front that would usually hang:

Back - Pretty much exactly the same steps as the front! You want to make sure those side seams still line up, and that the curve is exactly the same there, so I used the front pattern as a guide.
Cutting and Sewing
With this version, generally you will follow the sewing pattern, but you wont be doing the mitered corners on the open front hem, and since we changed the neckline, we need to change the way that is constructed.
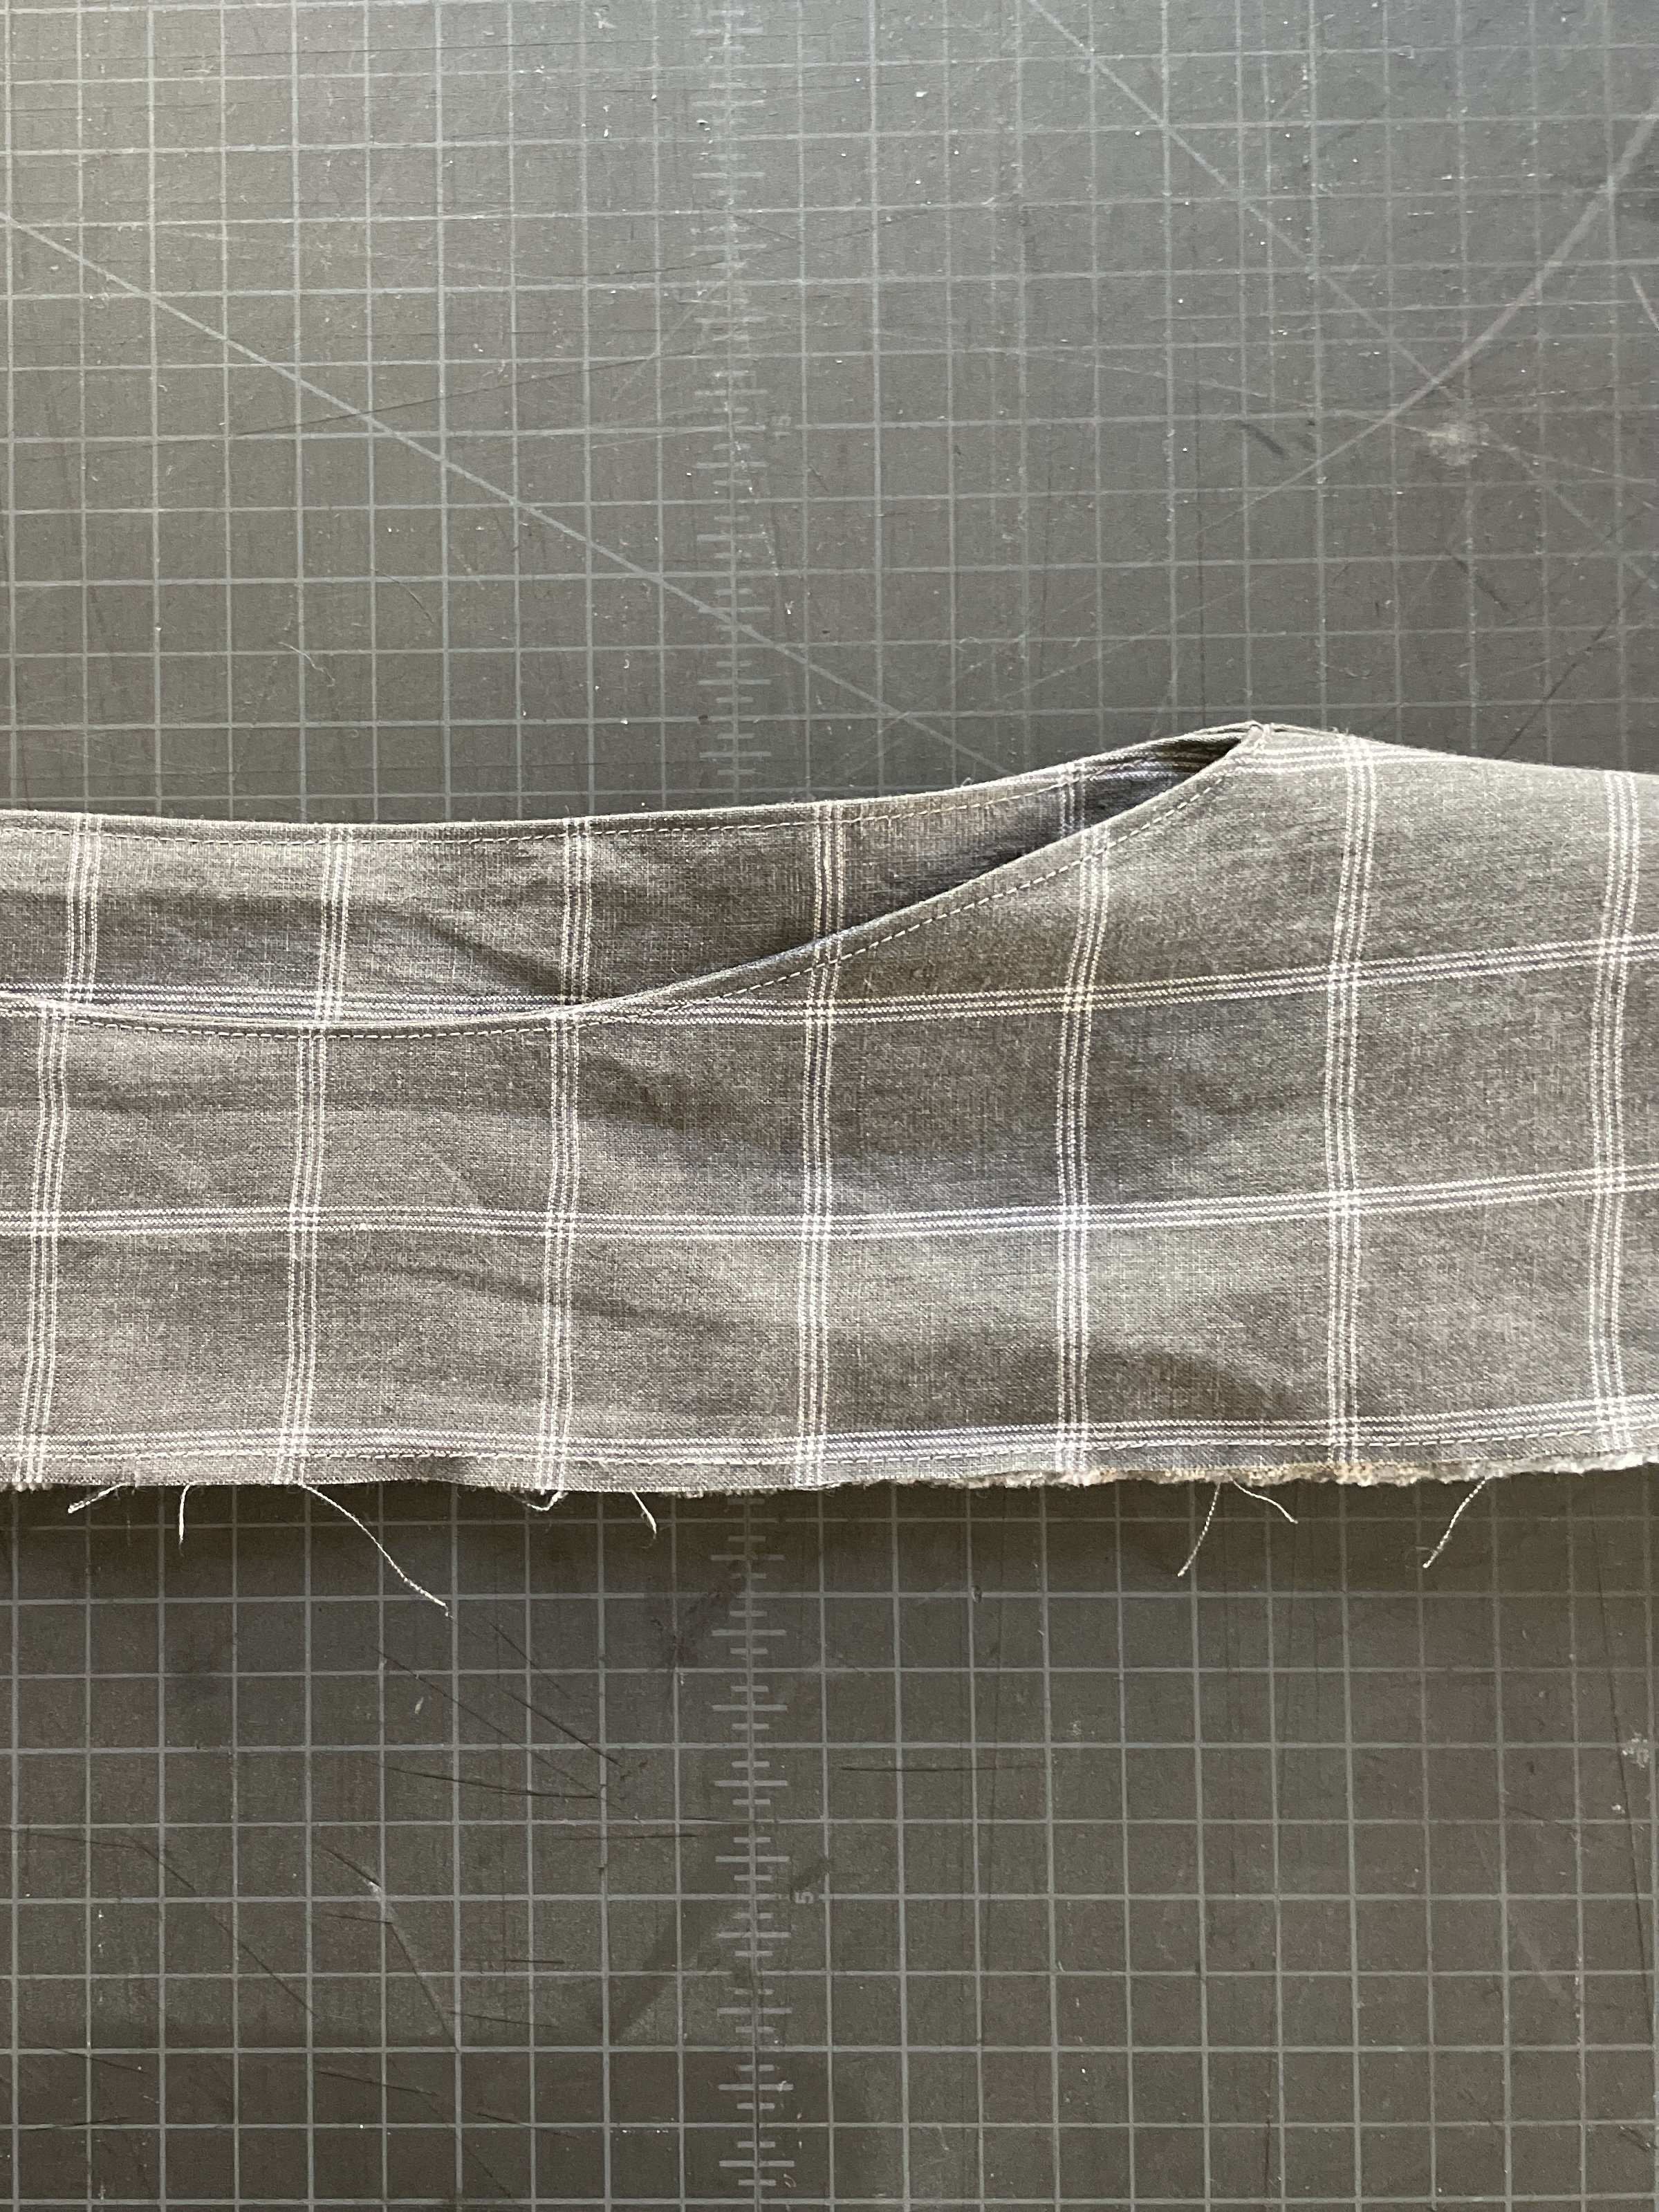
I opted to do a fully faced yoke so that the neckline has a really nice finish, and it’s pretty easy to do. You will just need to cut 2 front yokes, and 2 back yokes. First step is to sew the shoulder seams on both sets, front to back. Place these right sides together. Don’t judge my pattern matching too much here, that’s the inside piece :)

Next you will sew around the neck opening with a 1/4” seam allowance.

Clip fabric at each corner, turn right sides out, press and top stitch the neck hole with 1/8” seam allowance.
Stay stitch yokes together around the perimeter
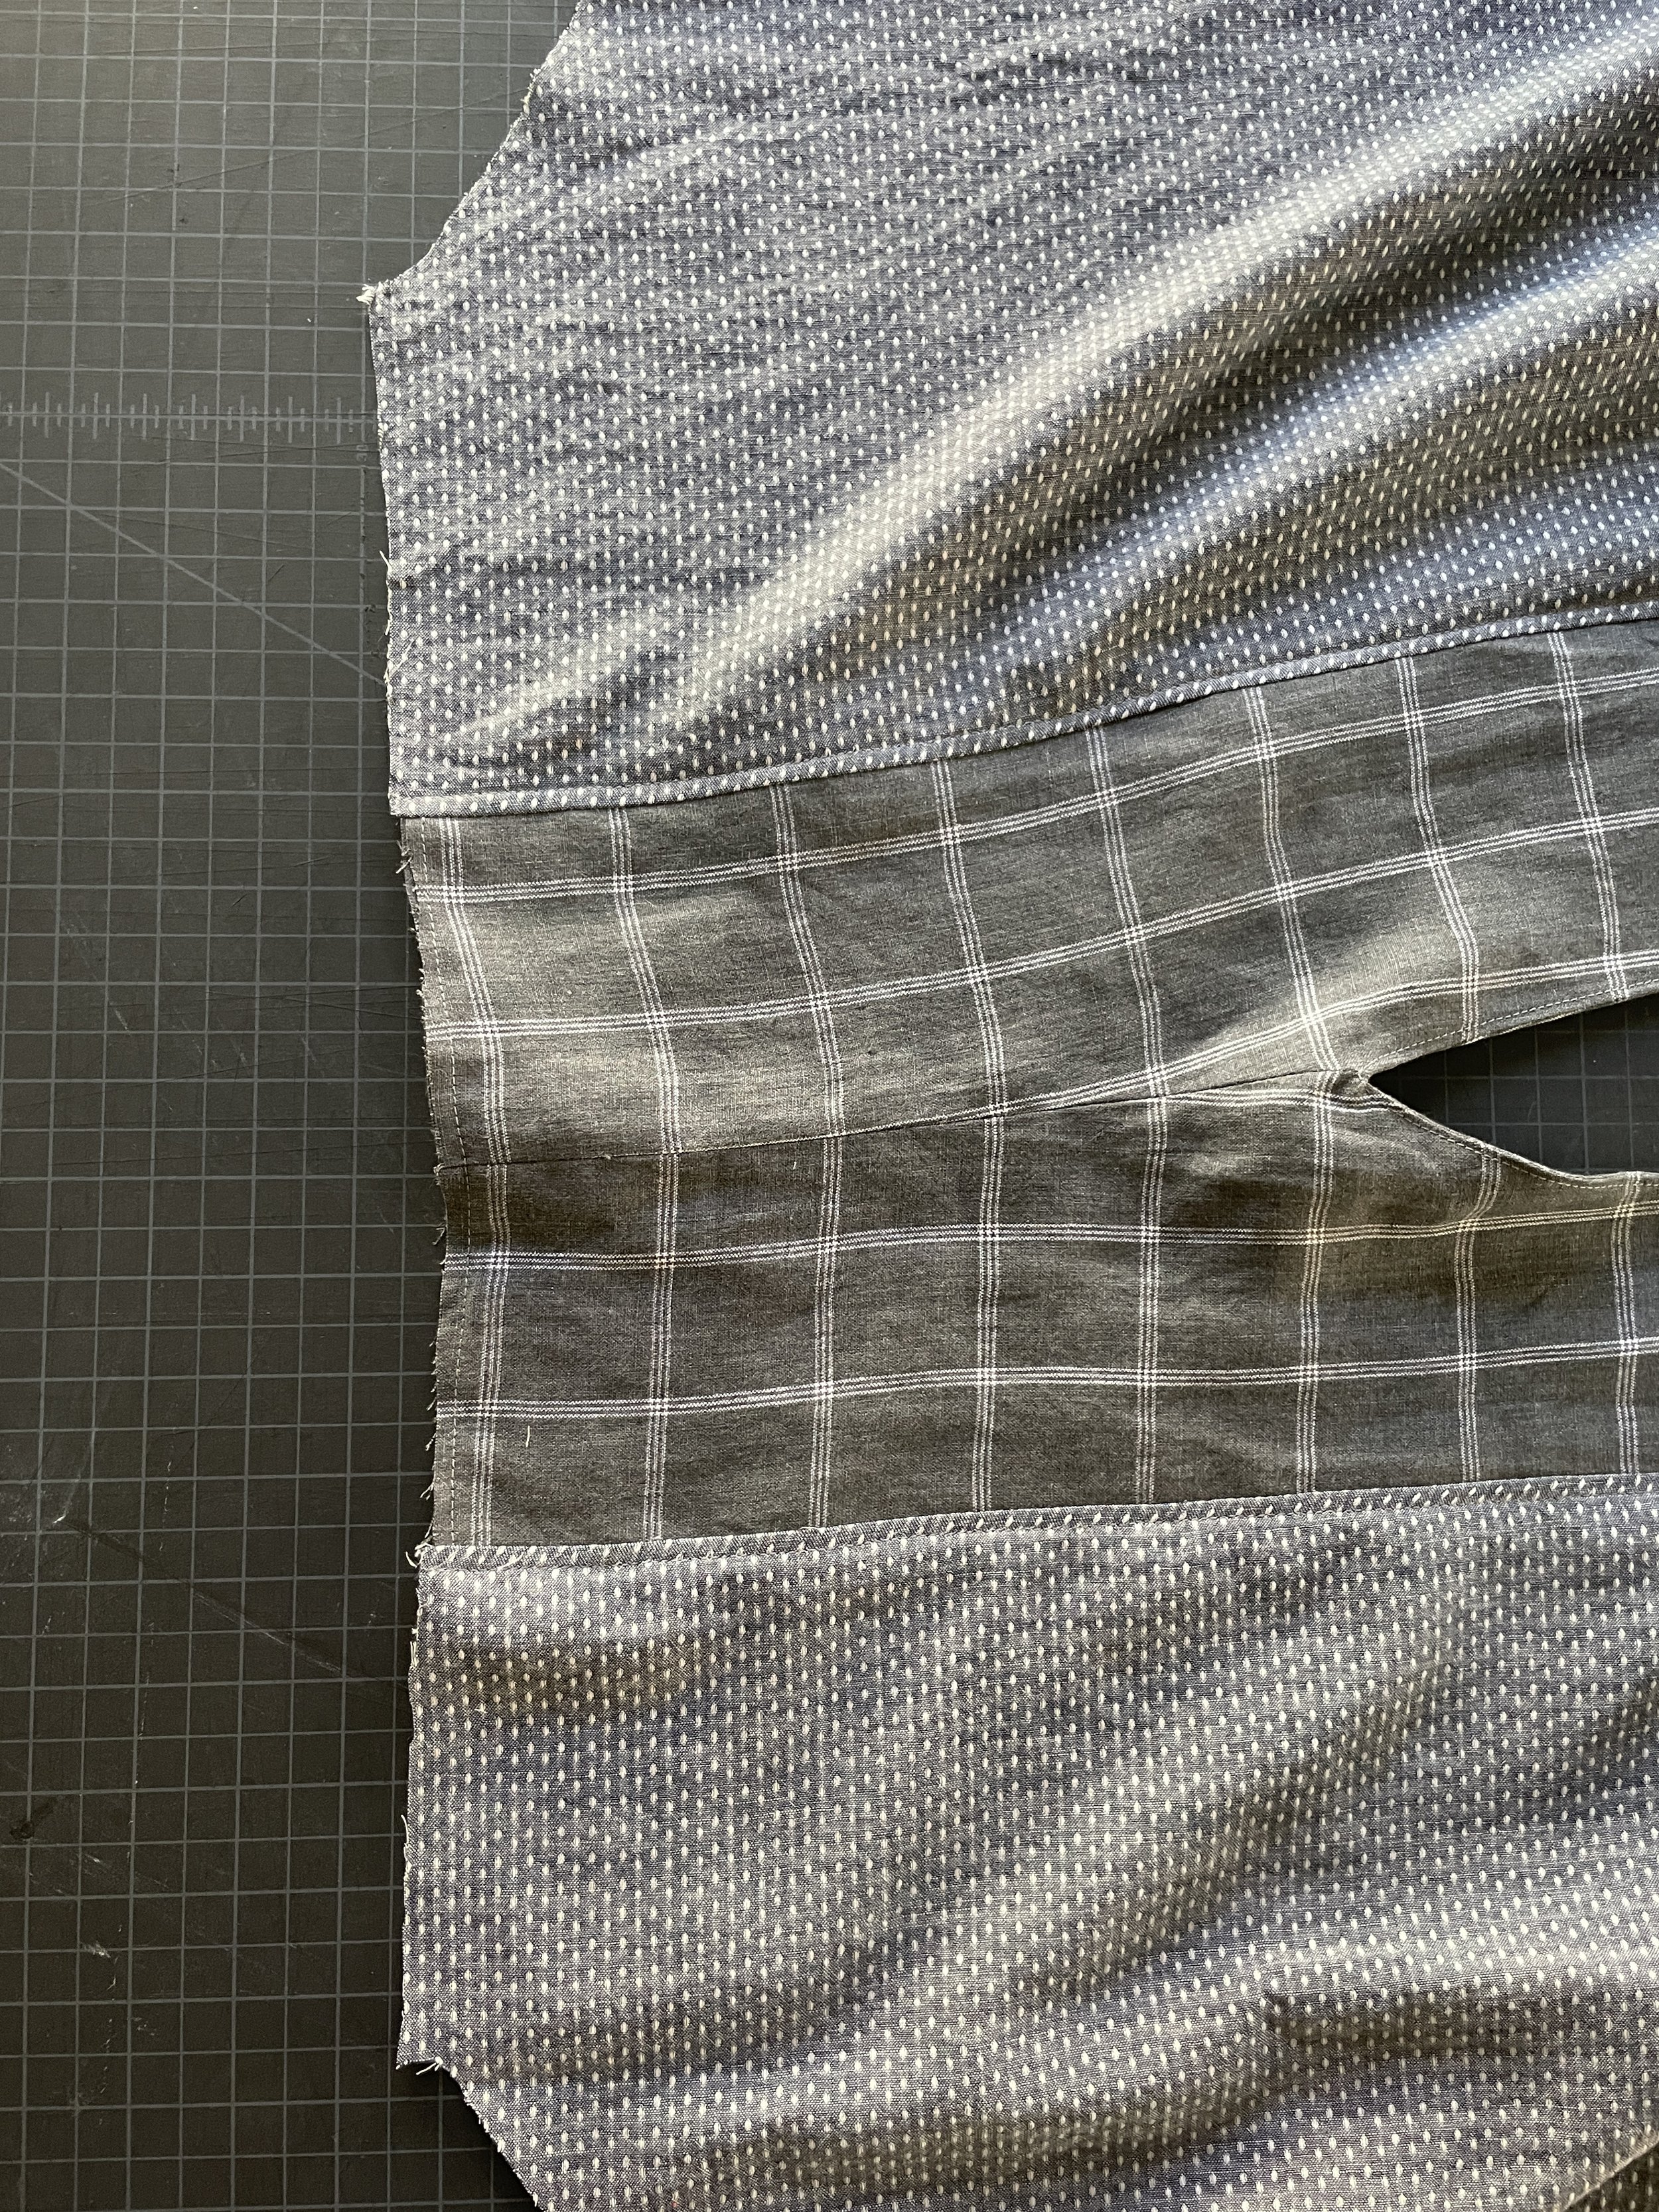
Attach yokes to front and back, stitching at 3/8”.
Serge and then top stitch at 1/8”. Now you have really nice clean finished top facing, interior shown to the right.
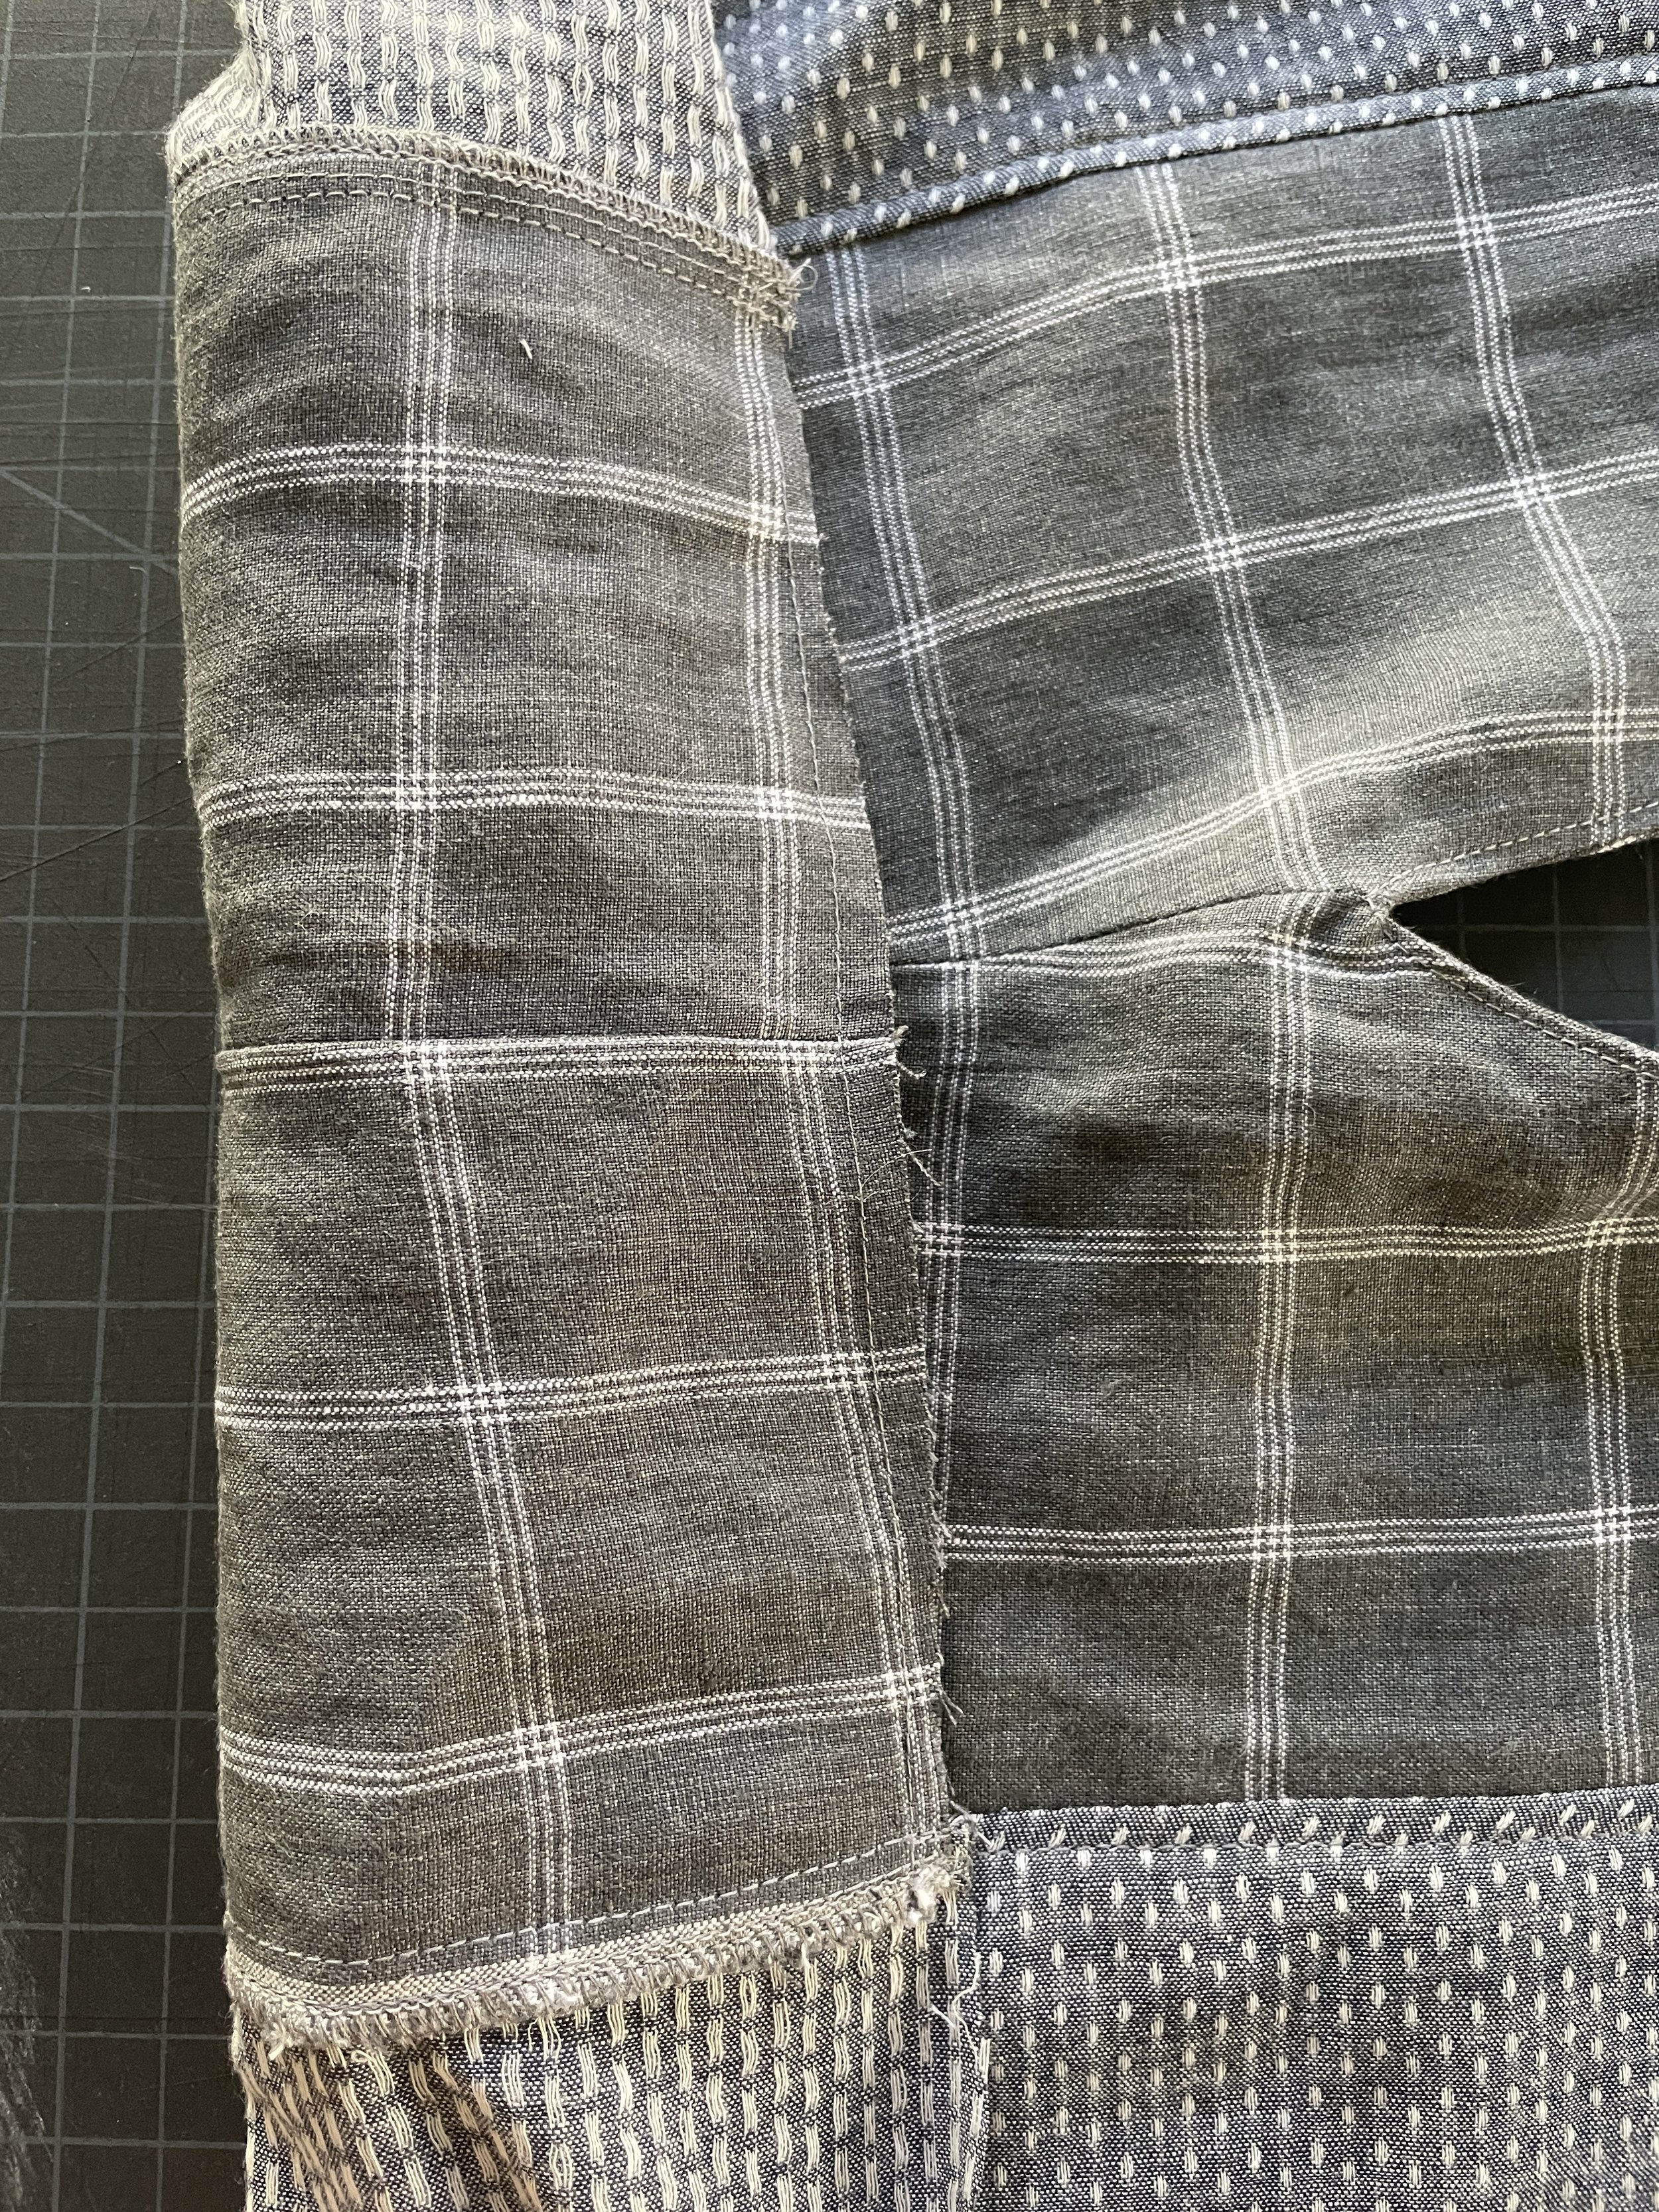
Attach sleeves, serge. and then I also opted to top stitch them down like the yoke.

Match front to back, right sides together and sew the long seam from the wrist all the way to the hem.
Press and sew hem of bottom and sleeves, using the same seam allowance per the pattern, I ended up shortening the body by 3” once I had it to this point when I realized it was a little too long. This would look great cropped even more!

And that’s it! Good luck and don’t forget to tag your makes with #CrossoverCardigan so we can see what you do!