Preparing and Cutting Fabric for Sewing

Learn how to cut and prepare fabric for cutting with expert sewer, Leigh from Sew Co! She will walk you through all the necessary steps and tools that are essential for this first step in making clothing. Your home sewing experience will benefit from learning the tips and tricks involved with marking your patterns on fabric and cutting the pattern pieces with precision.

Film and Edited by: Pete Lutz & Brooke Priddy

Step 1: Wash and dry fabric

Prepare your fabric by washing and drying it the same way you would when it is a finished garment. Research how to care for fibers you are about to use for your sewing project.
Take time to press your fabric after it is dried. In the video, Leigh mentions taking the fabric out of the dryer a little early to avoid heavy creases.


Step 2: Lay out paper and fabric

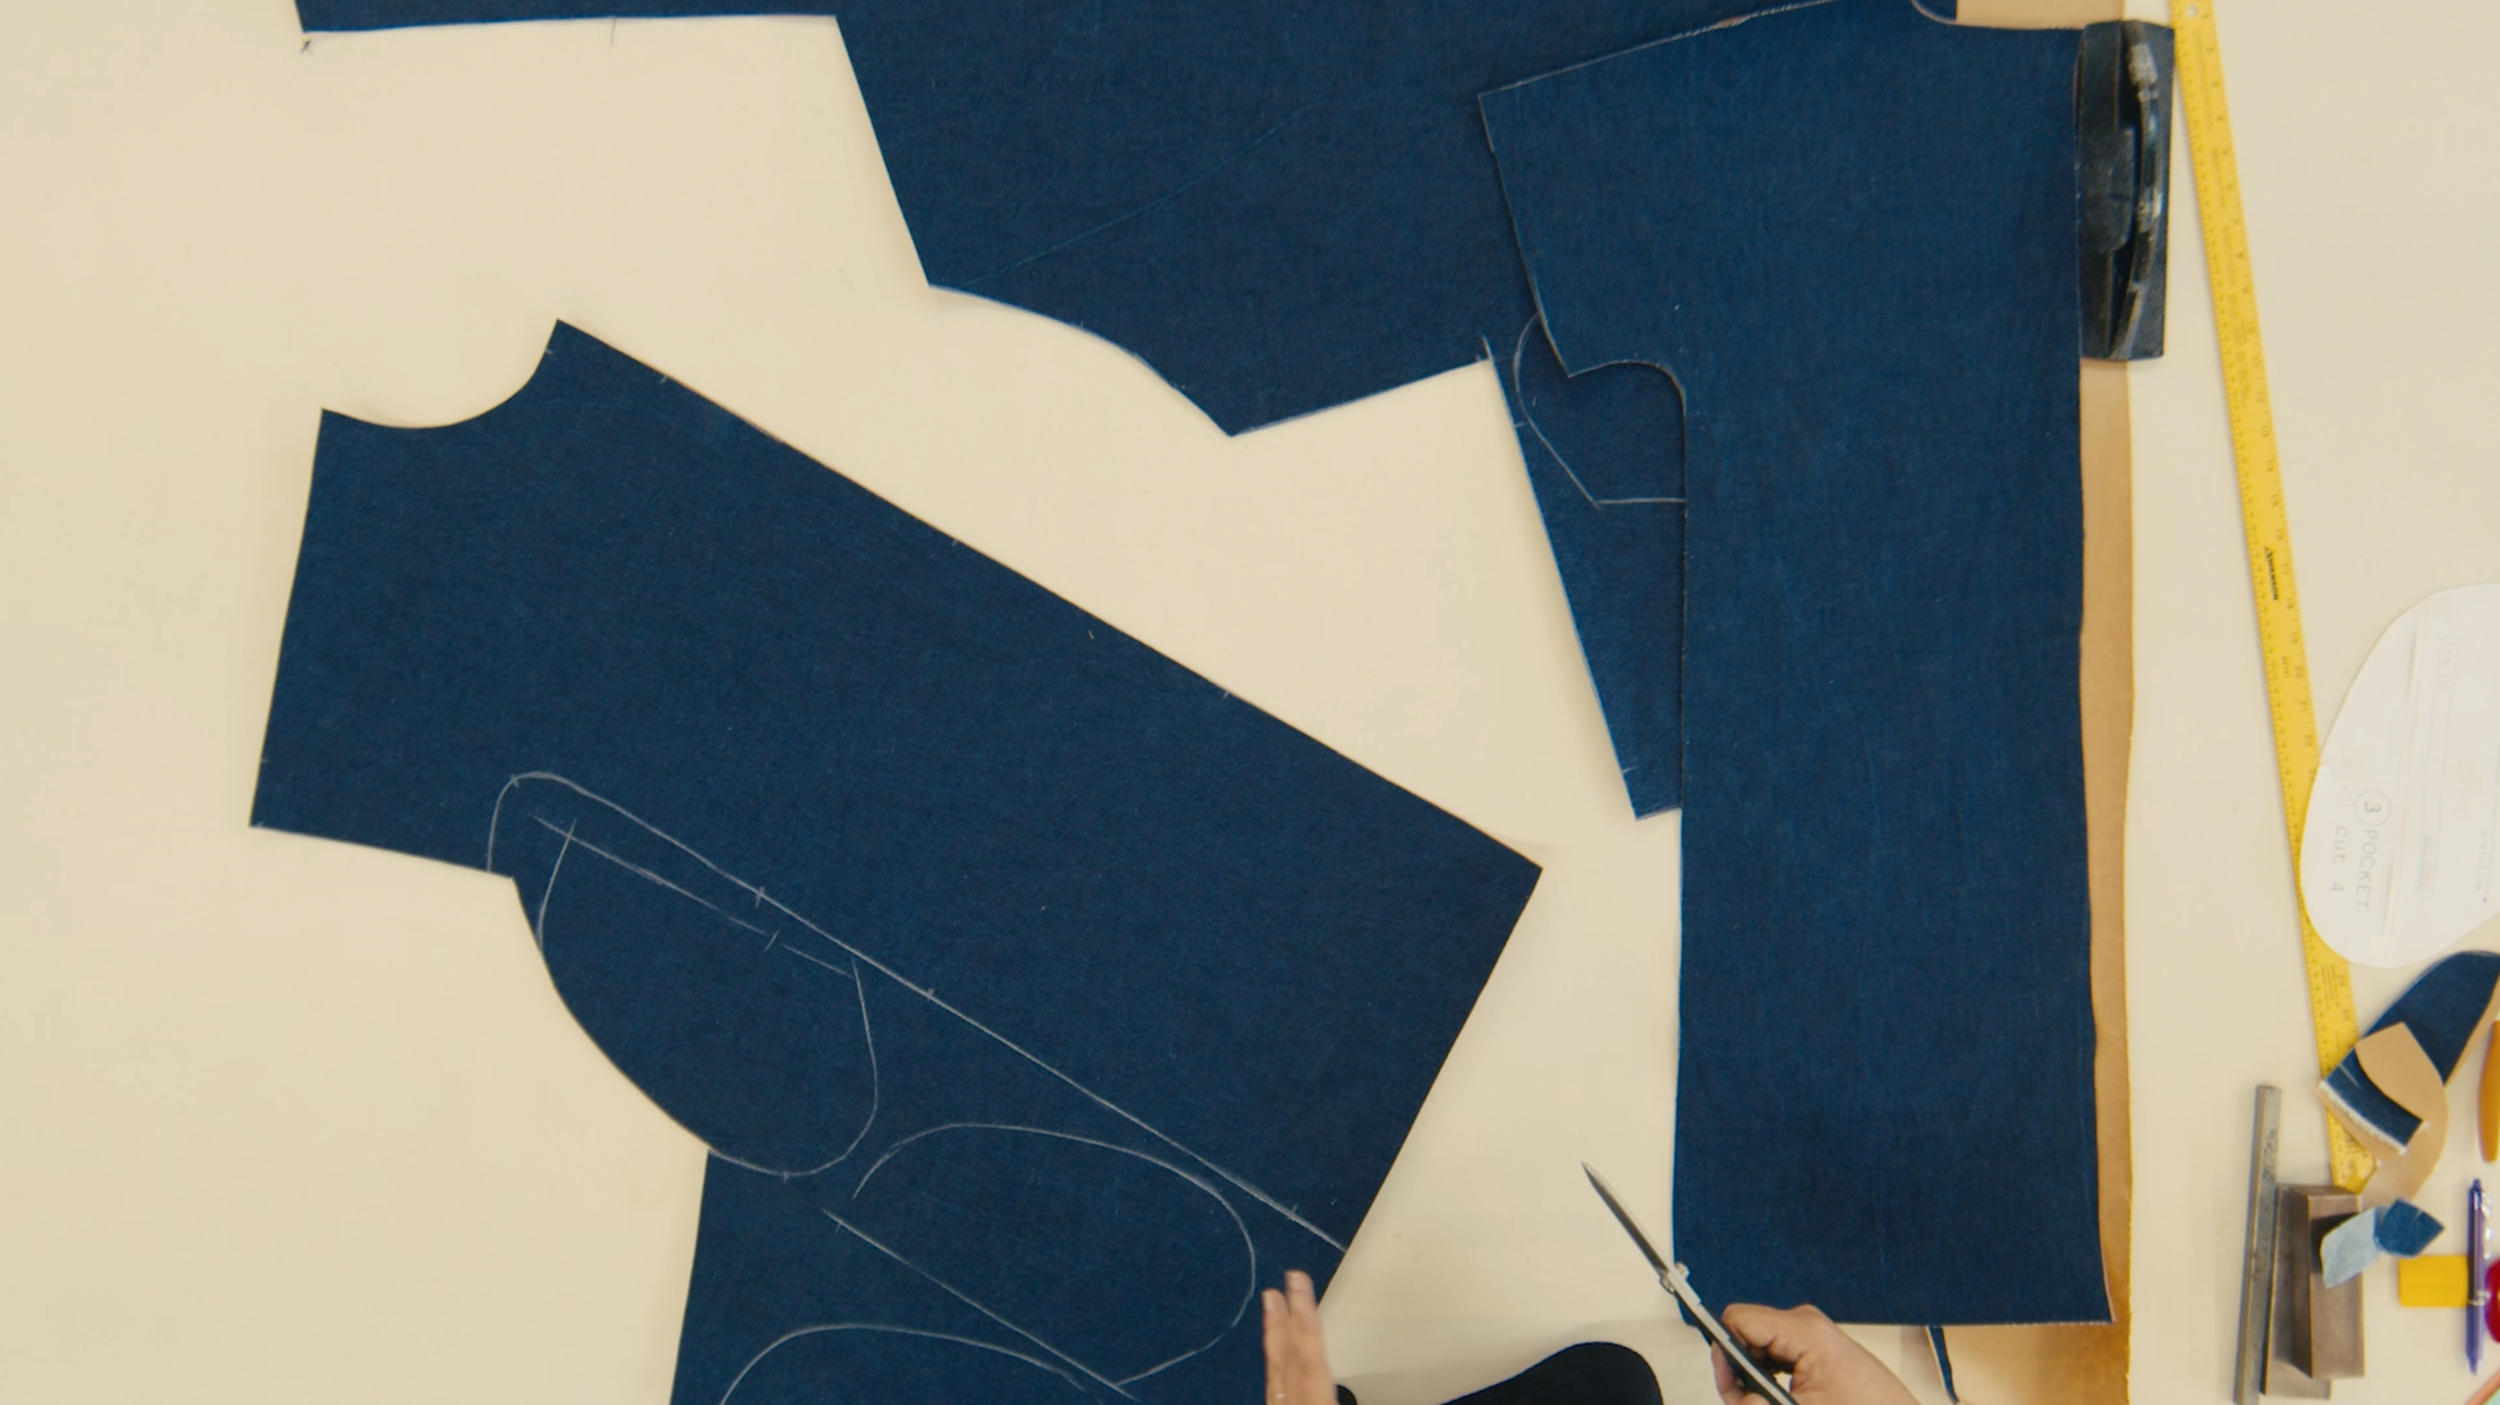
A lot of home sewers may not add a layer of paper under their fabric, but we think it is a step that shouldn’t be skipped. A layer of paper under the fabric gives it some structure during cutting.
Lay out your fabric, on top of the paper layer, right side up. Some home sewers opt to fold their fabric when they’re cutting more than one of the same pattern piece. Instead, we suggest cutting one layer at a time.


Step 3: Line up patterns with the grainline

The grainline is the direction of thread running parallel to selvage. The arrow on the pattern labeled "Grainline" indicates which direction the piece should be orientated. Also known as "straight (of) grain" or "warp direction". These threads typically run the length of a garment, down the body.
With your ruler, measure from the fabric selvage to each end of the grainline. This will ensure the finished garment lays as it should on the body.
Use pattern weights to hold the patten pieces in place while cutting. Pattern weights can be anything! Your cell phone, tuna cans, a pair of scissors, etc….


Step 4: Mark your pattern pieces

Trace around the pattern pieces with anything that will show up and can be washed or steamed out. Some options are tailor’s chalk, wax, steam out pens, or tracing paper & tracing wheel.


Step 5: Cut out your pieces

Cut through fabric and paper layers, on the inside of the lines you made while tracing your pattern pieces. This will assure accuracy.

The paper layer under the fabric allows you to slide it around easily during cutting.


Step 6: Clip notches

After all your pattern pieces are cut, clip the notches where indicated on the pattern. Be sure not to clip past where the seam line would be.

Now bundle up your pieces and all the notions you will need for sewing!

 
Previous
Previous

Sewing 101: Learn How to Measure Your Body for Sewing