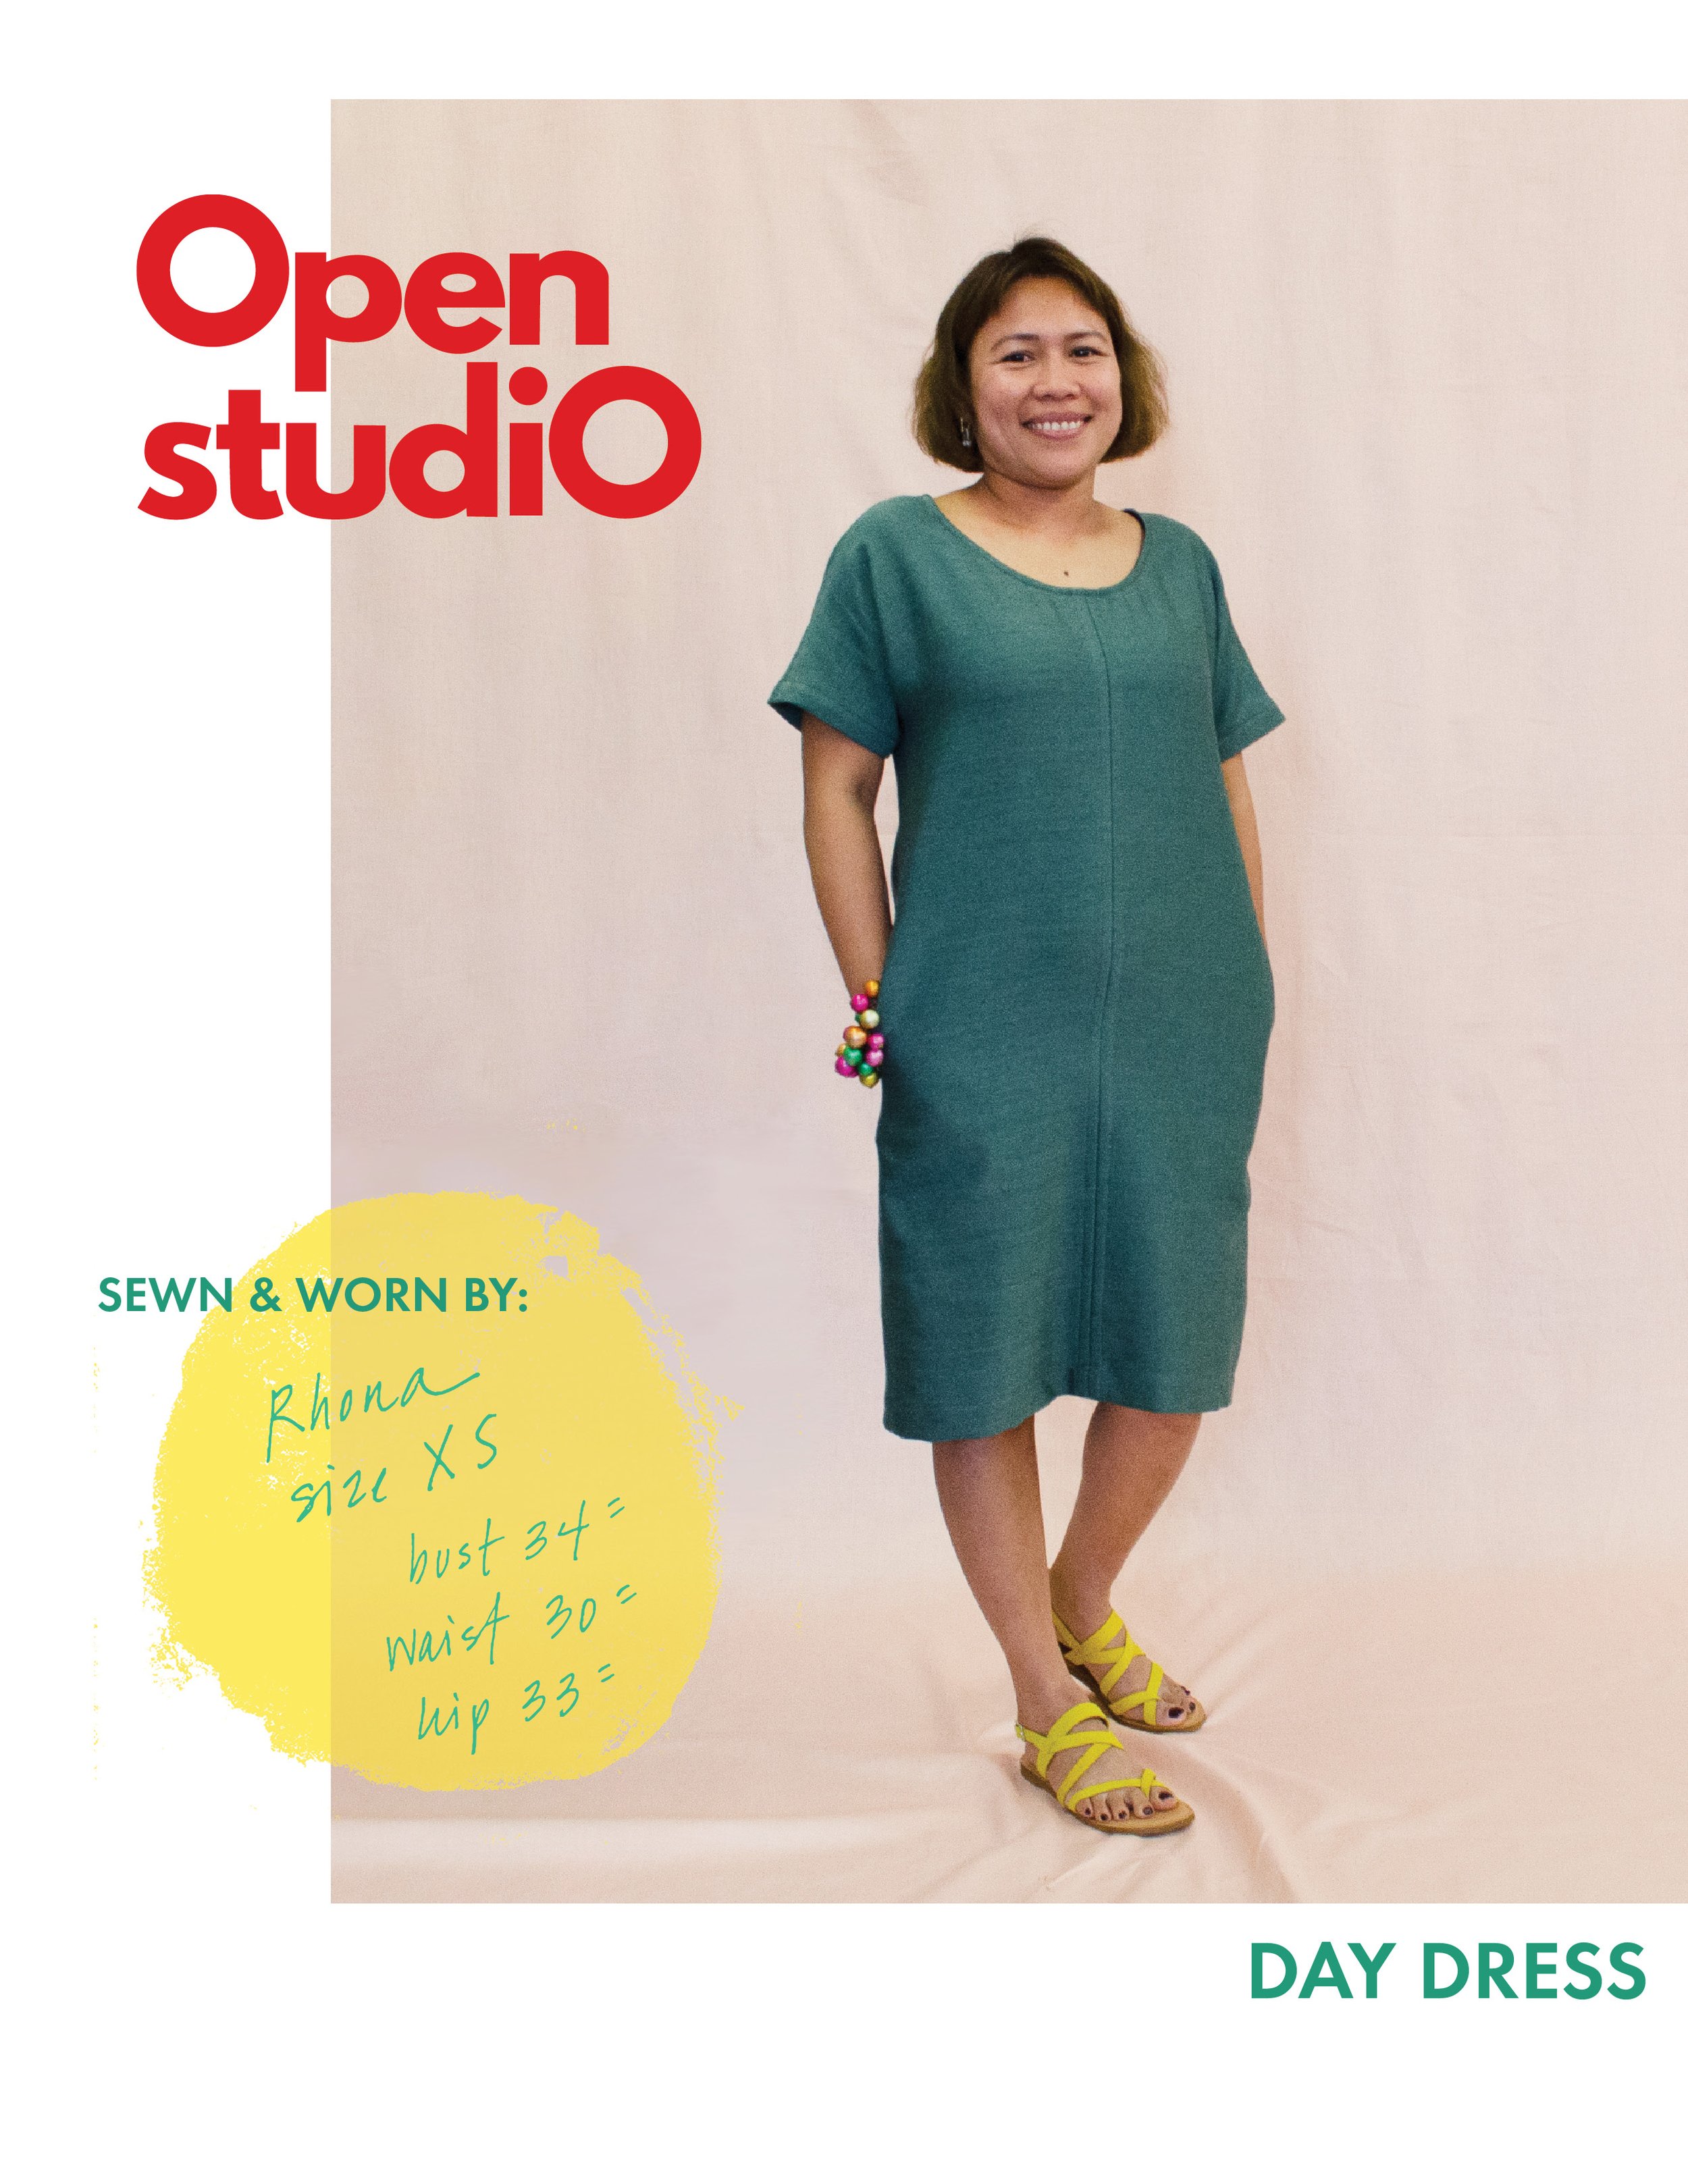
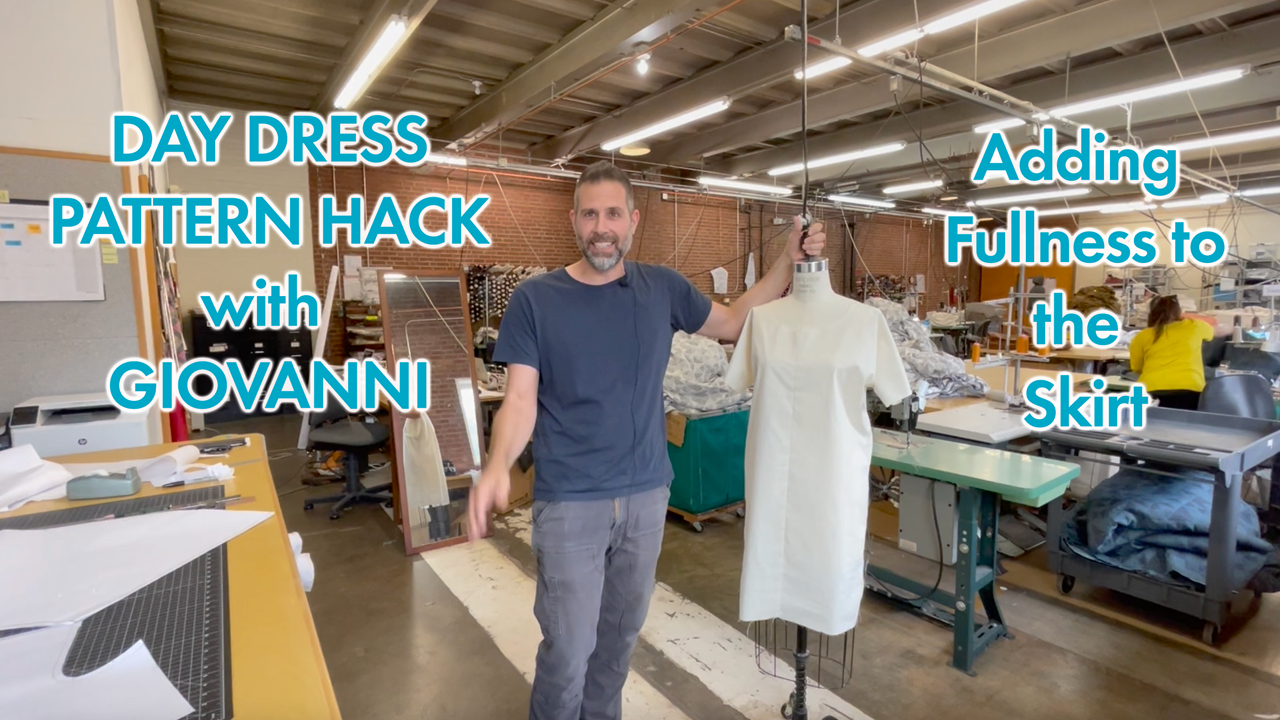
Day Dress Pattern Hack: Adding fullness
The Day Dress was our first digital indie sewing pattern and one of our most popular patterns. It's a simple sew and the silhouette is one you can wear all year long. It's a great beginner sewing pattern to add to your modern capsule wardrobe. There is almost certainly multiple woven fabrics in your stash waiting to be sewn into a Day Dress.

You should be able to get the most out of your indie sewing patterns, which is why we're offering up this pattern hack. Not only is it an opportunity to take your sewing patterns to the next level, but it's also a chance to learn some pattern-making skills. If you thought learning to sew and make your own clothes was empowering, just imagine how it will feel to challenge yourself with manipulating patterns.
Slashing and spreading is the main technique taught in the video tutorial and images below. It's a regularly applied pattern making technique in clothing design. The slash and spread method allows you to manipulate darts or add fullness to sewing patterns. It works best with woven fabrics but can also be done with knit fabrics in some cases. Follow along with our pattern maker Giovanni and learn how to REALLY make your own clothes.
Manipulating Indie Sewing Patterns: Adding fullness to the Day Dress
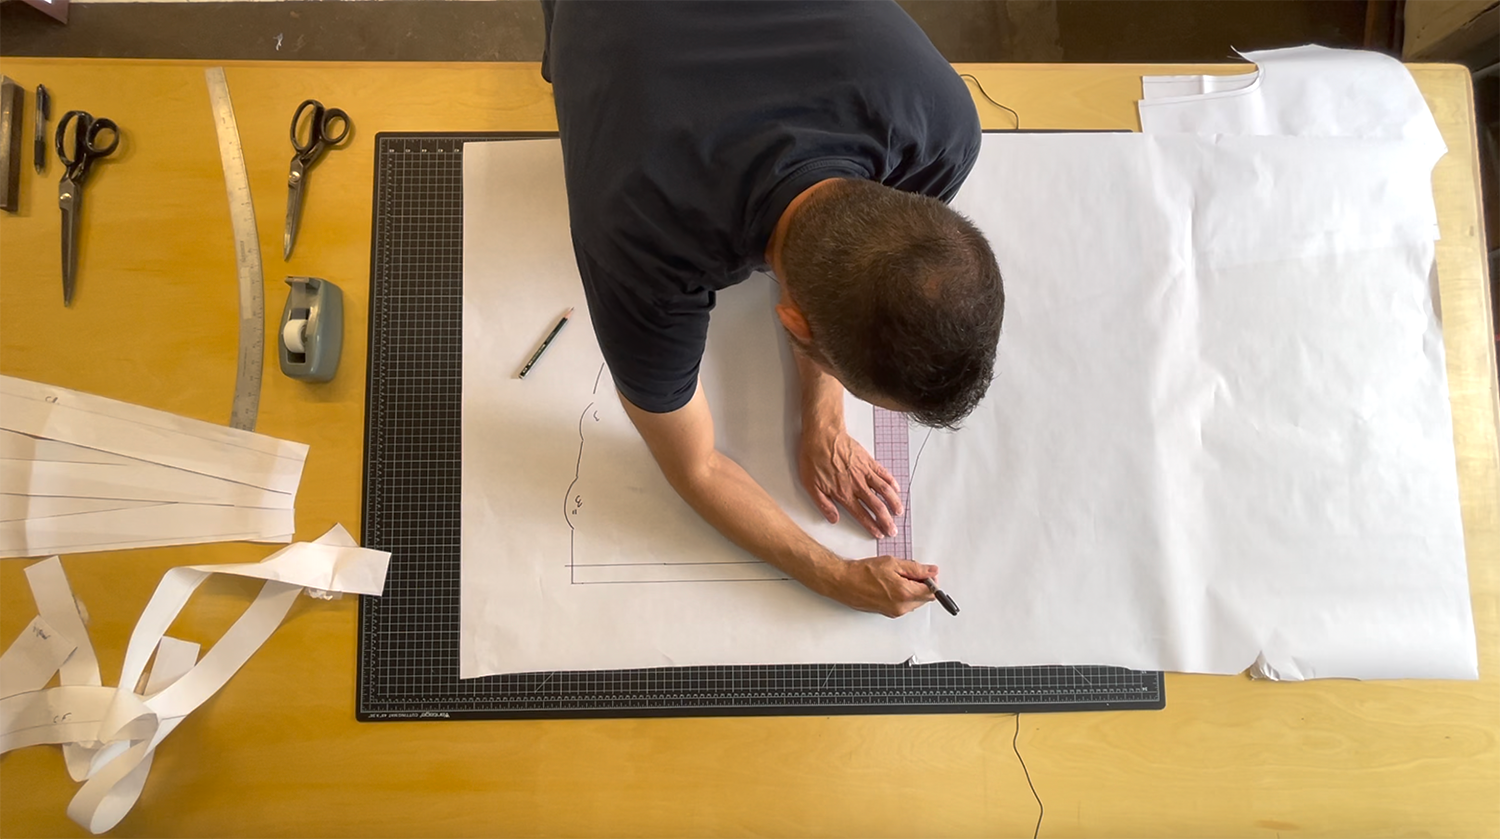
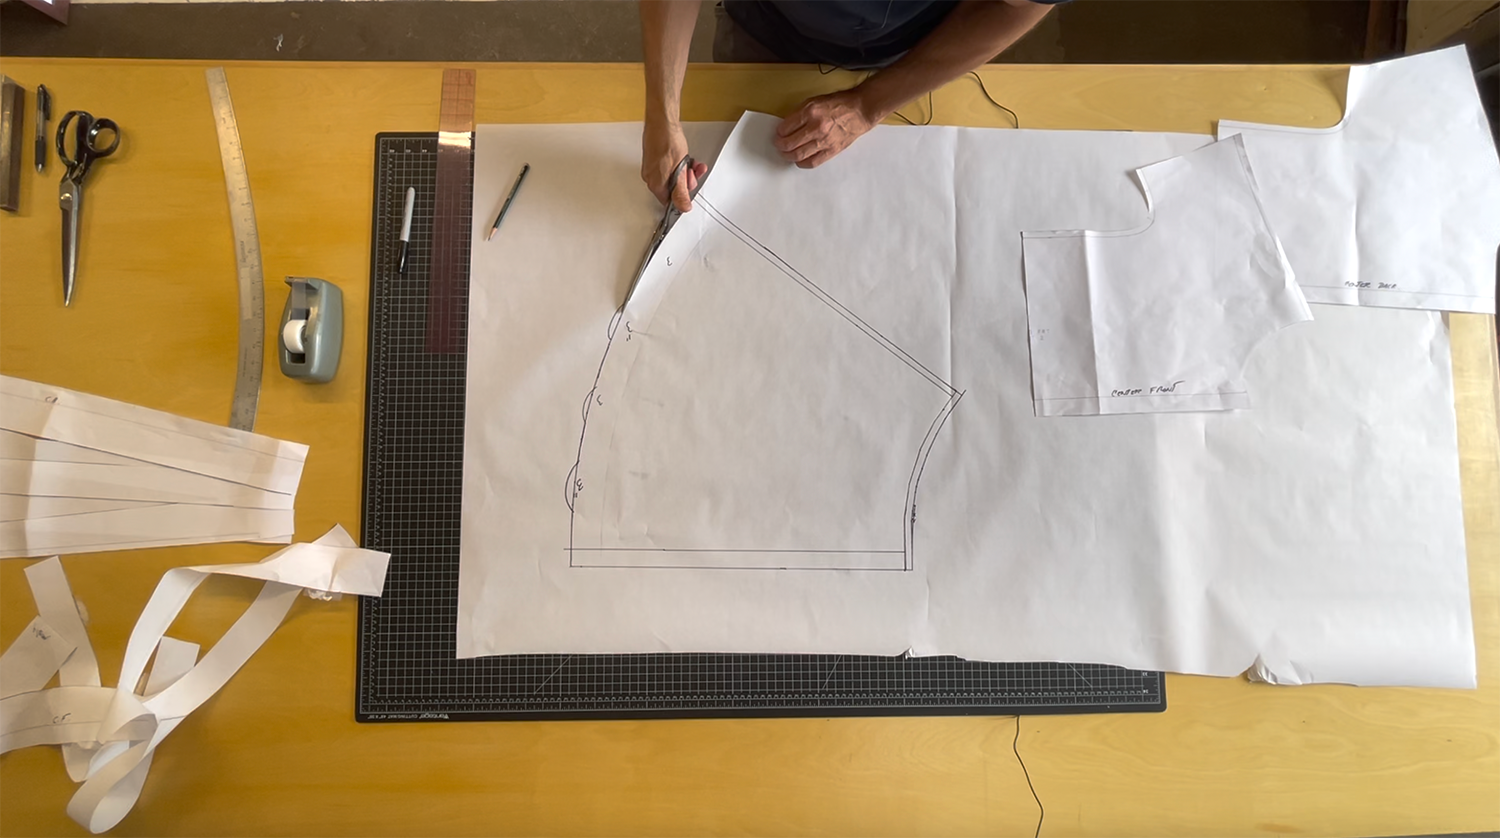
Step 1:

Trace the original pattern onto new paper
Step 2:
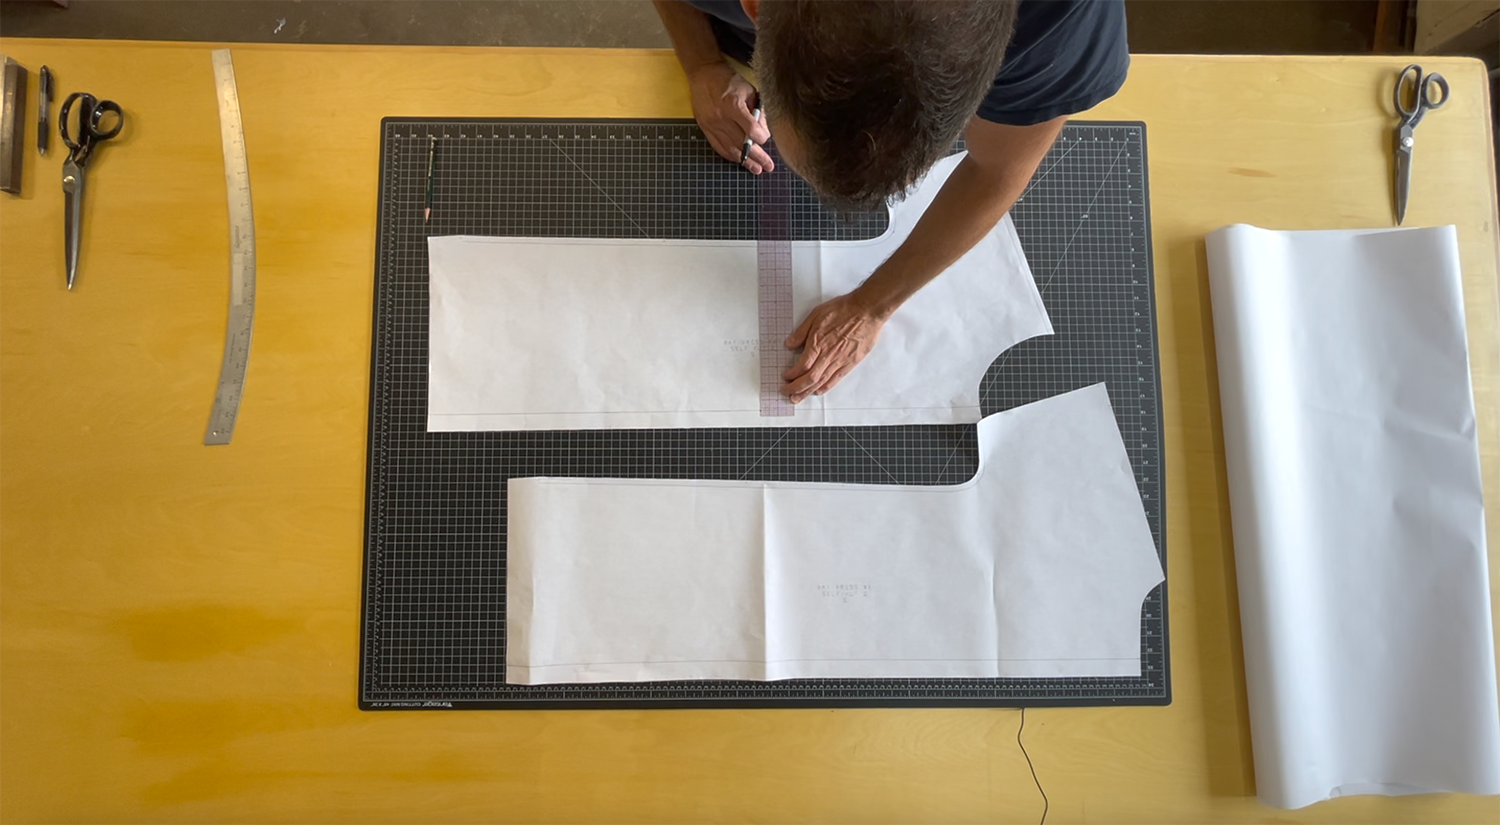
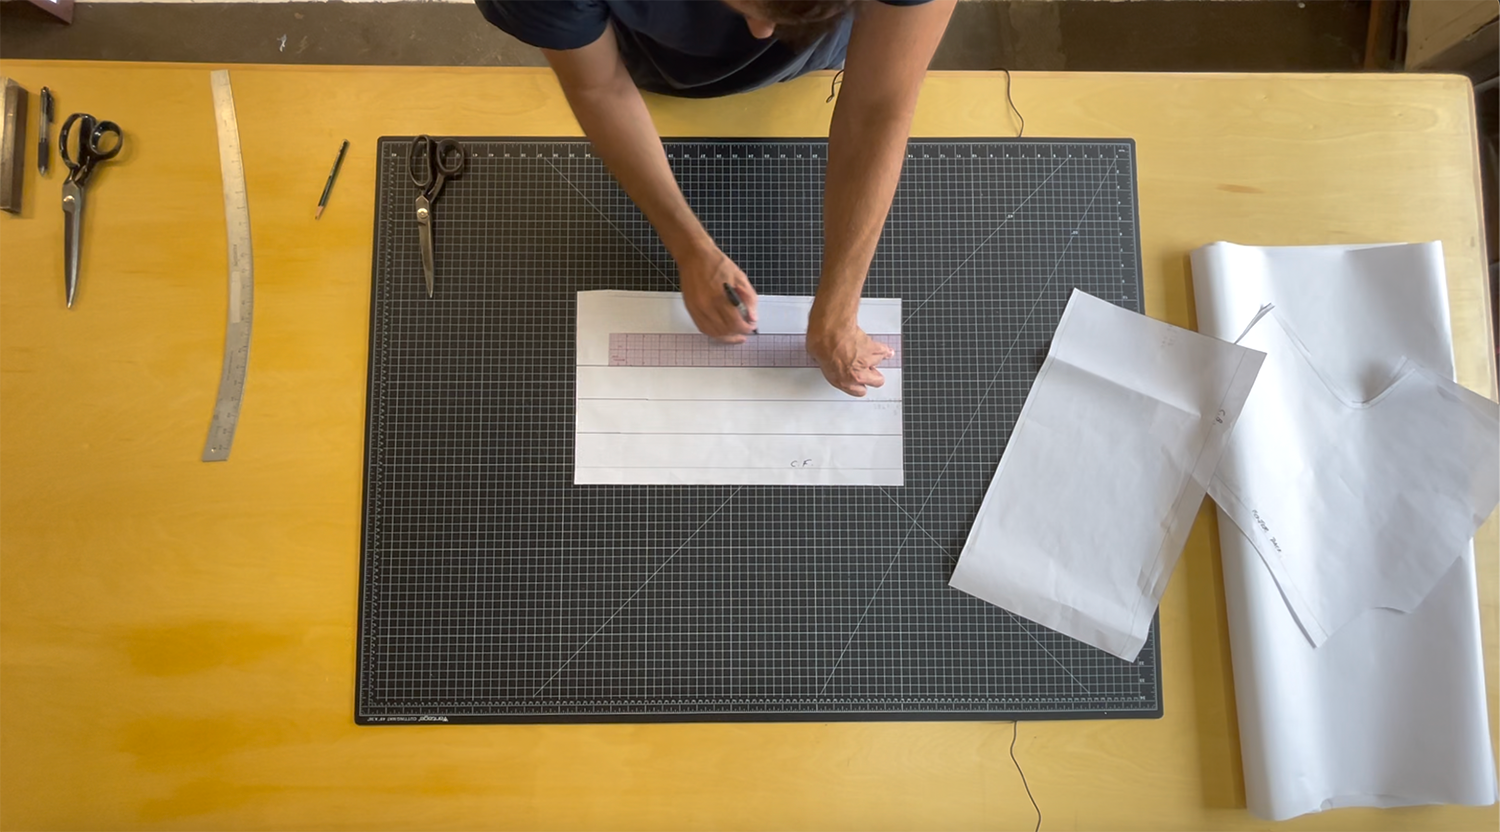
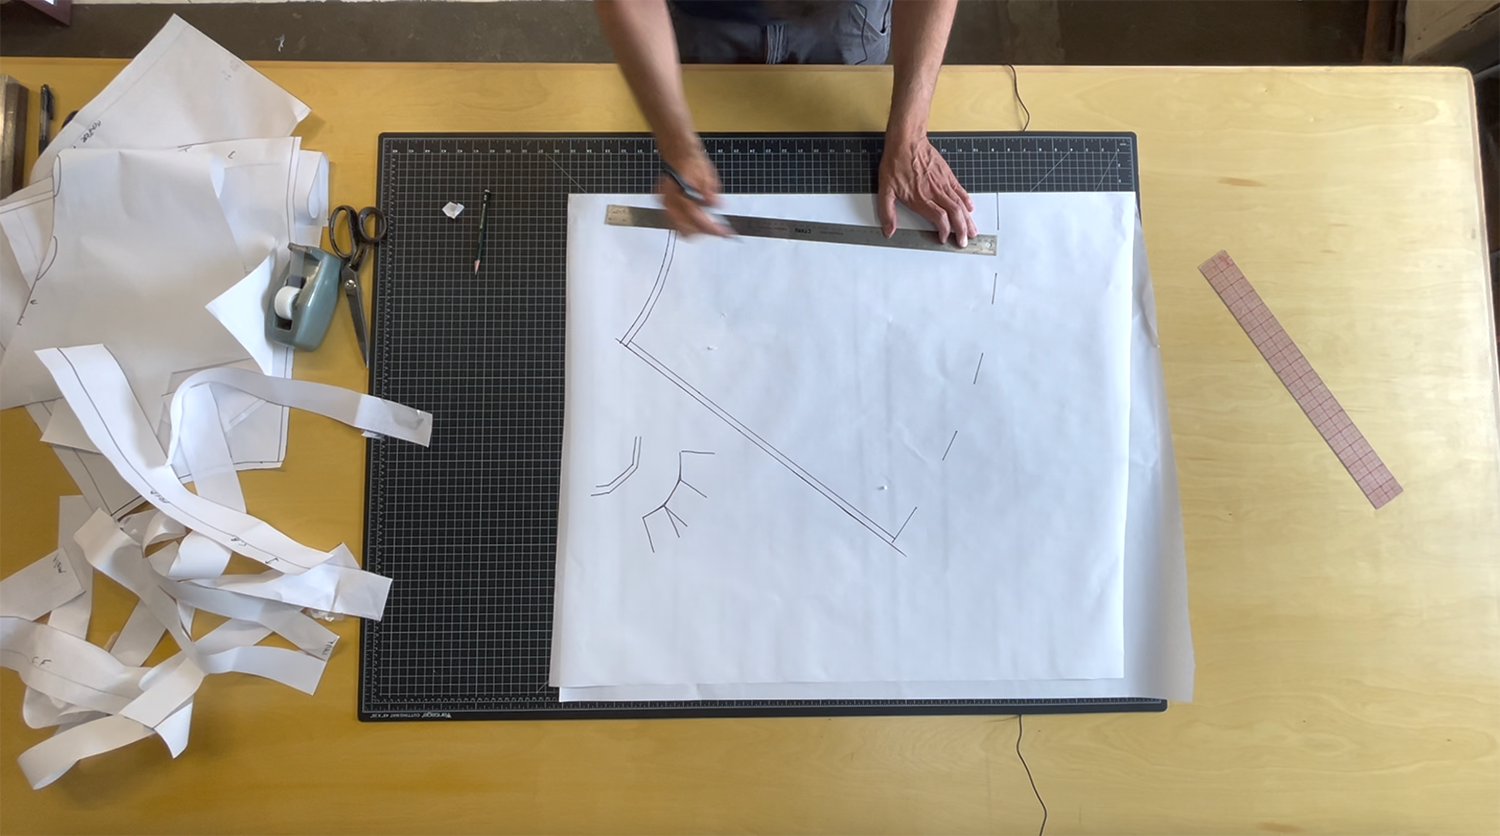
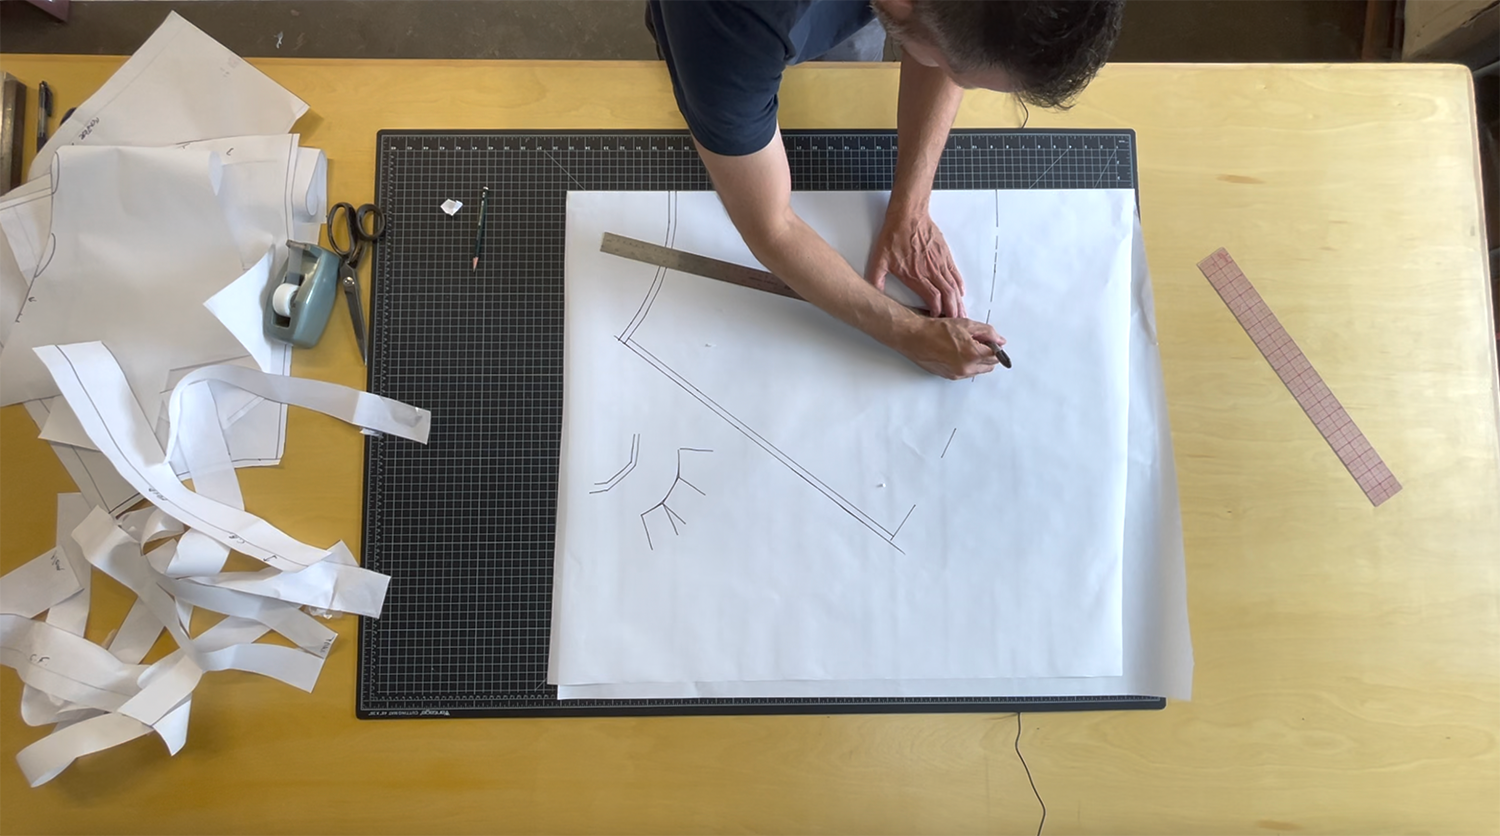
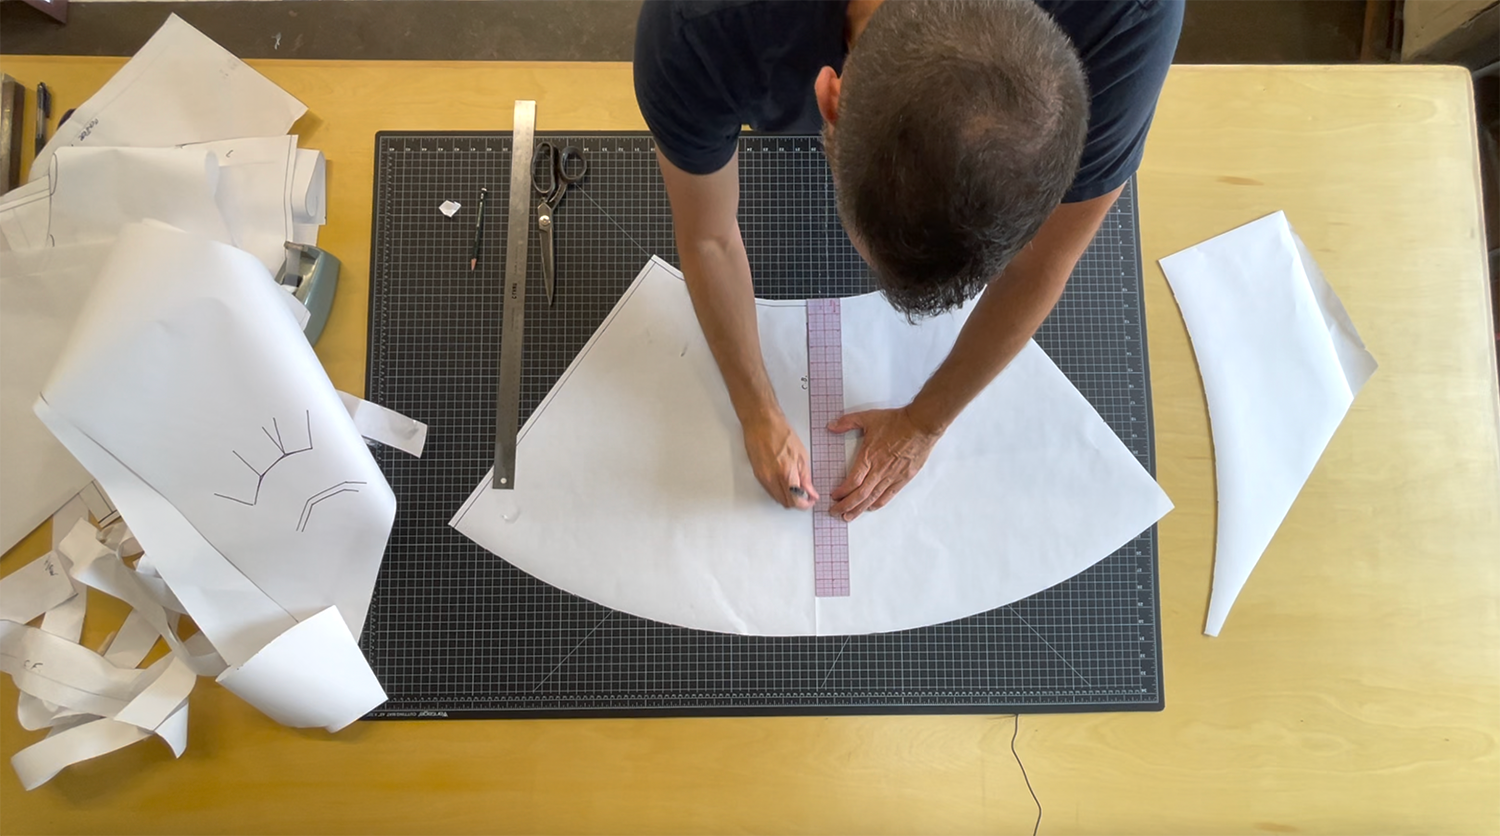
Determine where you would like the waistline to be and measure that distance from the neck, down the bodice. Giovanni chose 13".
Mark 13" from neckline along center front bodice.
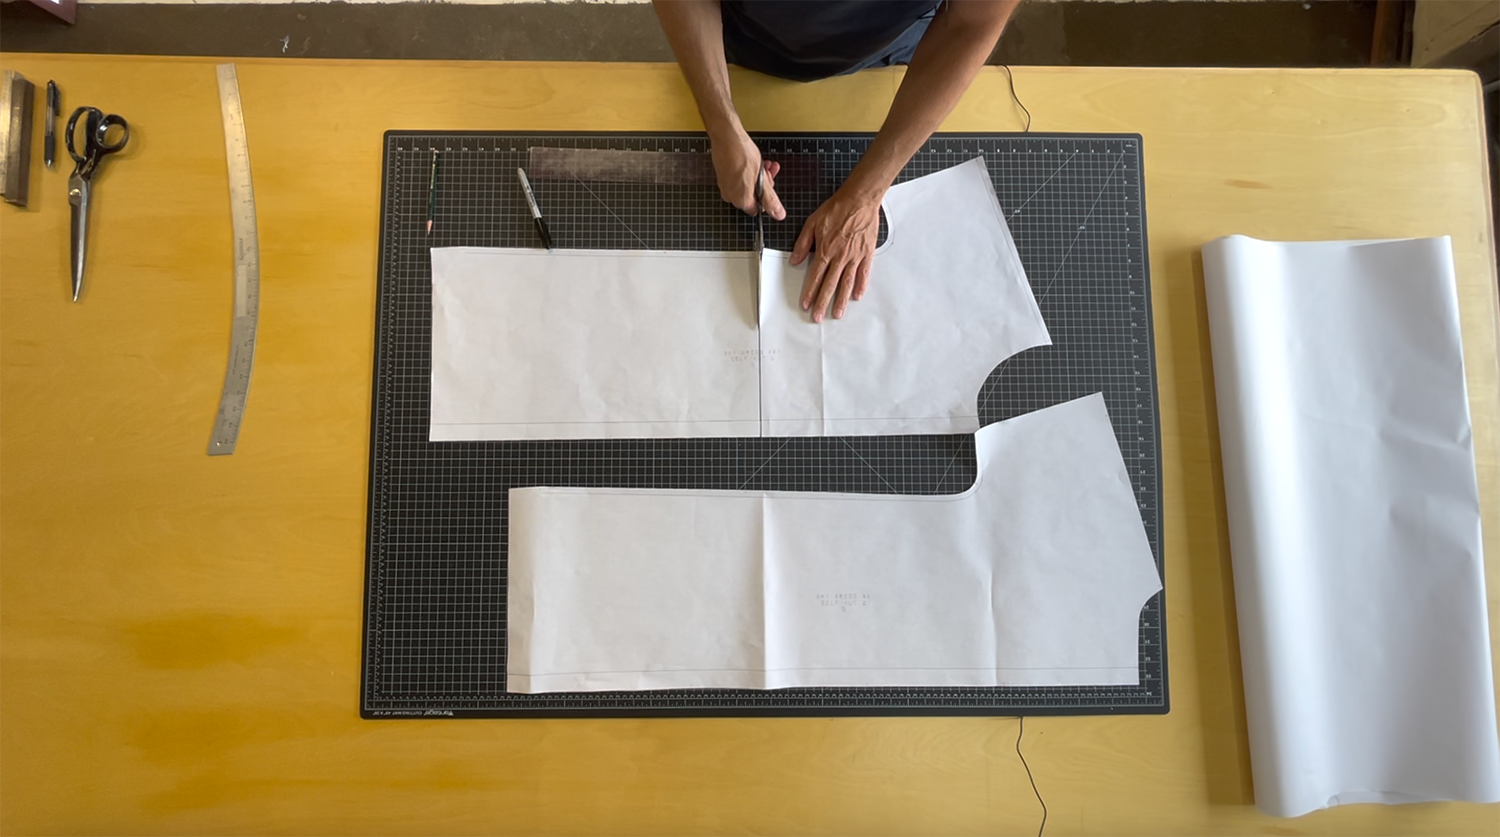
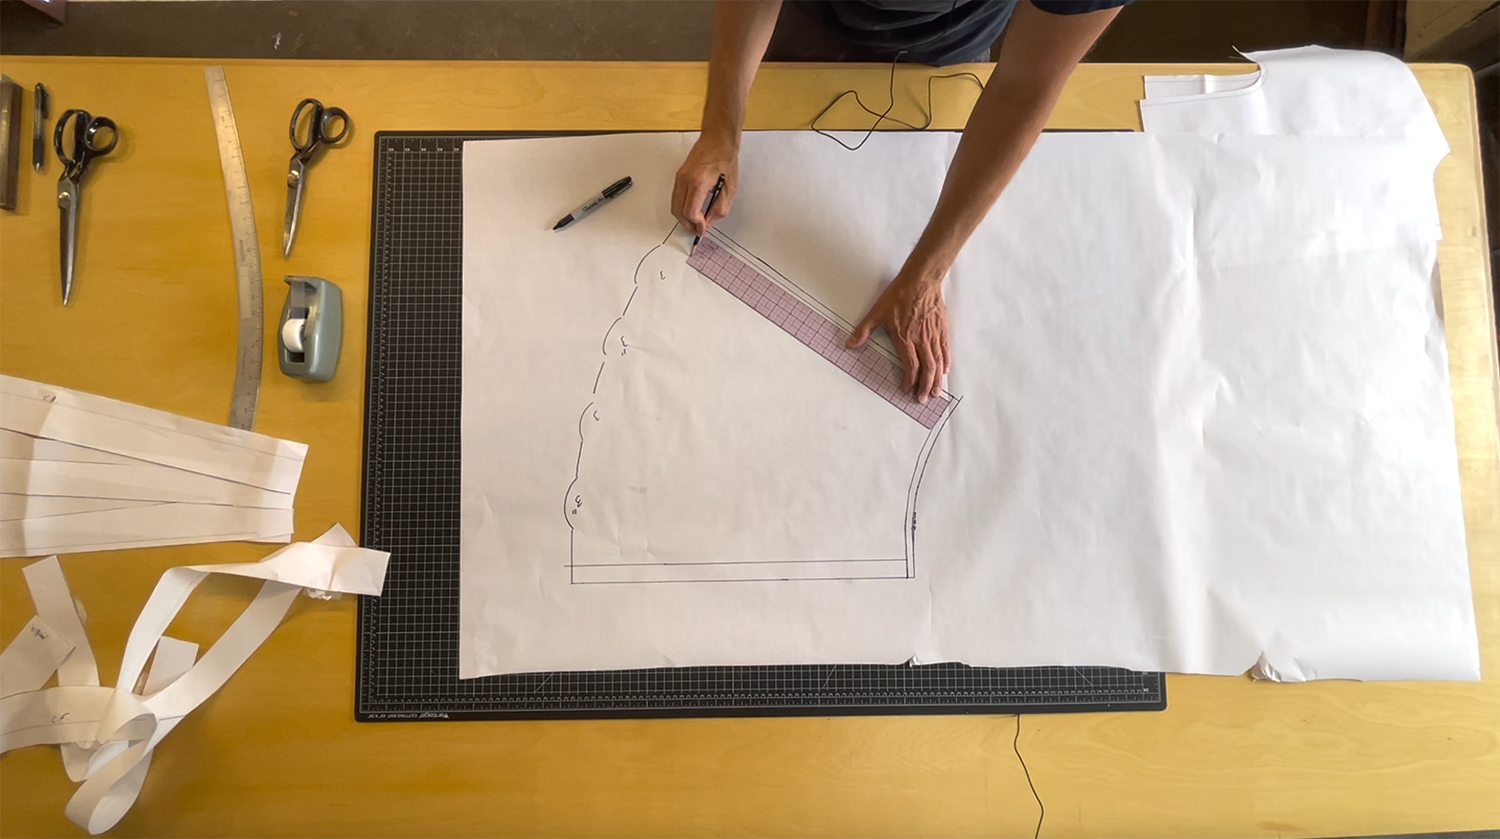
Square off the ruler at the center front and draw a horizontal line for the waistline. Use a t-square if you have one.
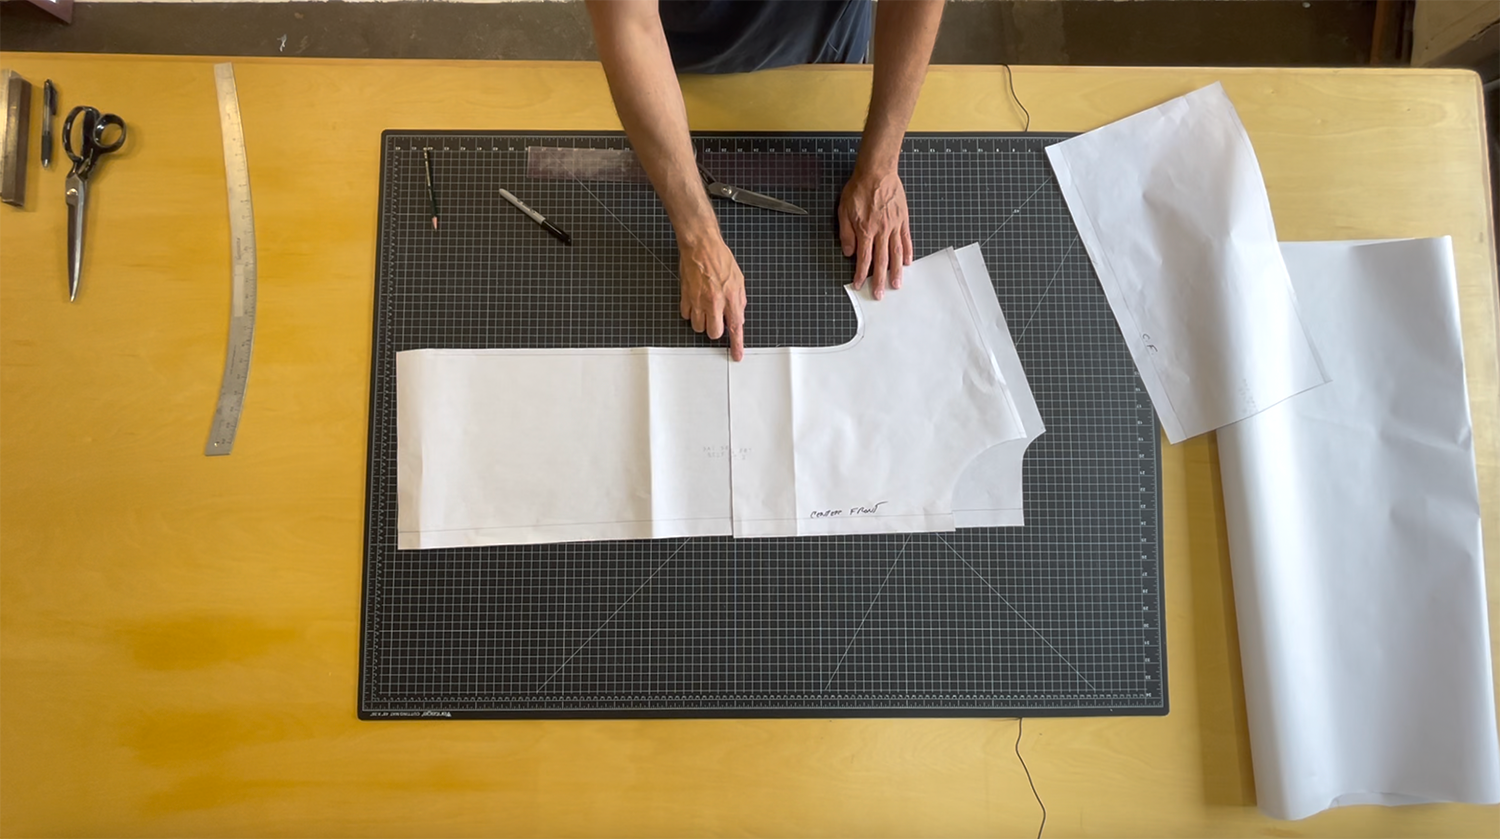
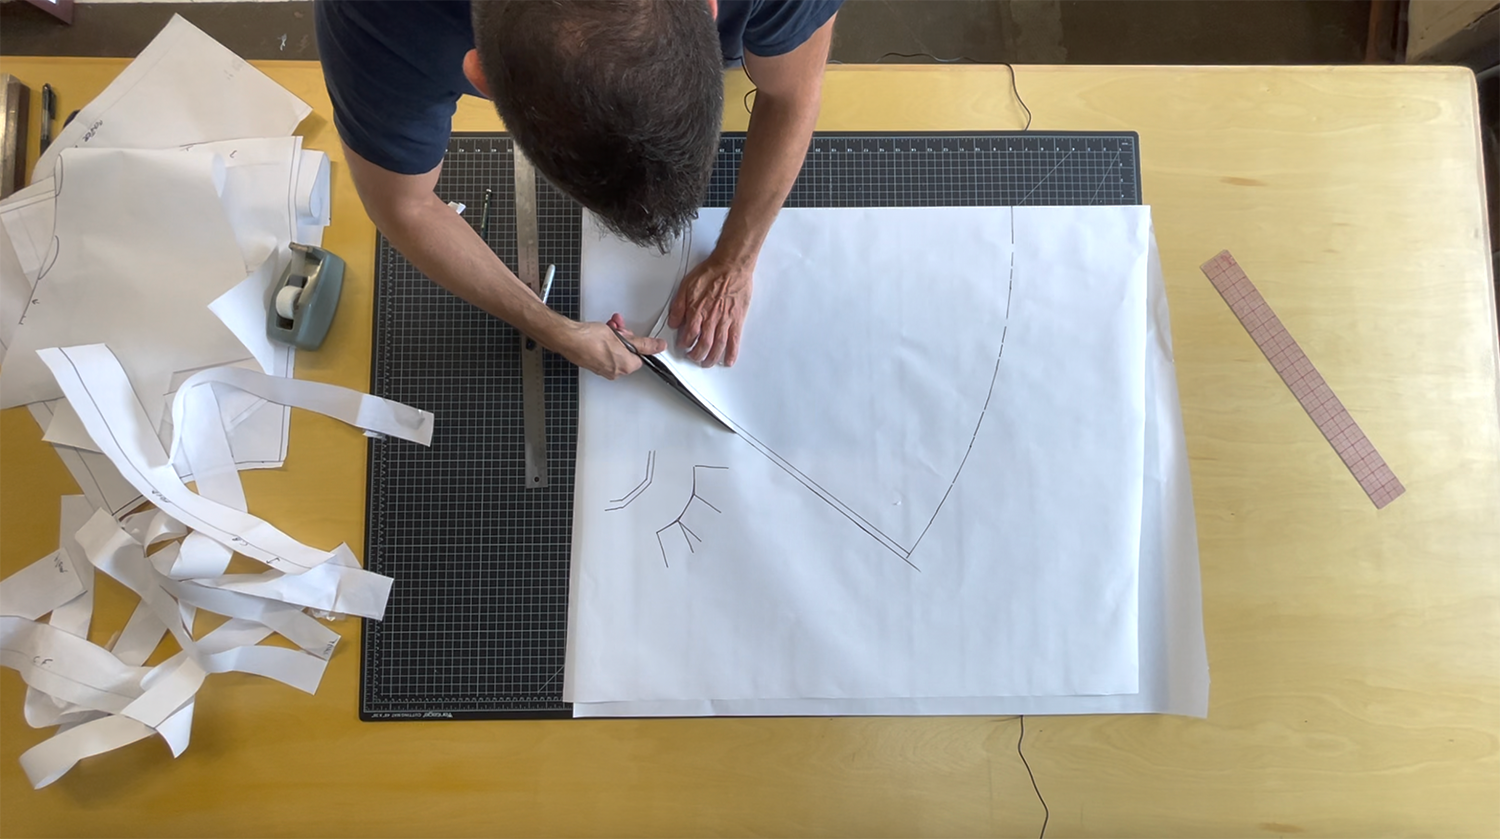
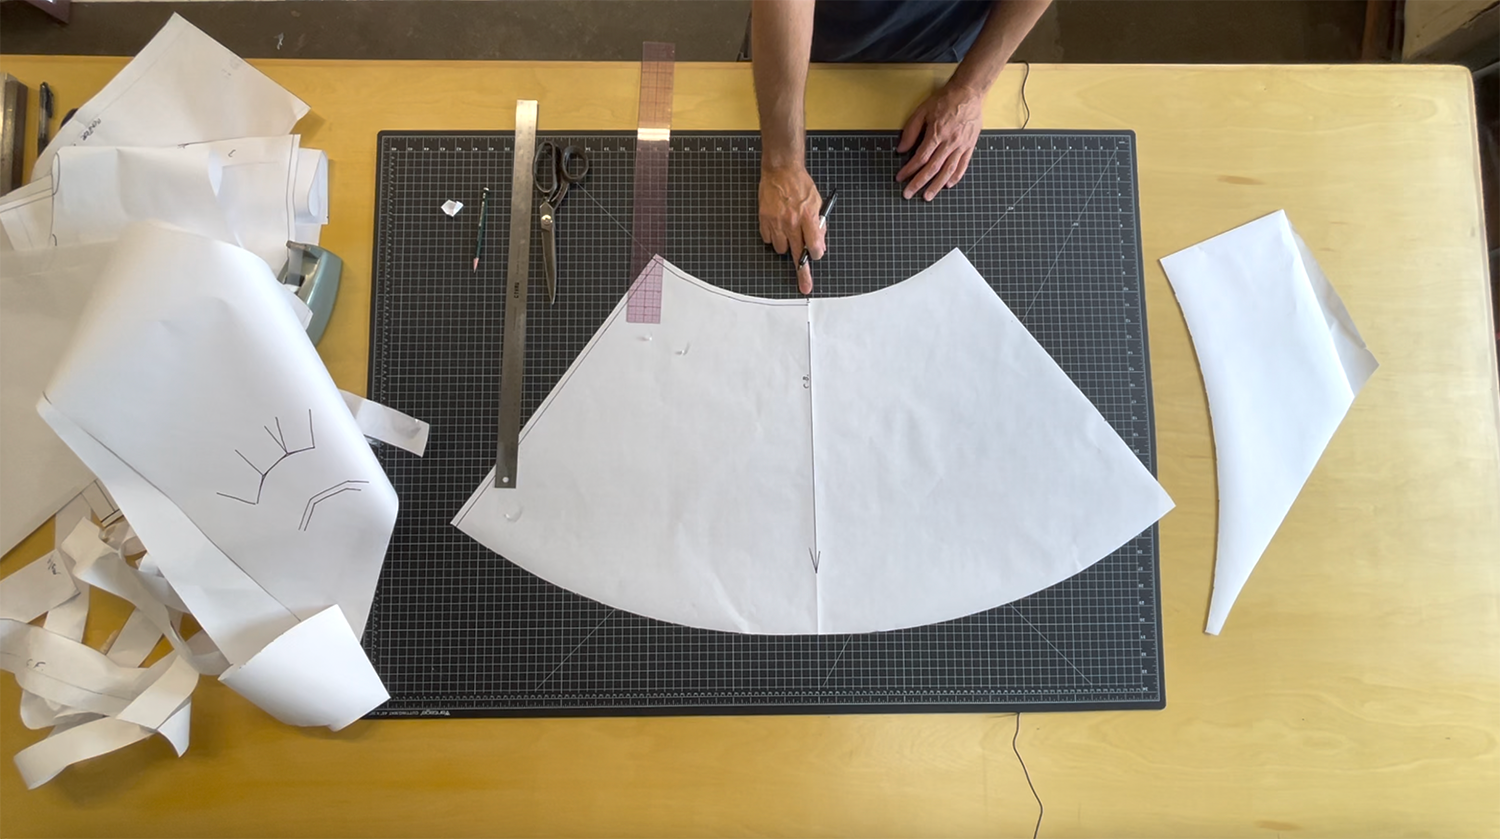
Cut along the new waistline.
Now you have a front bodice and a front skirt.
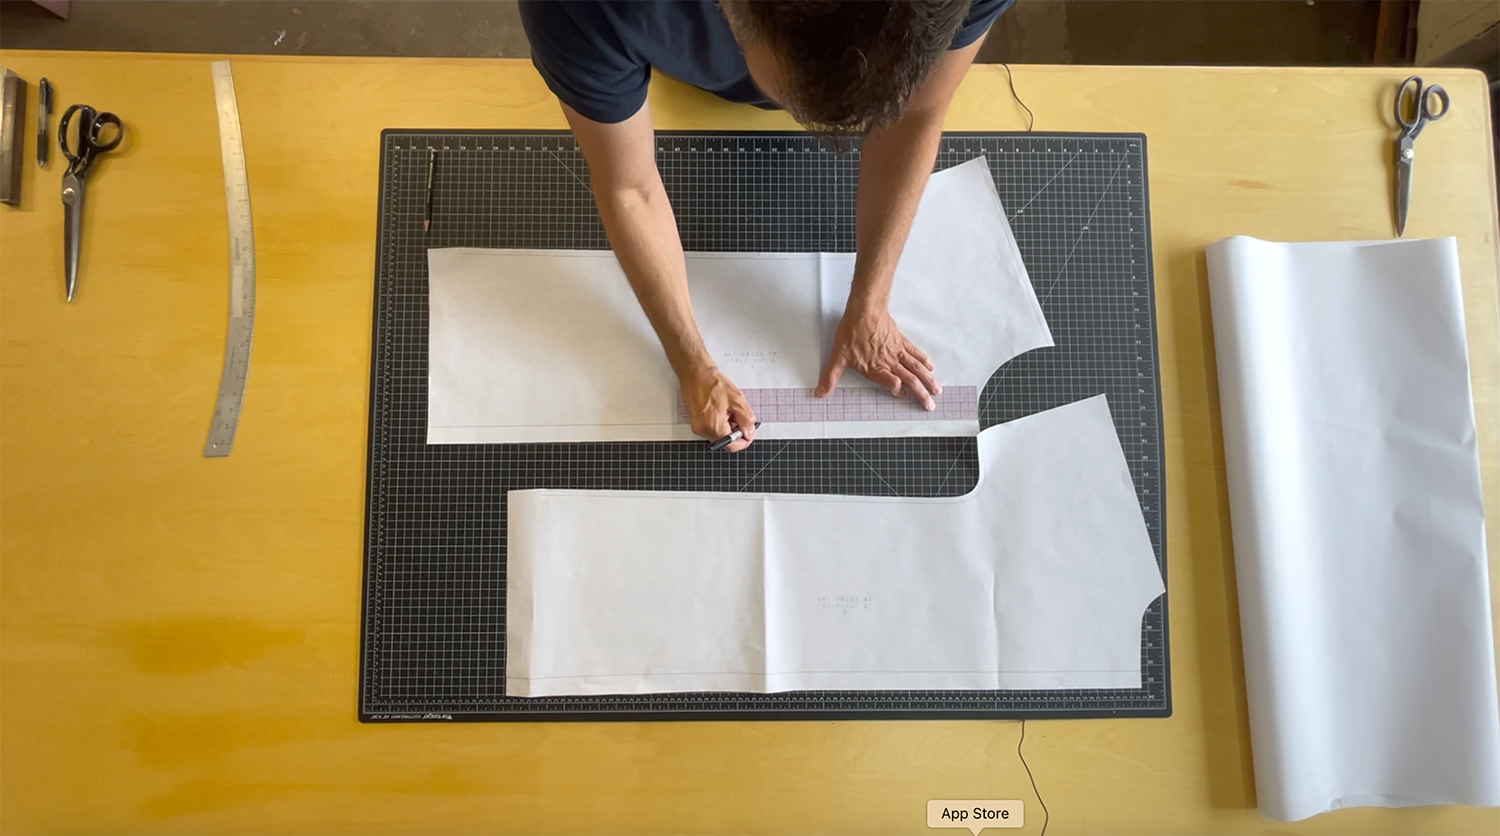
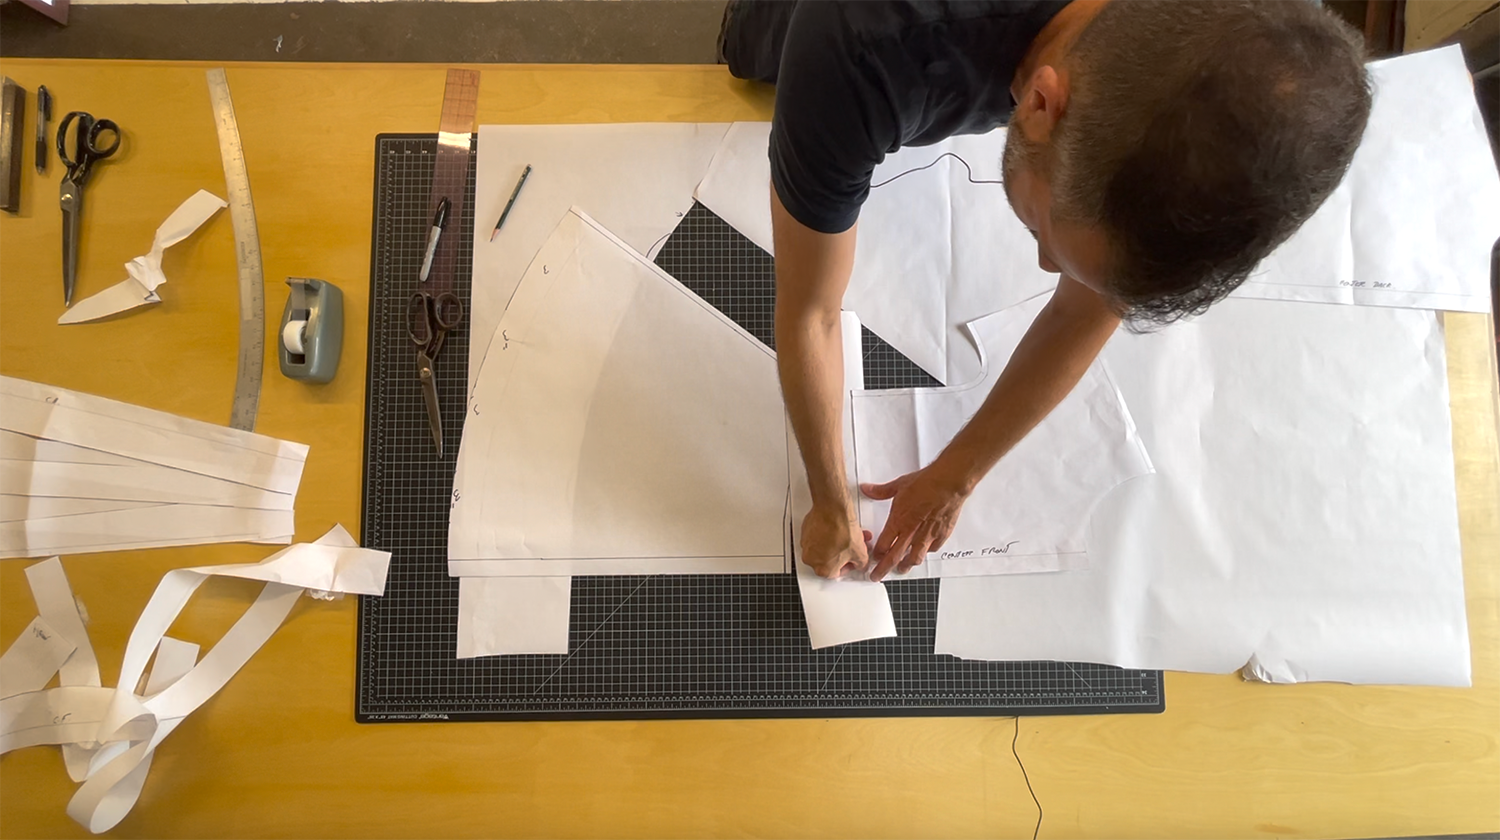
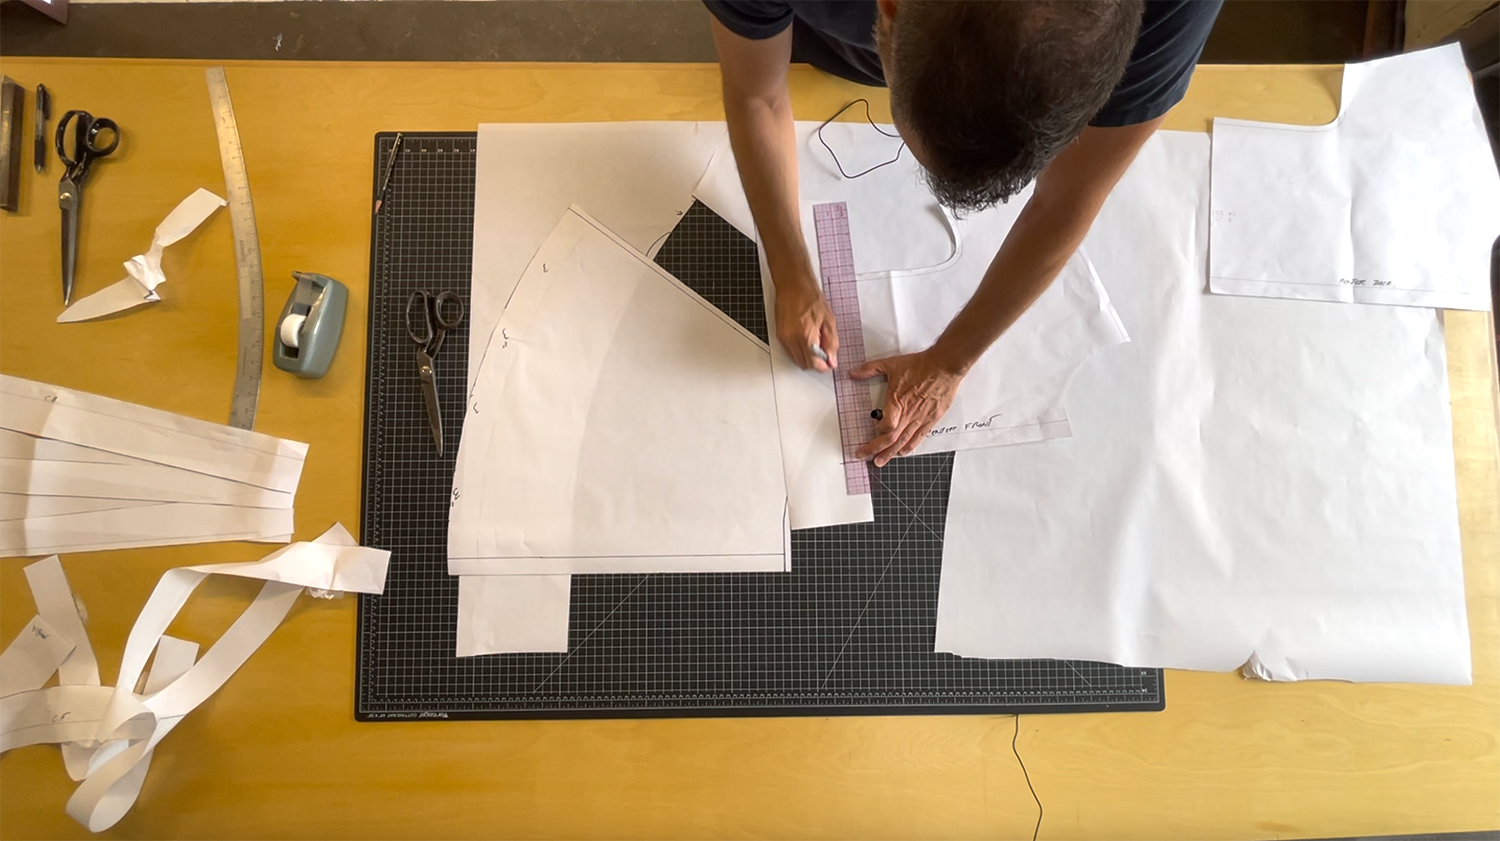
Step 3:

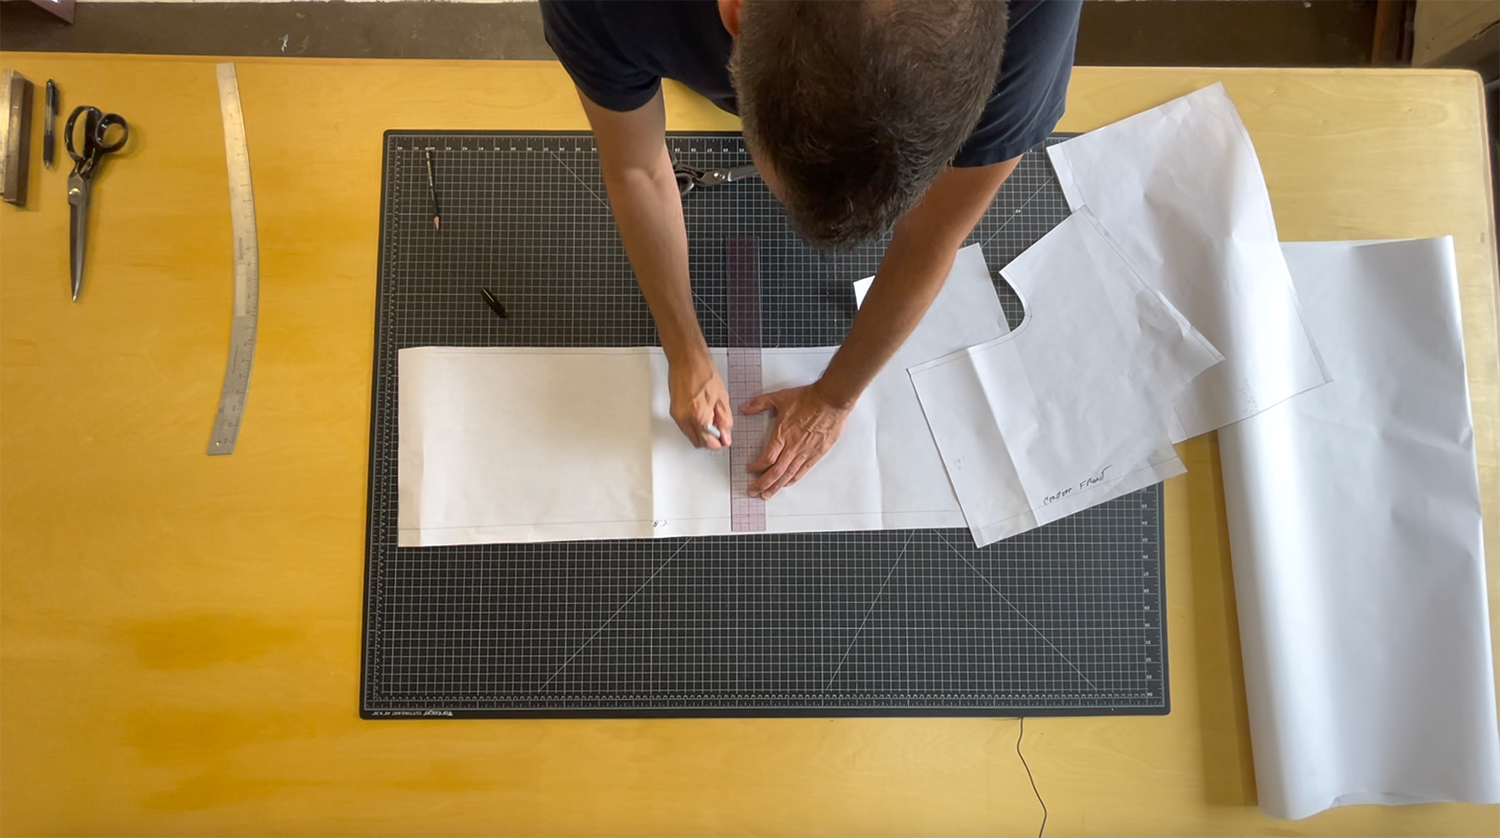

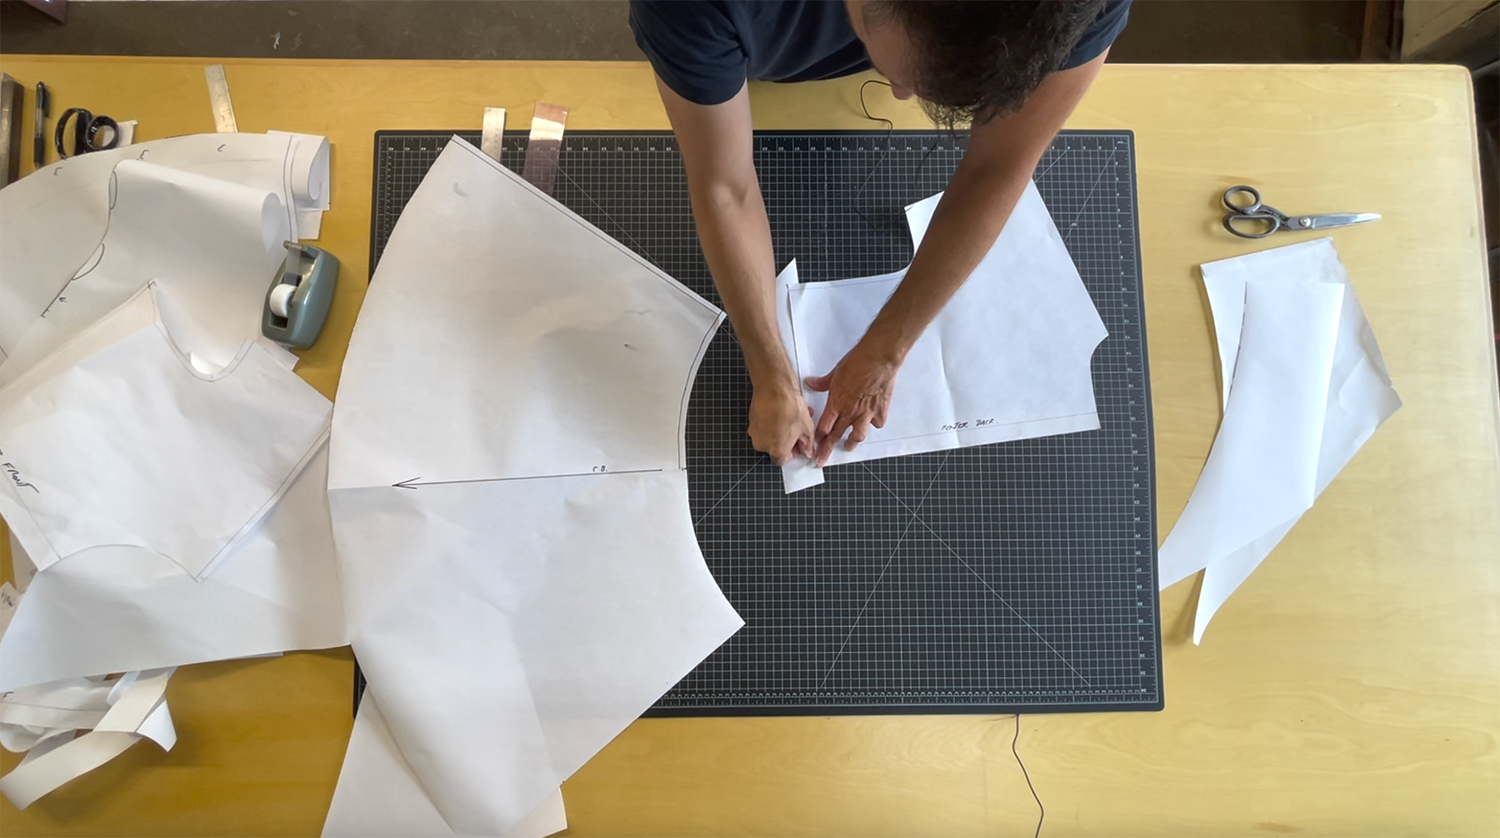
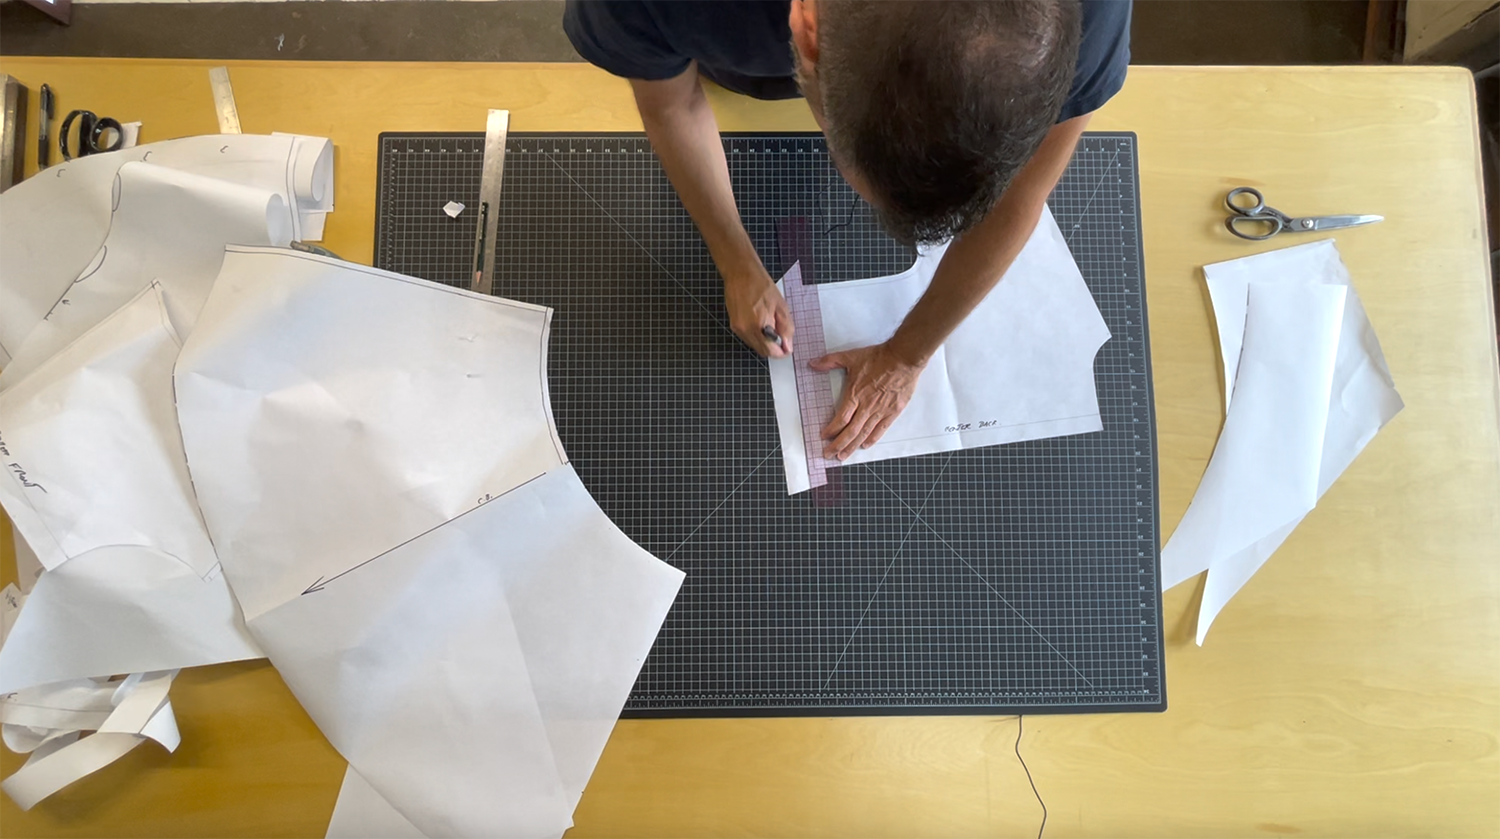
Match up the front bodice with the back dress at the side seam.
Use the front bodice waistline to mark a horizontal line on the back dress.
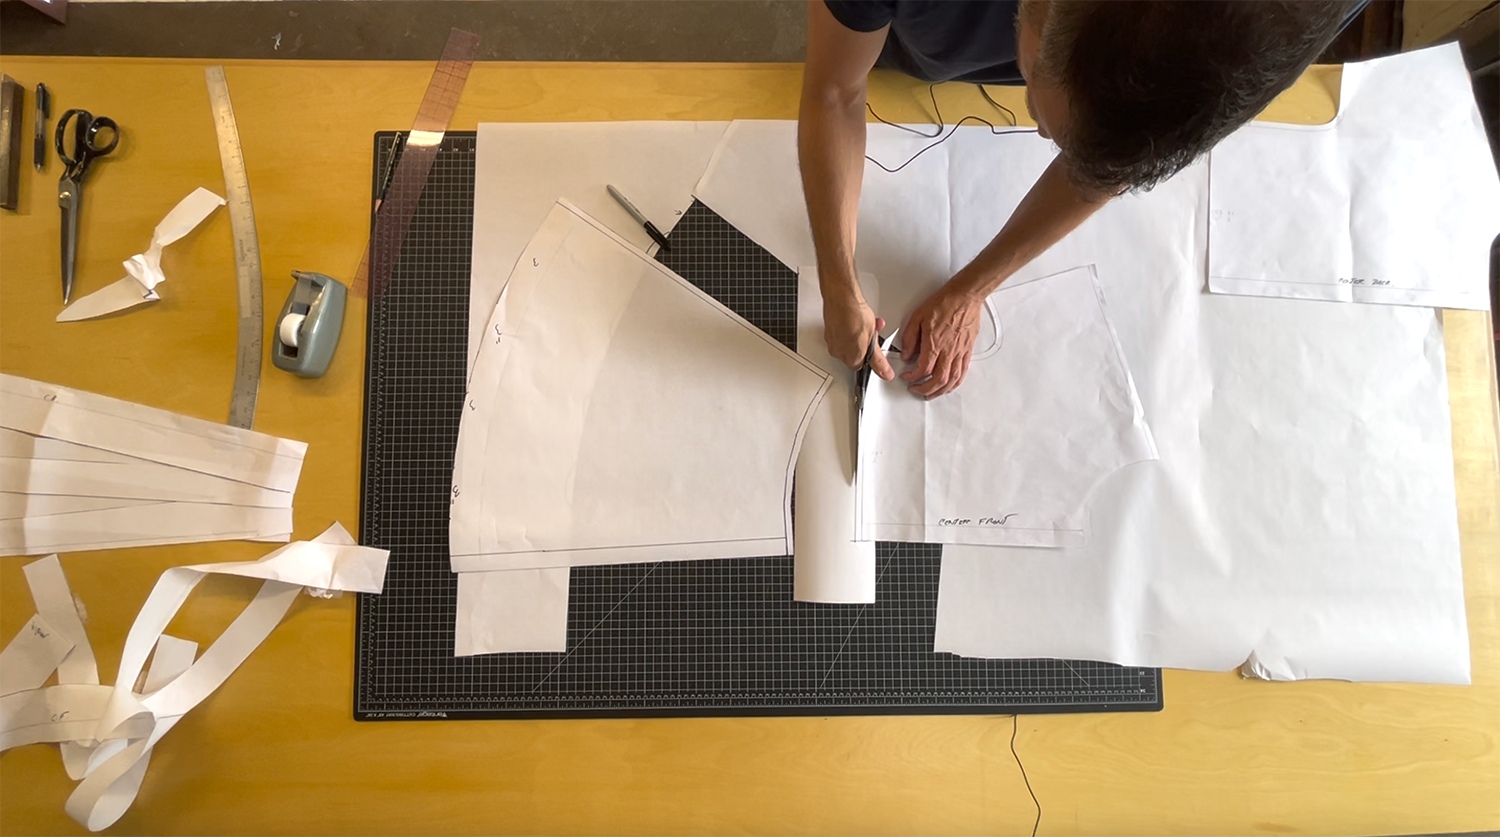
Cut along new waistline. Now you have a back bodice and a back skirt.
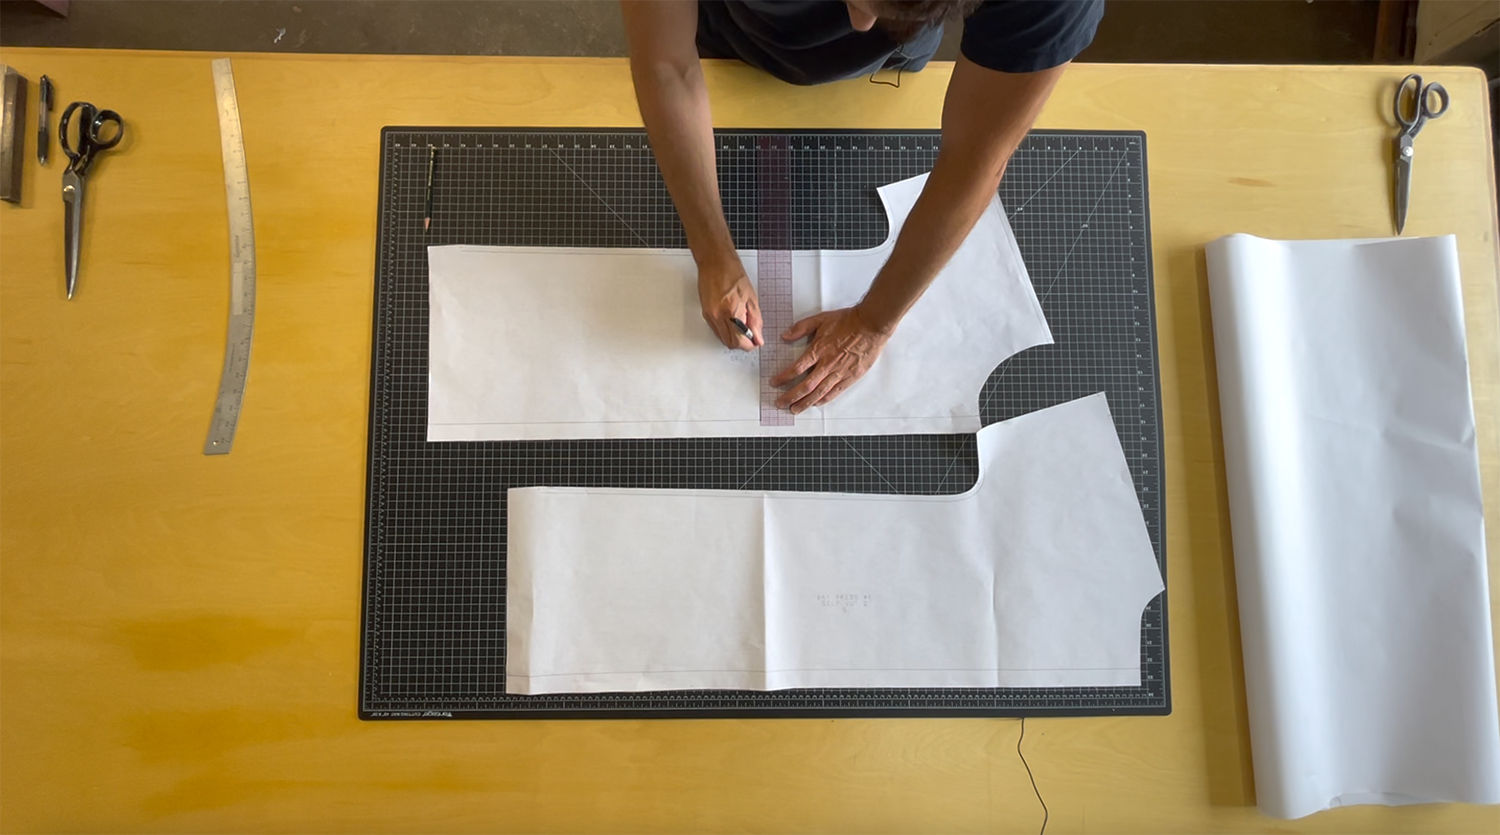
Step 4:
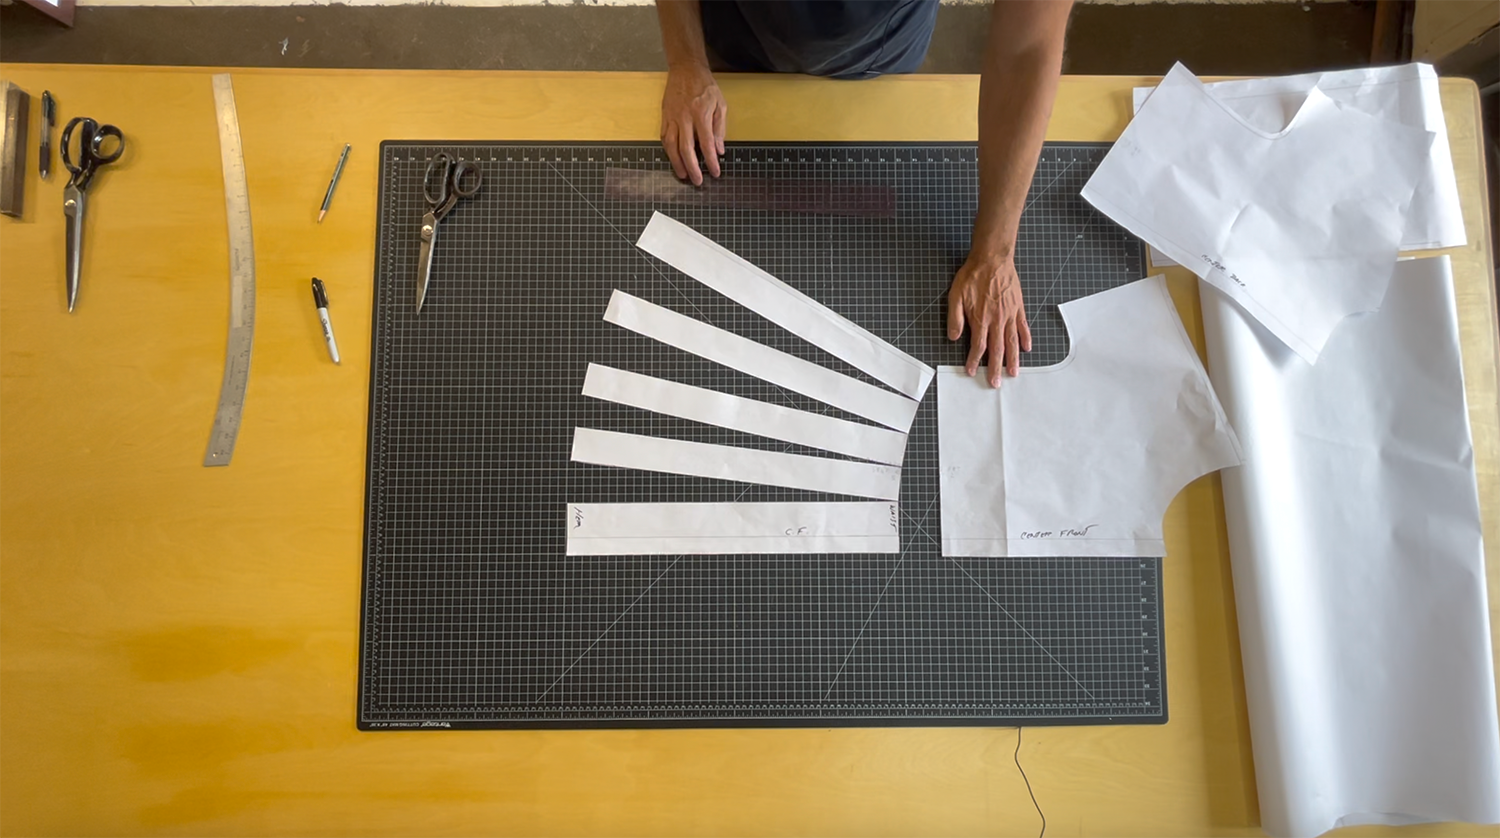
In this demo, Giovanni is adding four slash lines to the front and four slash lines to the back. You make decide to add more or less.
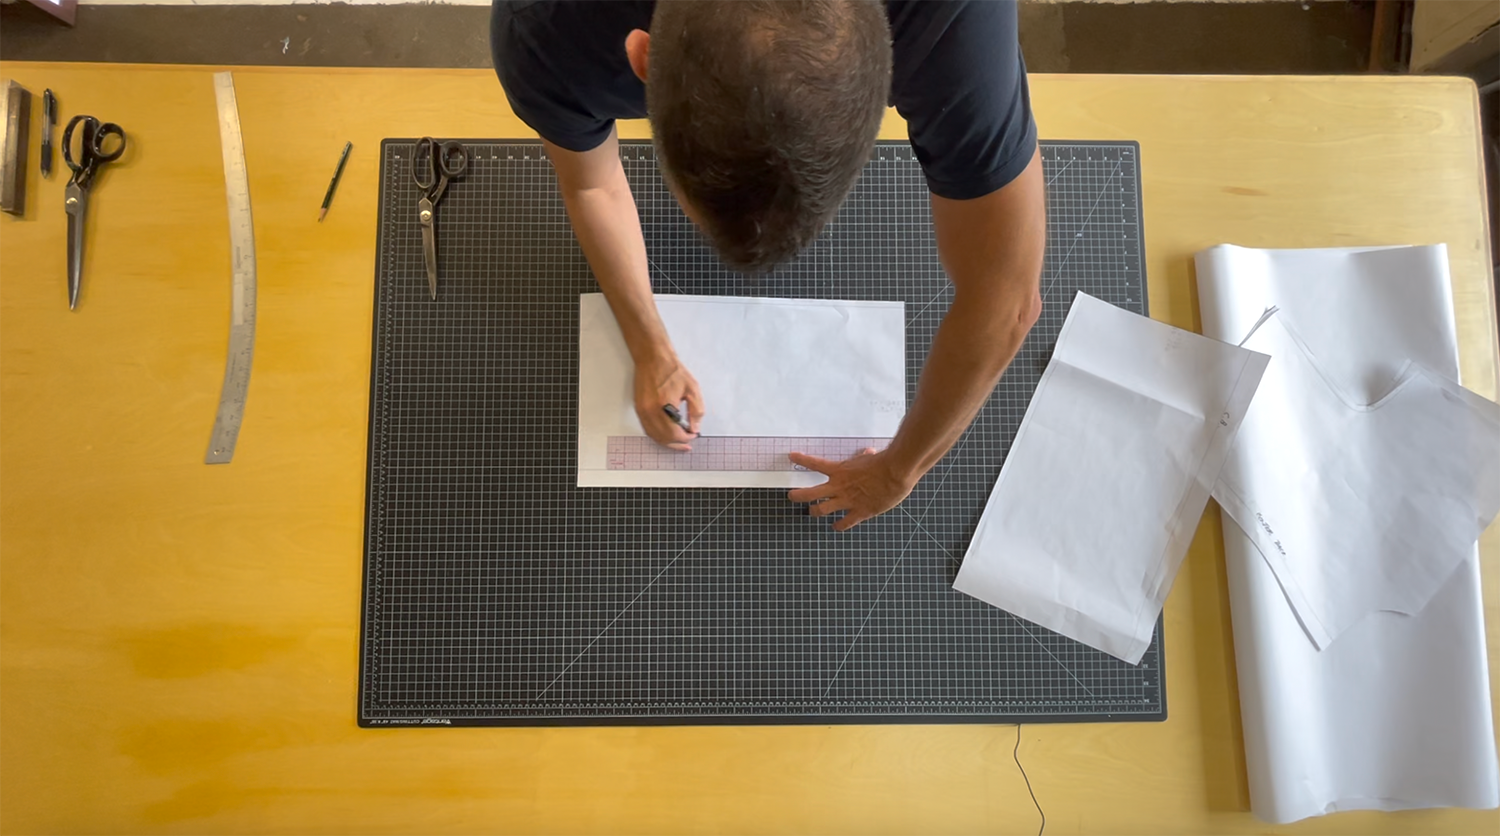
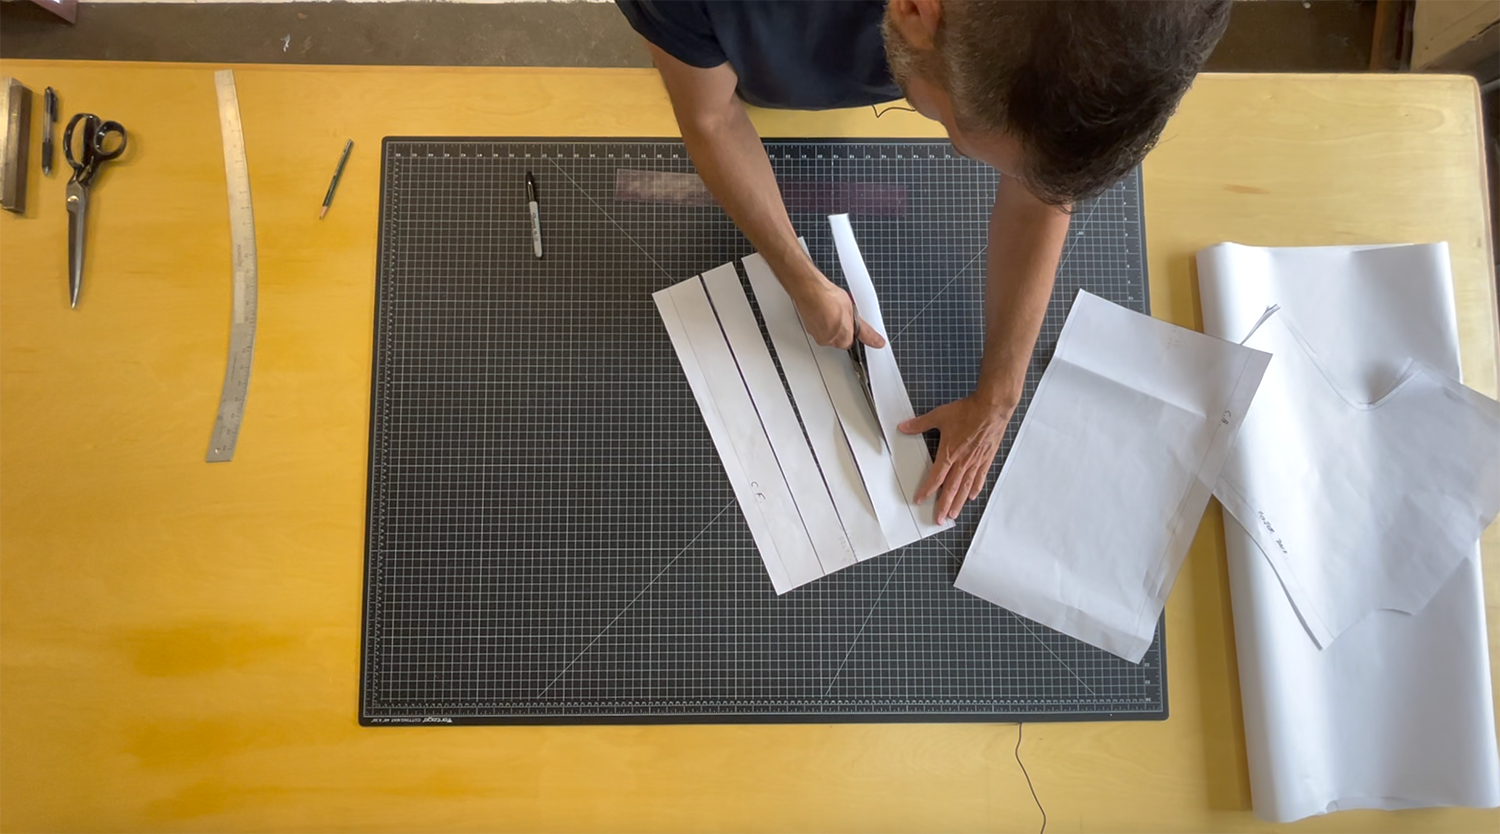
Grab the front skirt pattern piece and mark a vertical line 2" from the center front.
Mark another vertical line 2" from that new line and repeat two more times.
Slash all four of your new lines, with scissors, leaving each line attached at the waistline.
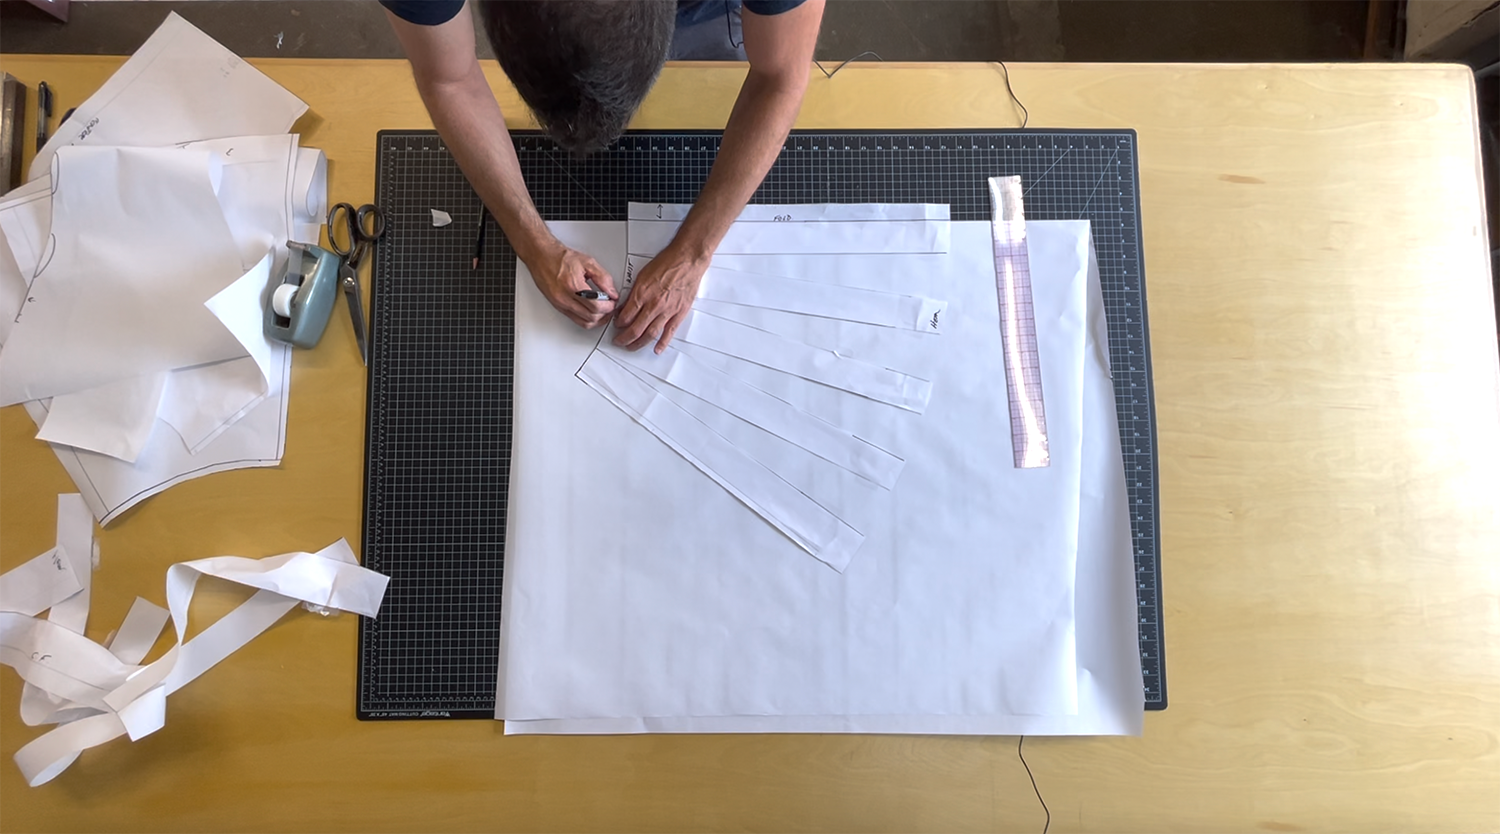
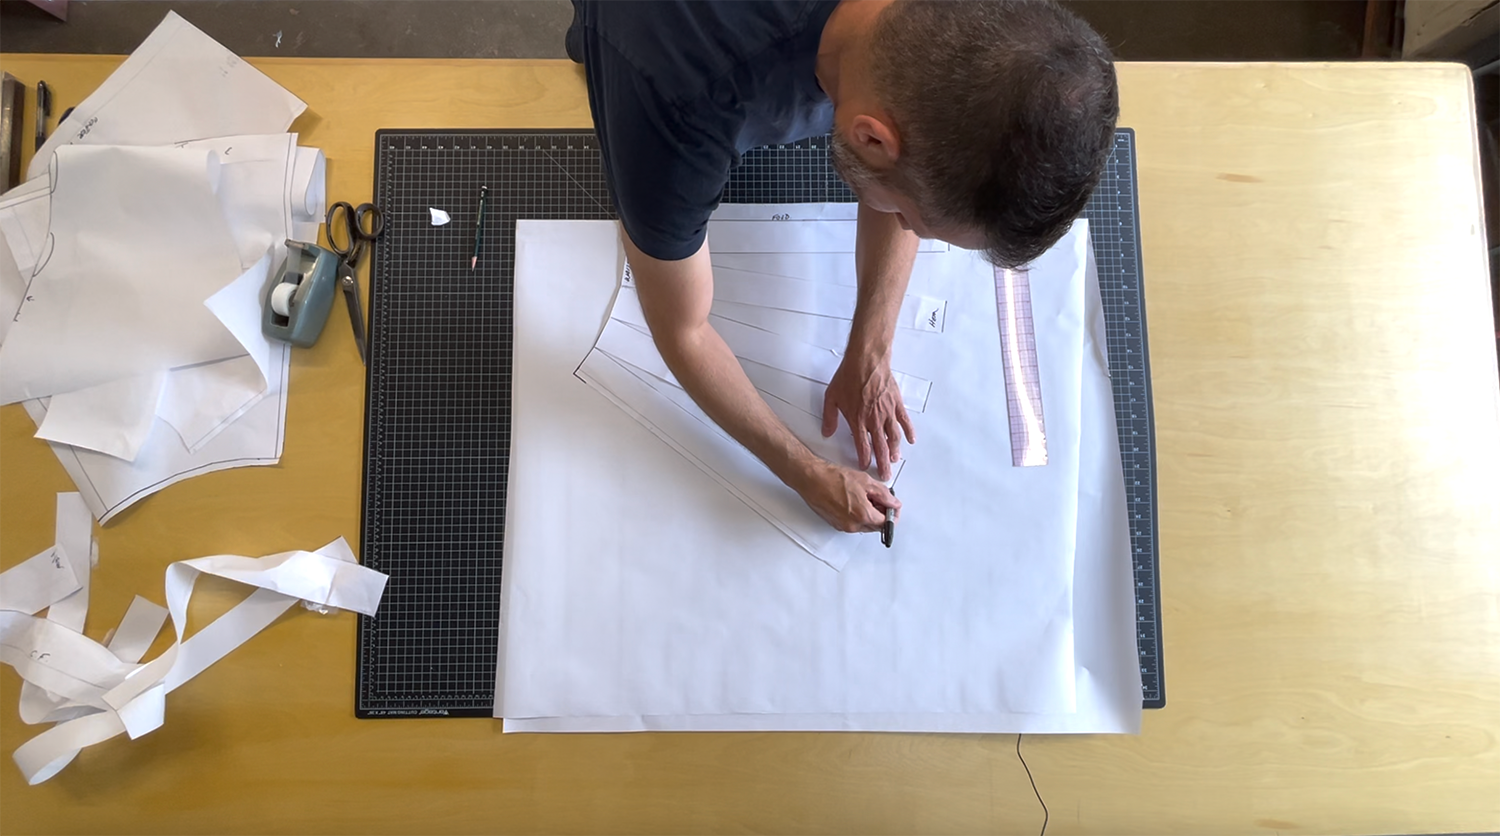
Step 5:
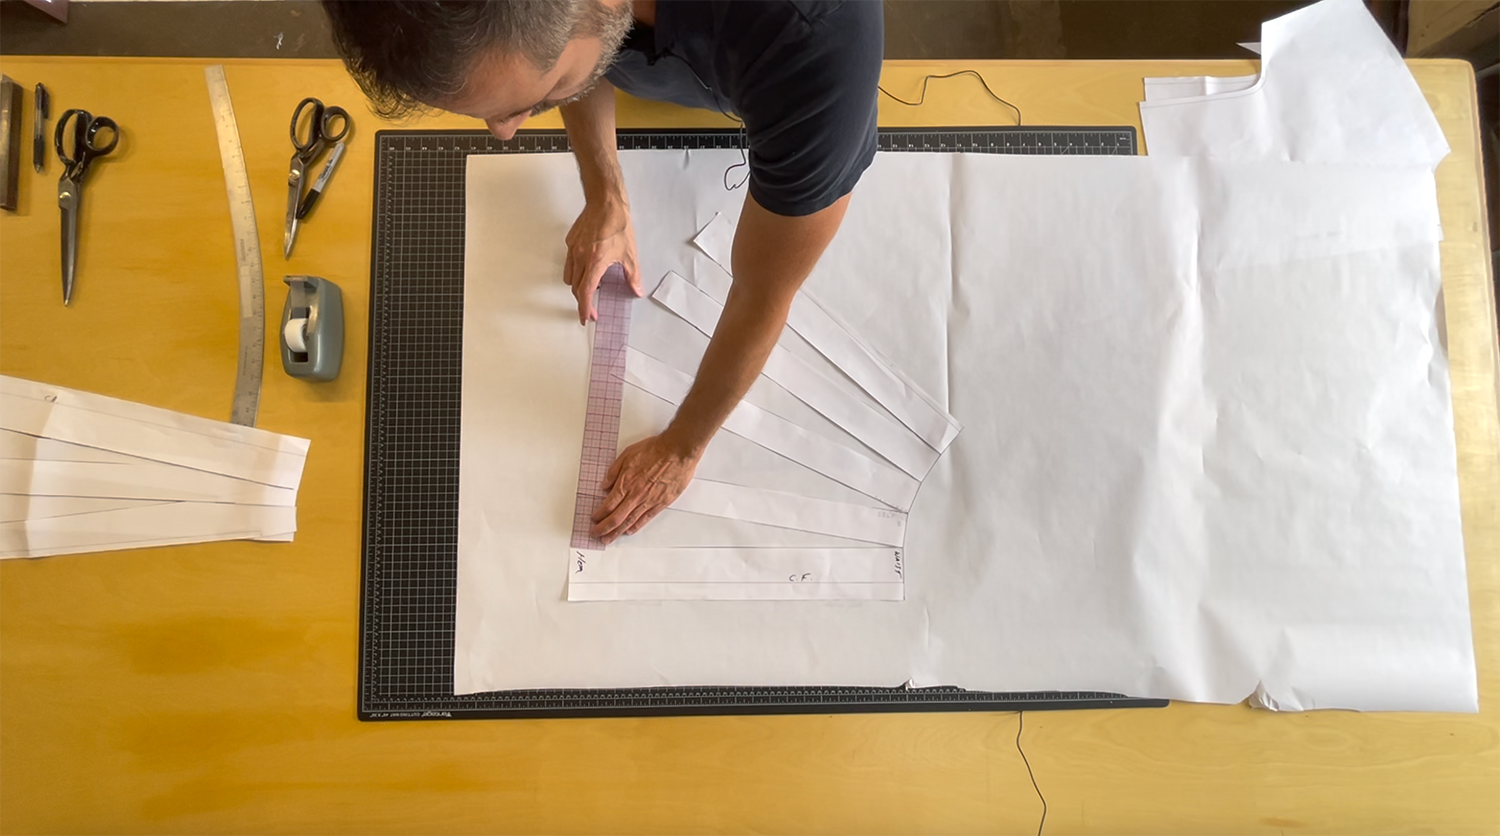

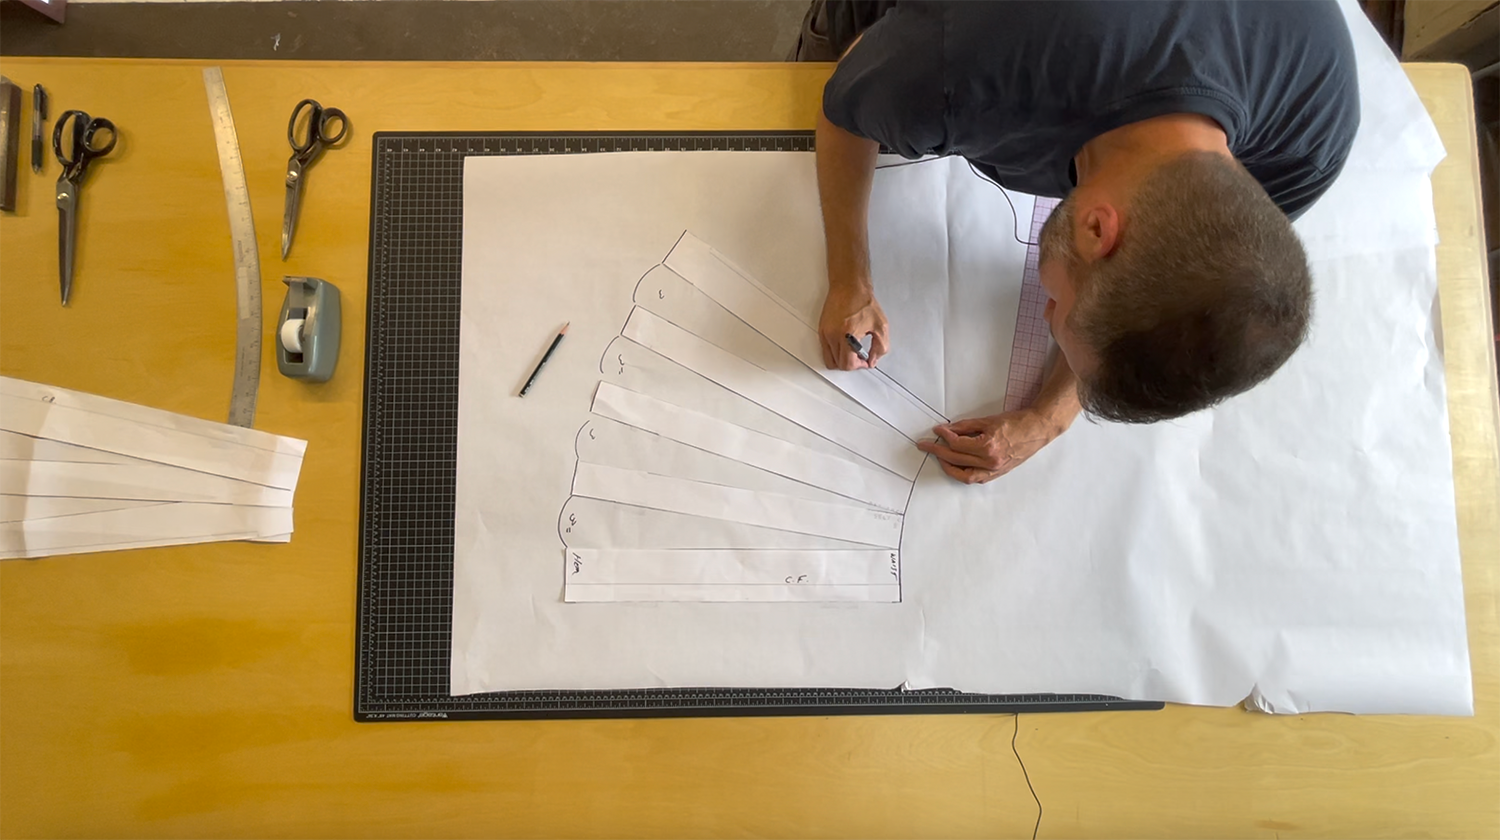
Grab a fresh new sheet of paper and carefully lay the slashed front skirt on it. Lay the sewing pattern as is on the paper if you prefer a seam down the center front. We'll show you how to eliminate that seam in step 9.
Tape the front skirt pattern onto the new paper, along the center front.
Determine how much fullness you would like to add between each panel. In this demo, Giovanni added 3" between each panel.
Using a ruler, spread the first panel closest to the center front 3" and tape in place.
Repeat the last step with the remaining panels.
Tape waistline as you go along
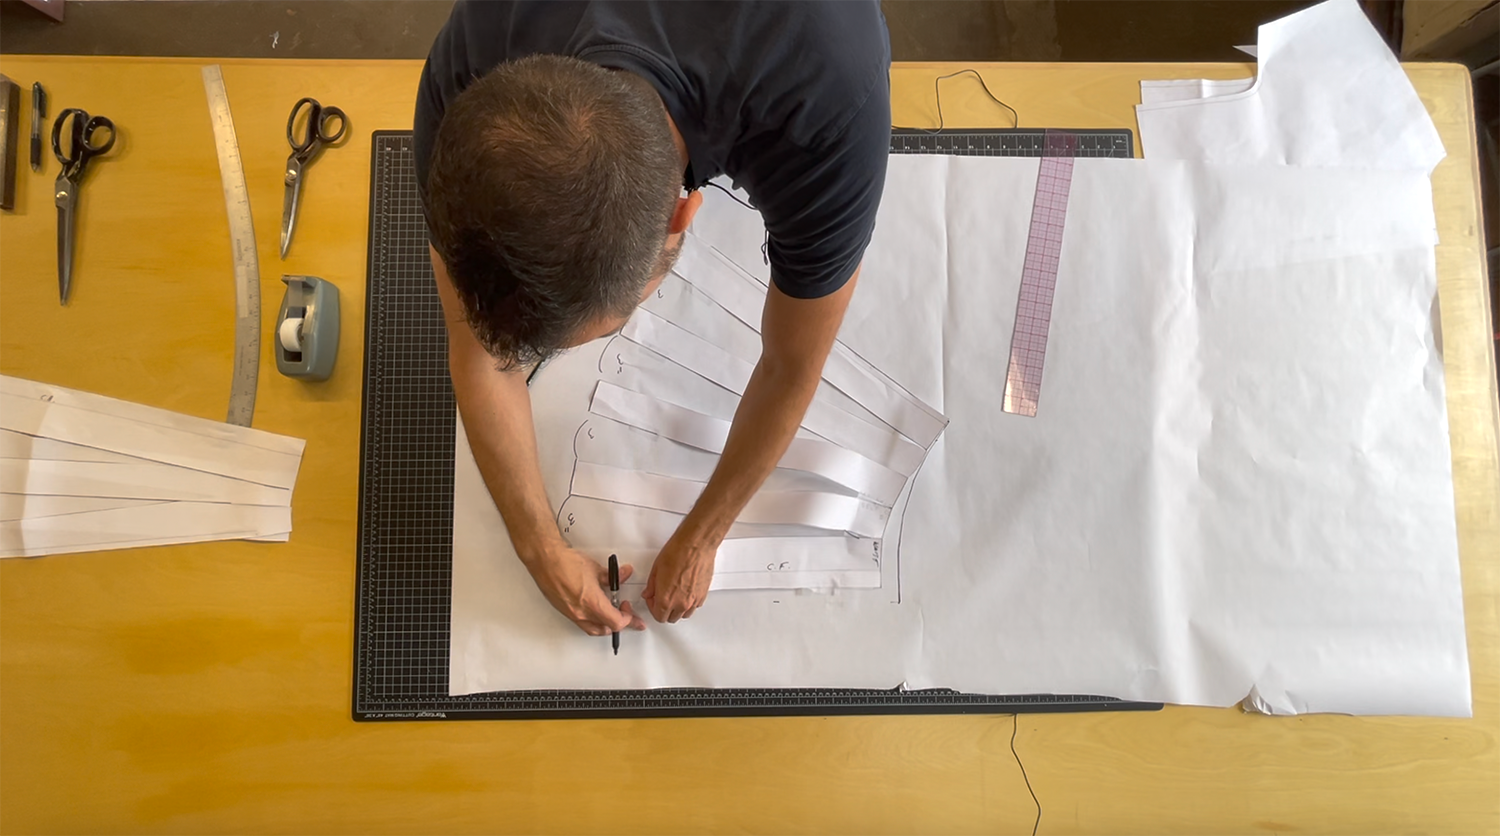
Trace around the remainder of pattern and remove slashed front skirt pattern from new paper.
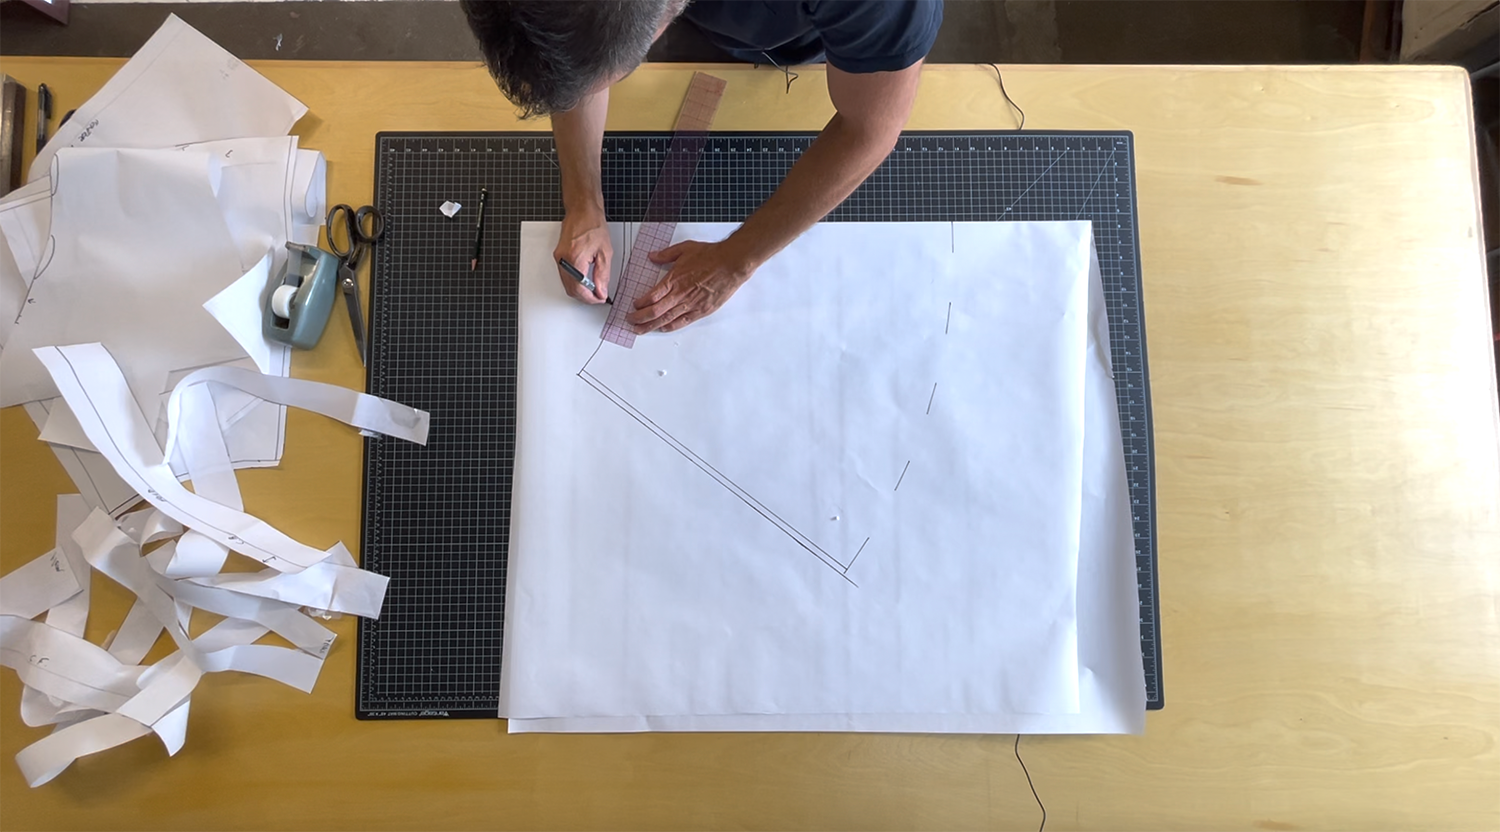
Step 6:
Draw in center front 1" seam allowance and 3/8" side seam.
Add 3/8" seam allowance at waistline.
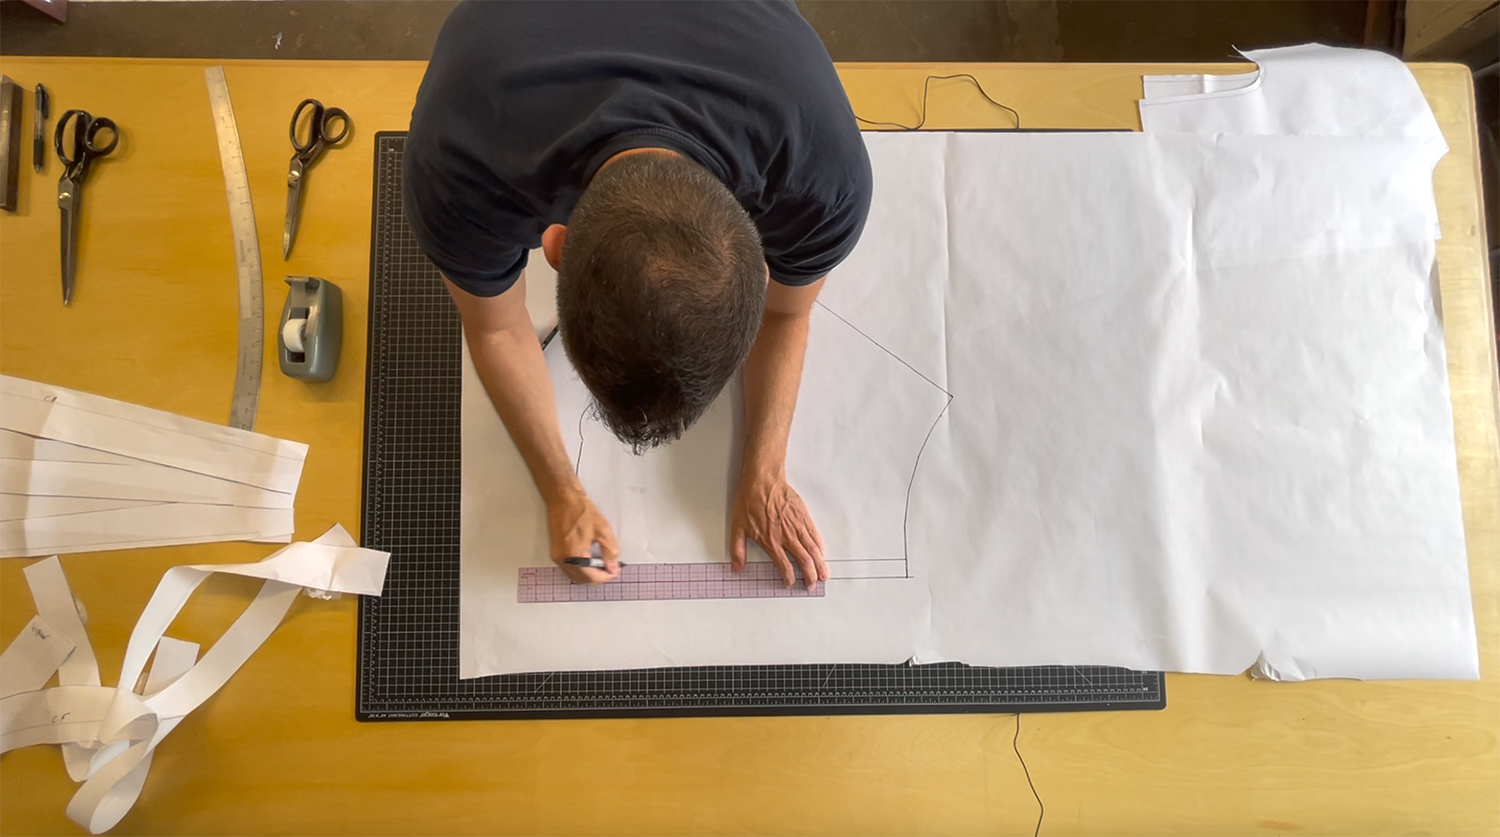
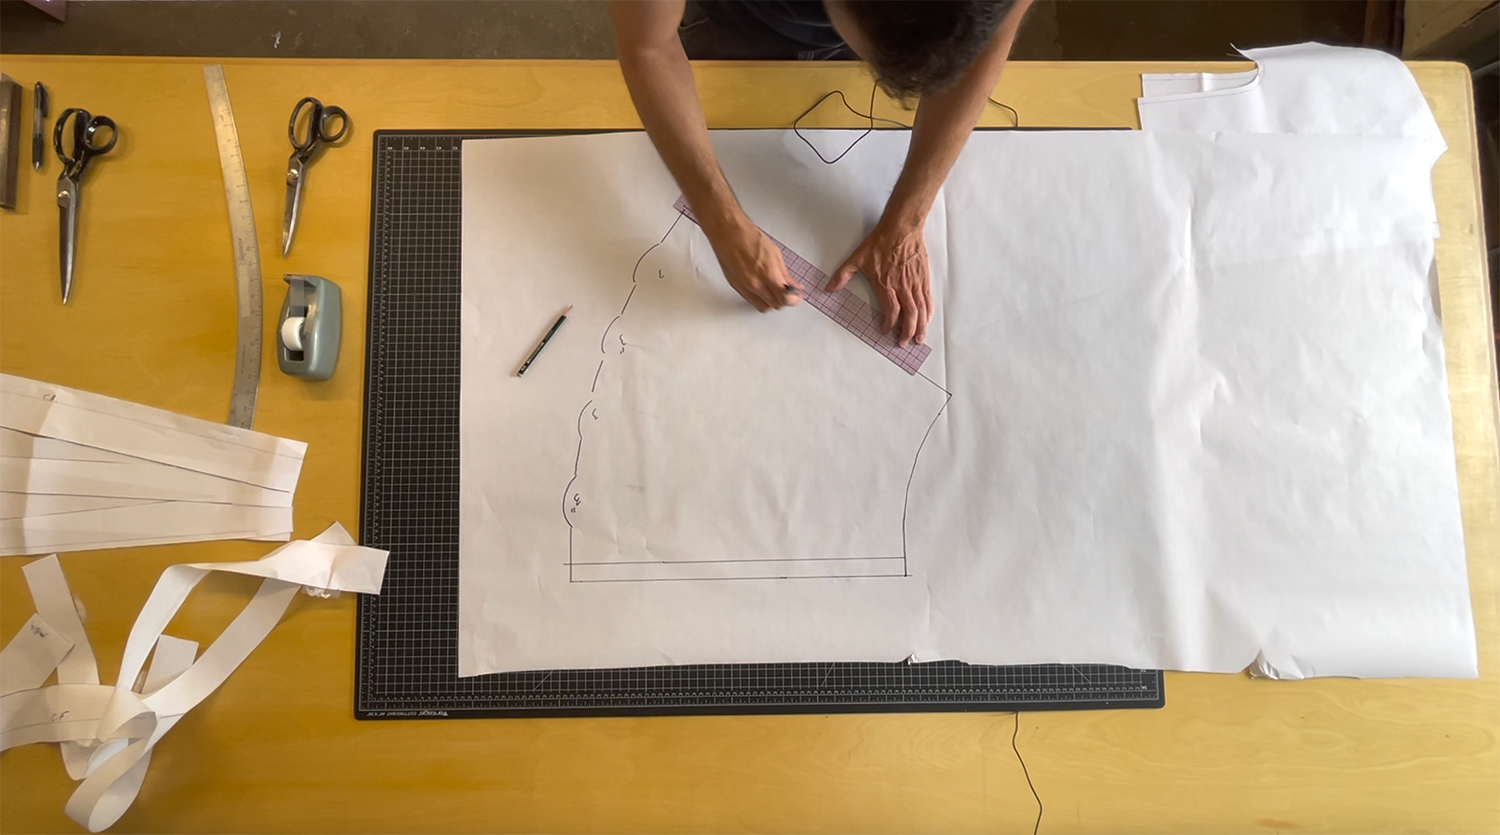
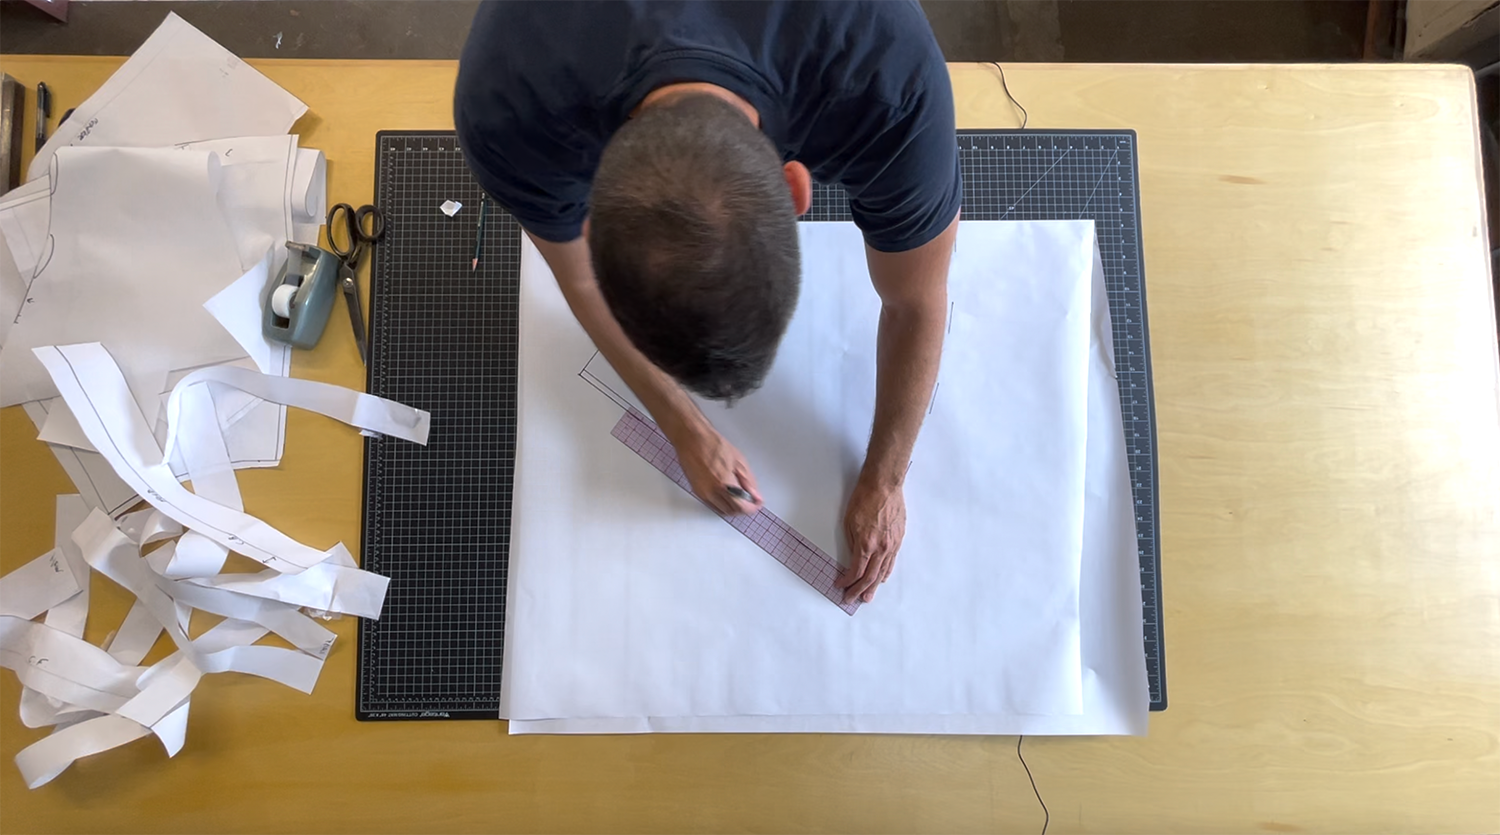
Step 7:
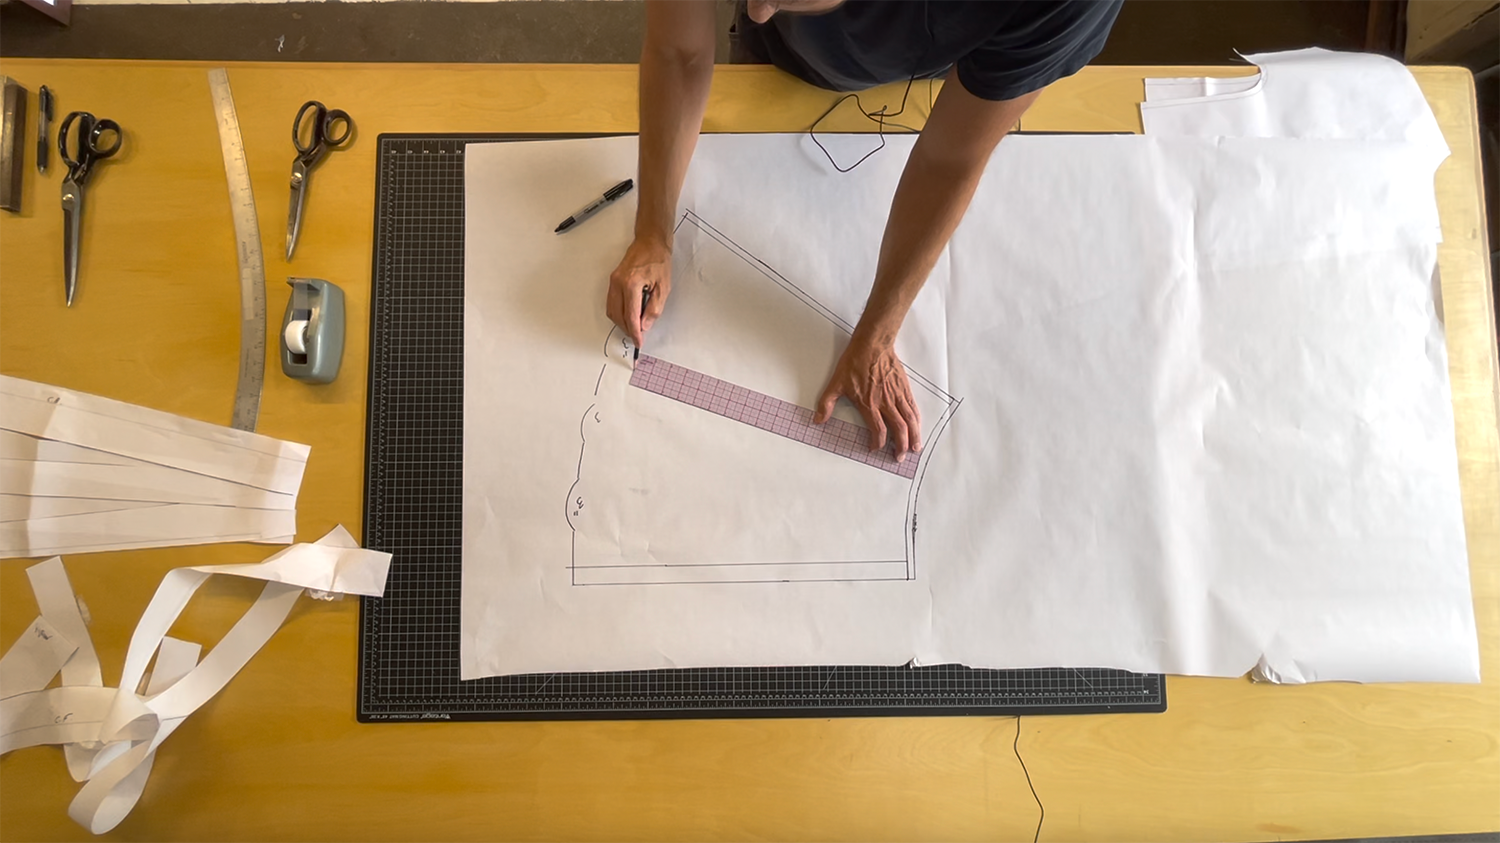
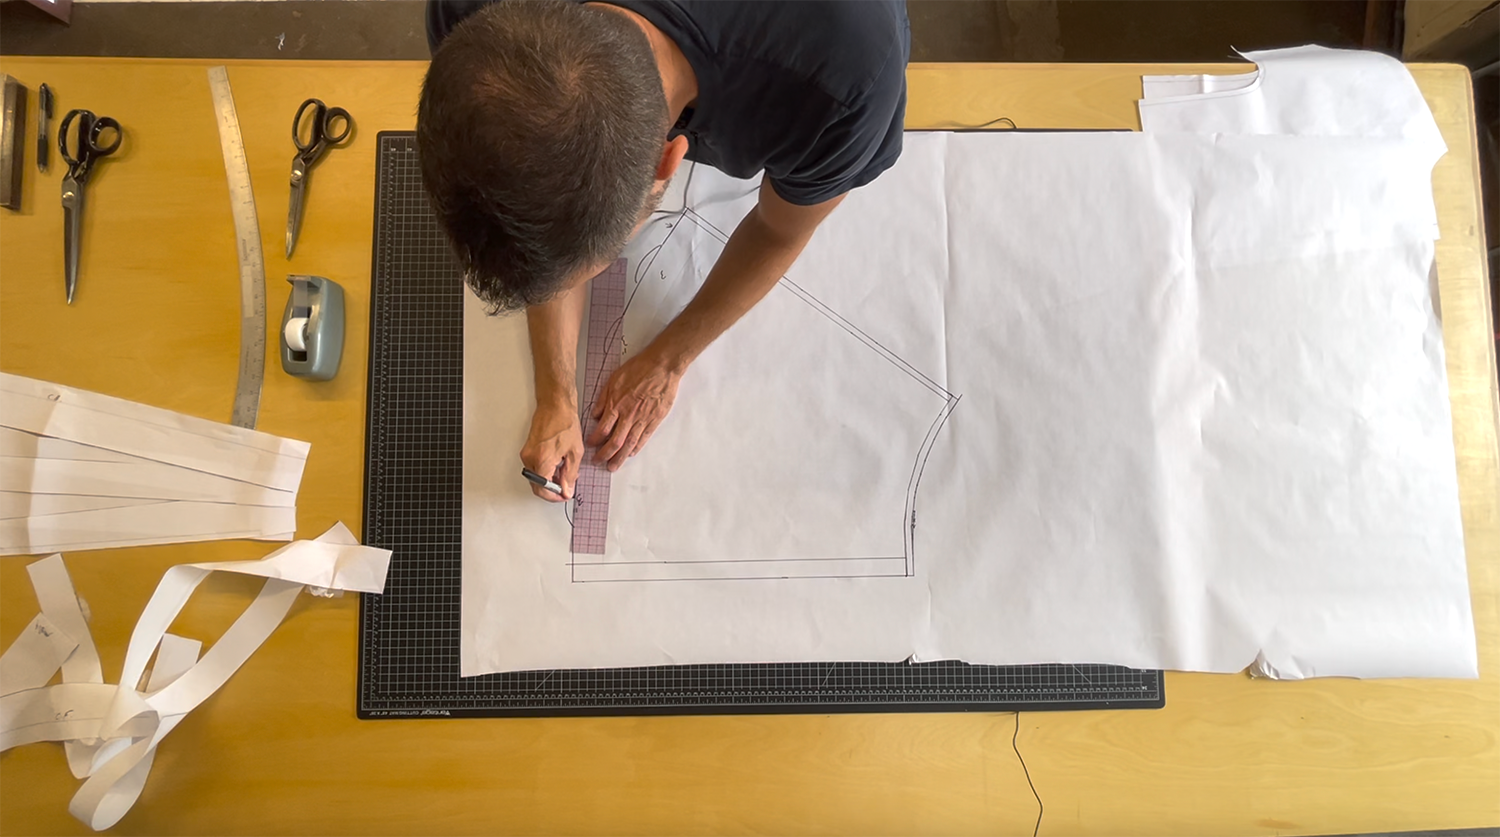
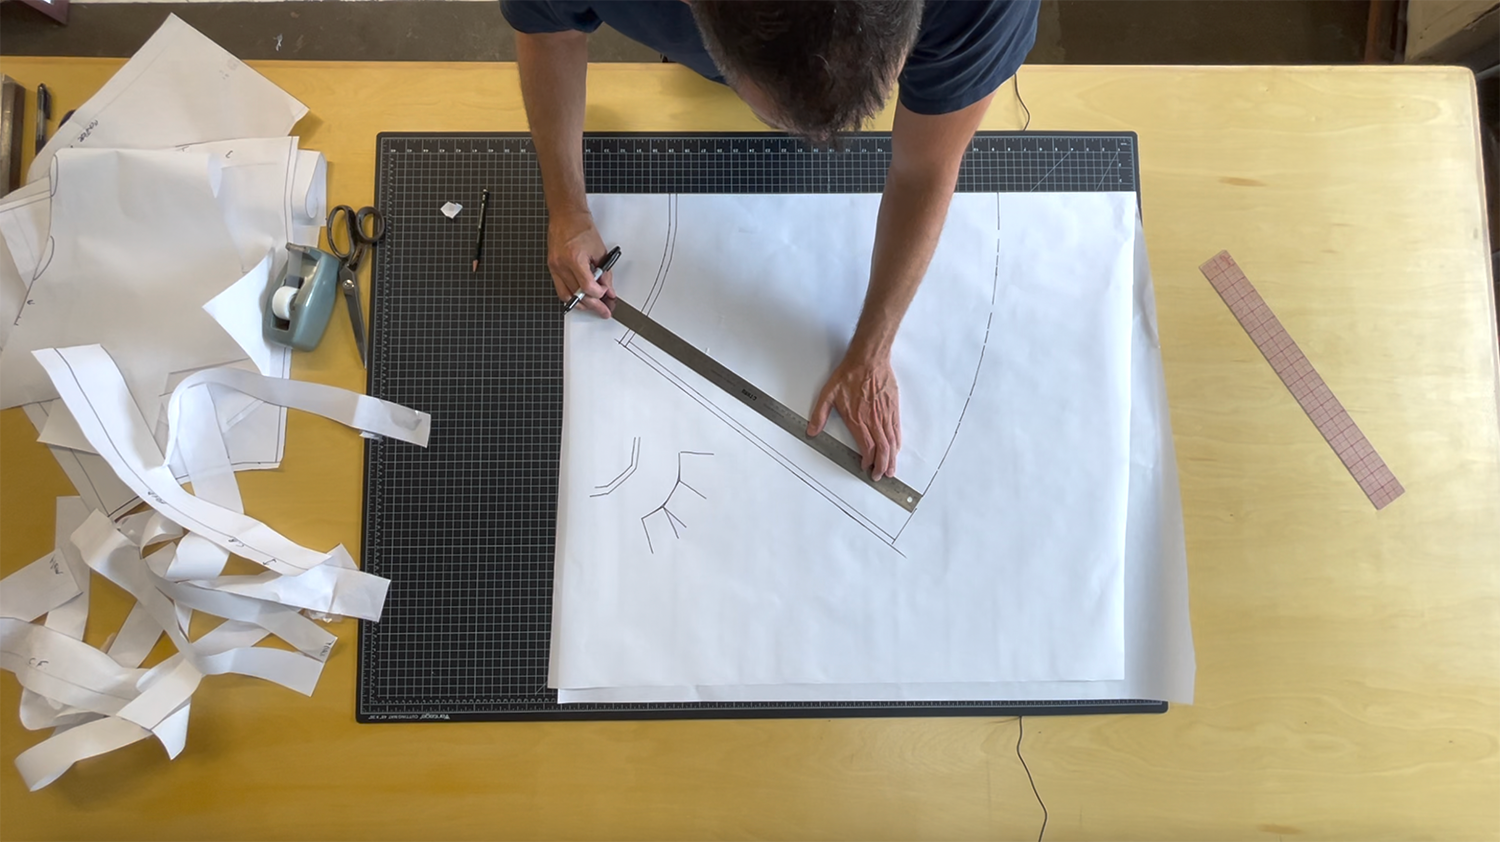
Line up one end of ruler at waistline and draw in hemline with the opposite end of ruler. Continue doing this along the full distance of the waistline.
Extend the length of the skirt from that new line if your desired length is longer than the ruler you are using.
Cut out front skirt.
Step 8:
Add seam allowance to front bodice by taping a strip of paper under the waistline and drawing on 3/8" seam allowance.
Cut it out.
Step 9:
Here's how to eliminate the center back seam:
Grab a fresh sheet of paper and fold it in half.
Lay the back skirt pattern on the new paper and line up the center back seam with the folded edge of the new paper. Tape in place.
Repeat steps 5 - 7 on the back skirt.
Step 10:
Draw grainline down center front of Back Skirt pattern.
Add a notch at the center front of the waistline.
Step 11:

Add seam allowance to back bodice by taping a strip of paper under the waistline and drawing on 3/8" seam allowance.
Cut it out.
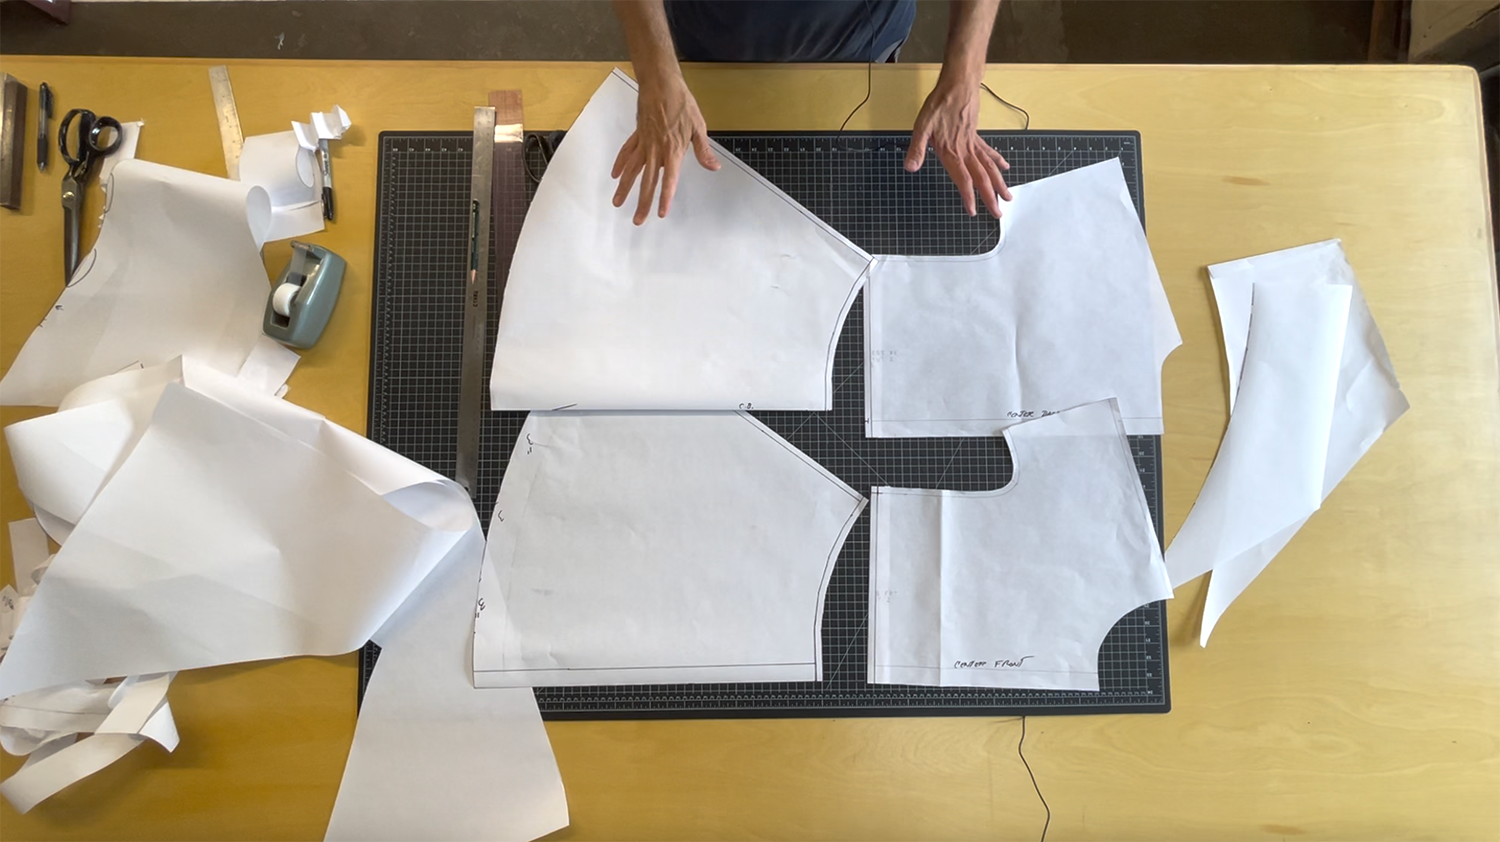
Here are your four completed sewing pattern pieces!
Watch the full video and see Giovanni draft these sewing pattern adjustments in real time. This is one of those modern sewing patterns that continues to be a great option for an inspired sustainable wardrobe.
If you liked this post sign up for our newsletter and subscribe to our YouTube page for more sewing and pattern-making tips!
Two more sewing tutorials you may want to check out for this sewing project are Making Bias Tape and Binding a Neckline.
More Modern Sewing Patterns: