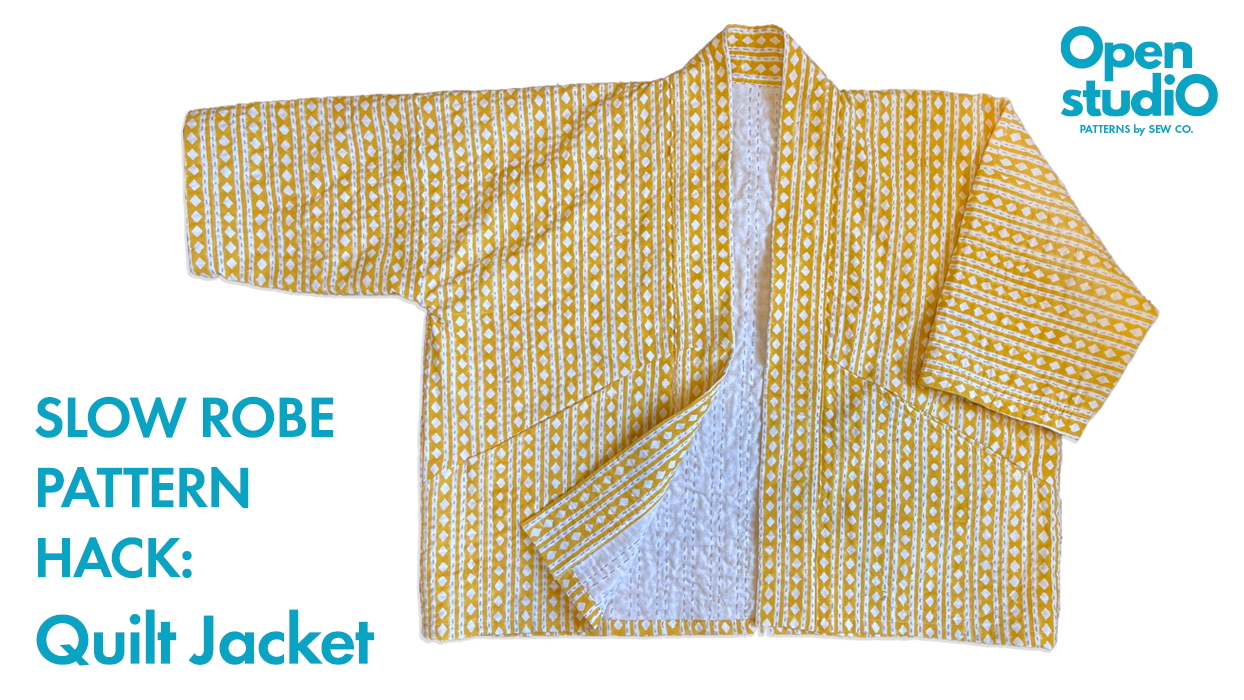
Slow Robe Pattern Hack: Kantha Quilt Jacket
I’ve been quite intrigued watching the transformation of bed spread turned clothing within the home sewing community lately. The quilt clothes trend has become a bit controversial and I’d have to agree with the critics when it comes to cutting up vintage heirlooms for a flash in the pan trend. As a quilter myself, it would make me cry to see a piece I put 50 hours of work into chopped up and made into elastic waistband pants. Do not worry. NO VINTAGE KEEPSAKES WERE HARMED IN THE MAKING OF THIS PROJECT :)
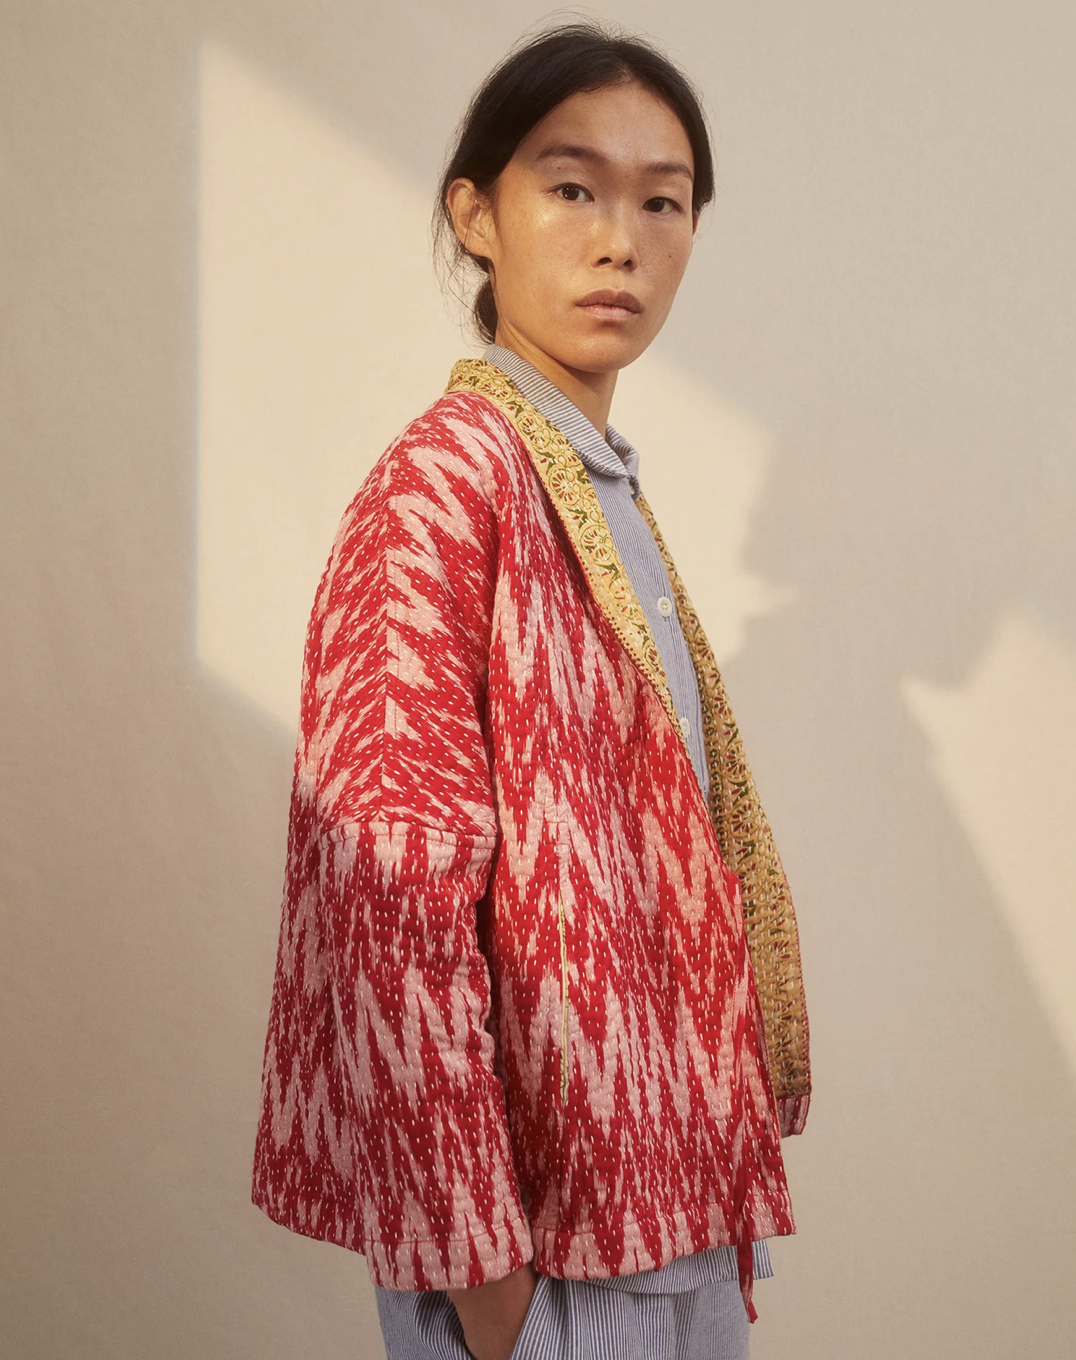
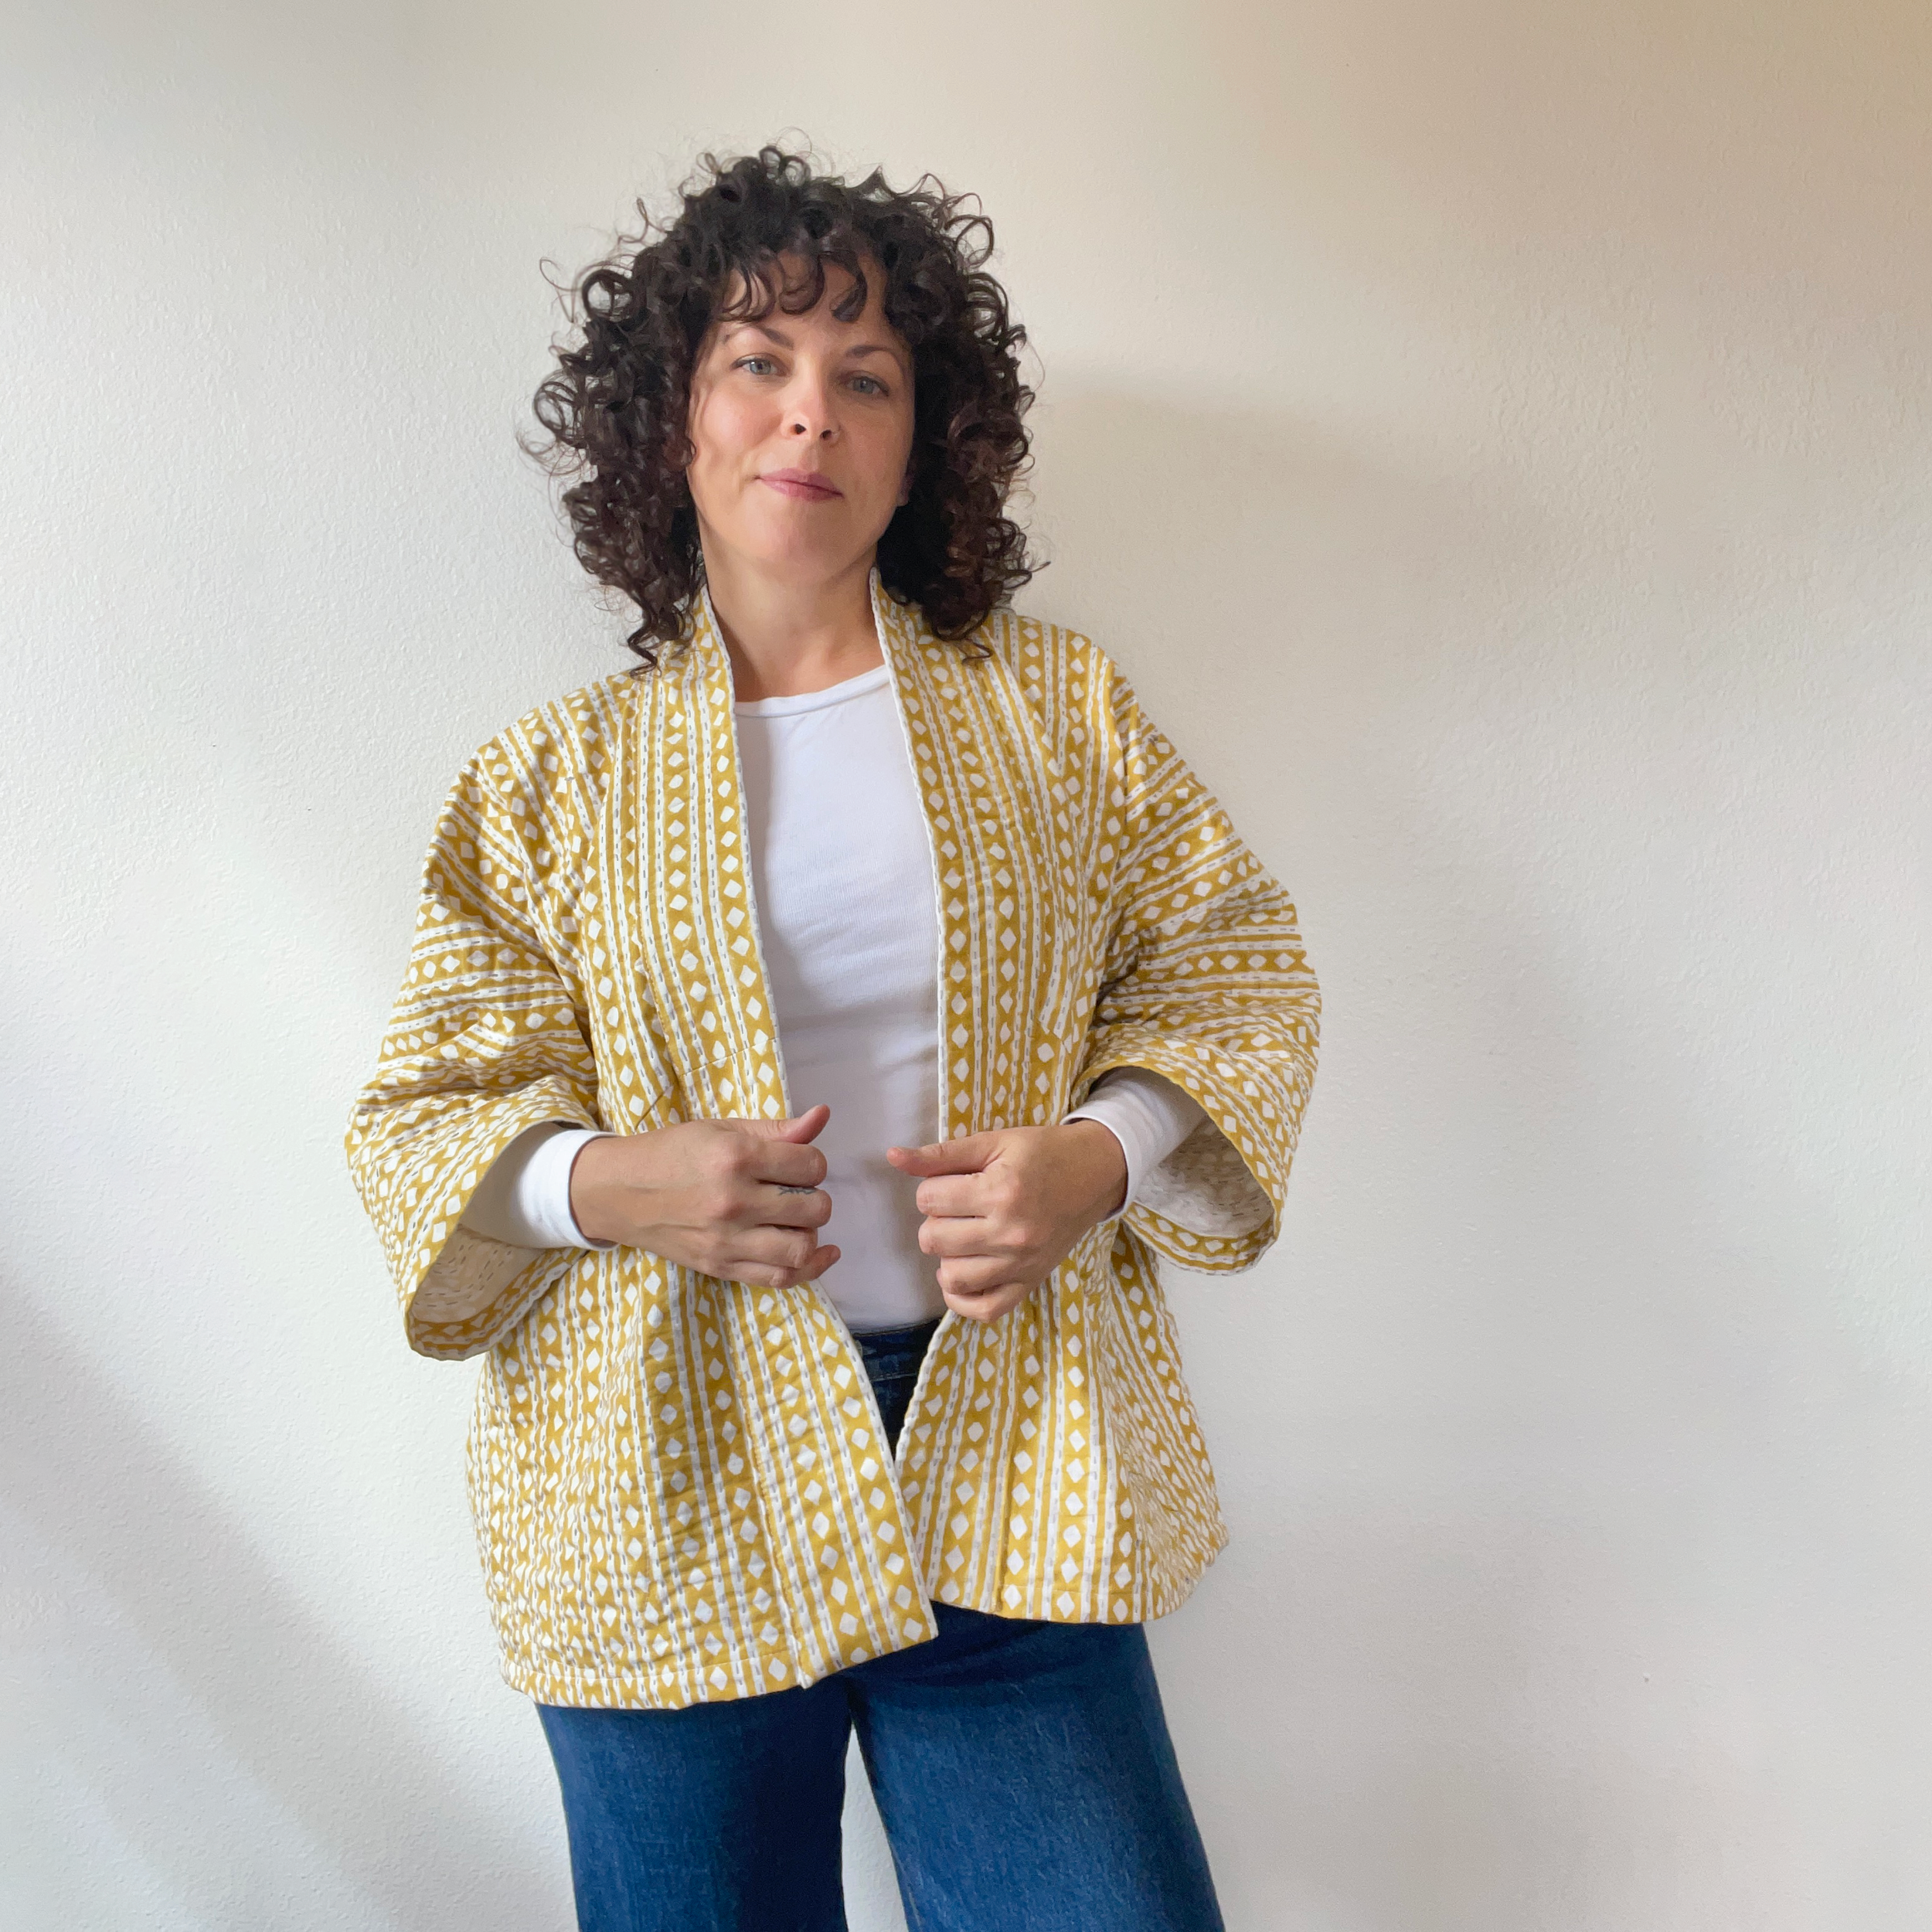
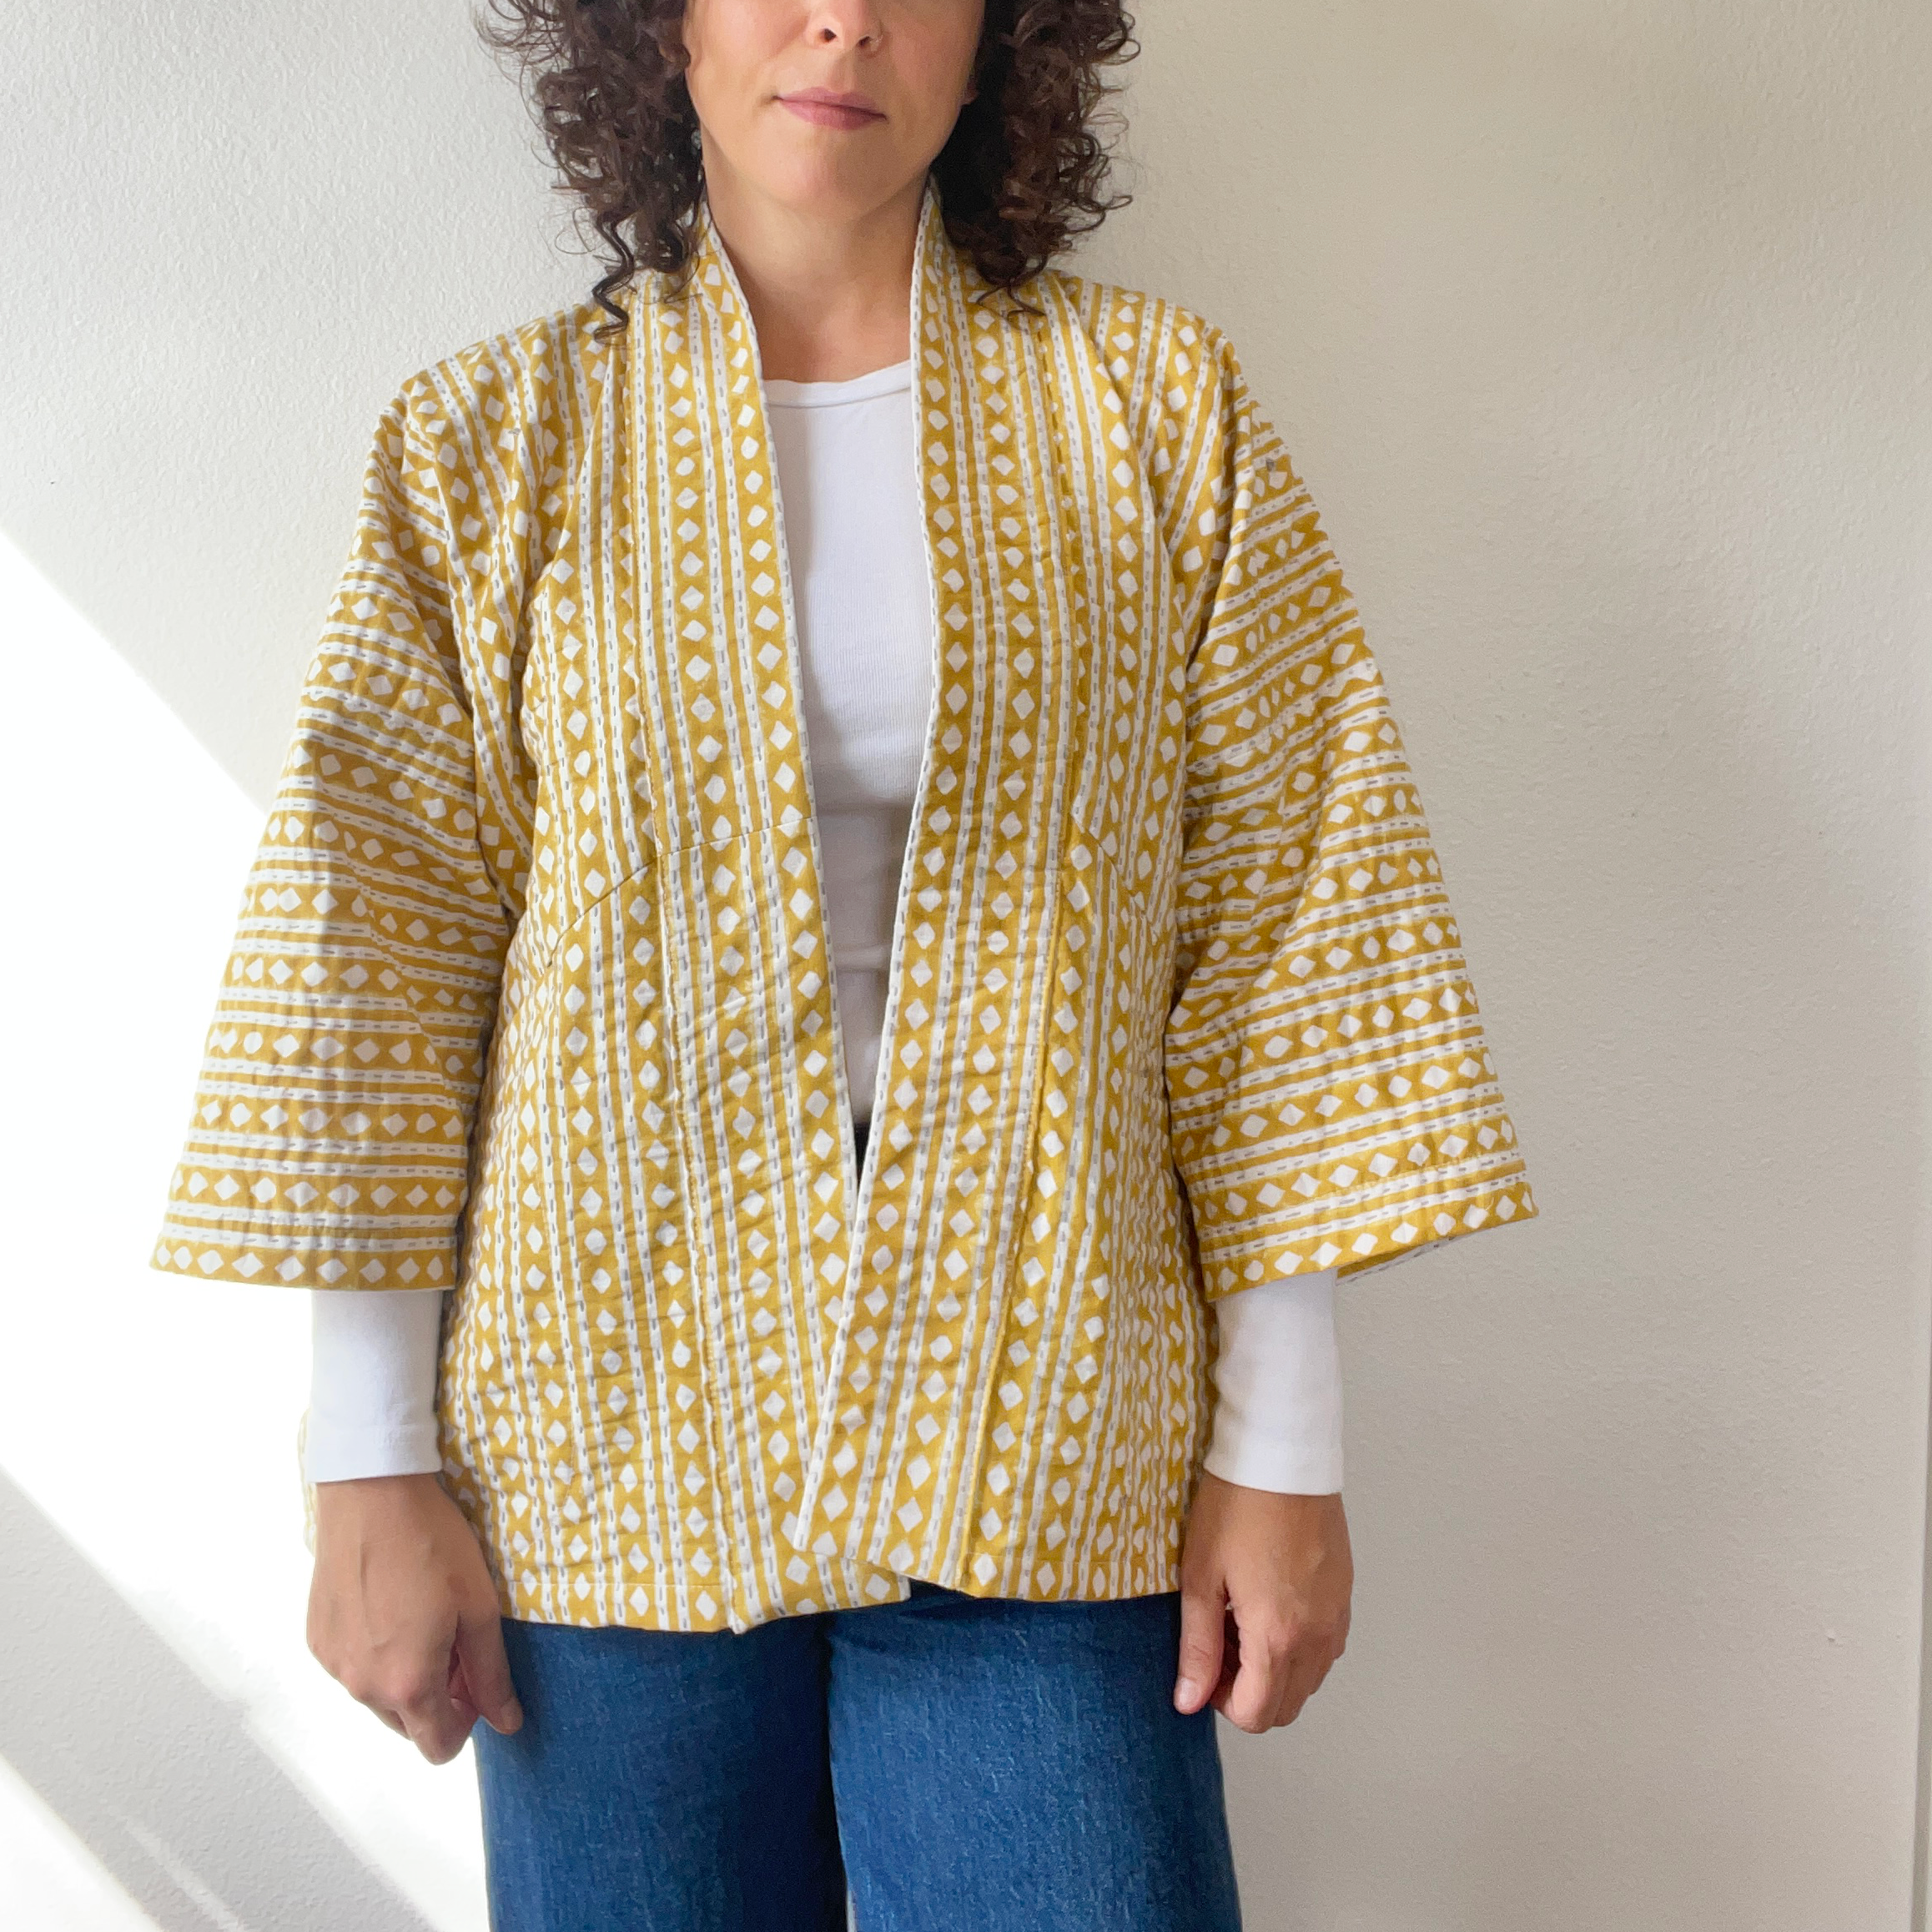
This project is more about getting the most out of the sewing patterns you buy. The best sewing patterns are those that are multipurpose and you can keep using. Our Slow Robe pattern made as a jacket, using a repurposed throw, seemed like a perfect combination to demonstrate longevity in your home sewing practice. This Kantha quilt jacket from TOAST served as inspiration when I planned out the pattern modifications. I used a 60” x 90” Kantha quilt that was 100% cotton. The quality of throw was pretty disappointing, when it came to using it as a home textiles, but worked great as clothing. I call it responsible repurposing!
This pattern hack takes basically no pattern making skills and is a great beginner sewing project. Continue scrolling and learn how to turn our Slow Robe pattern into a quick throw on jacket for outside.
Pattern Modifications
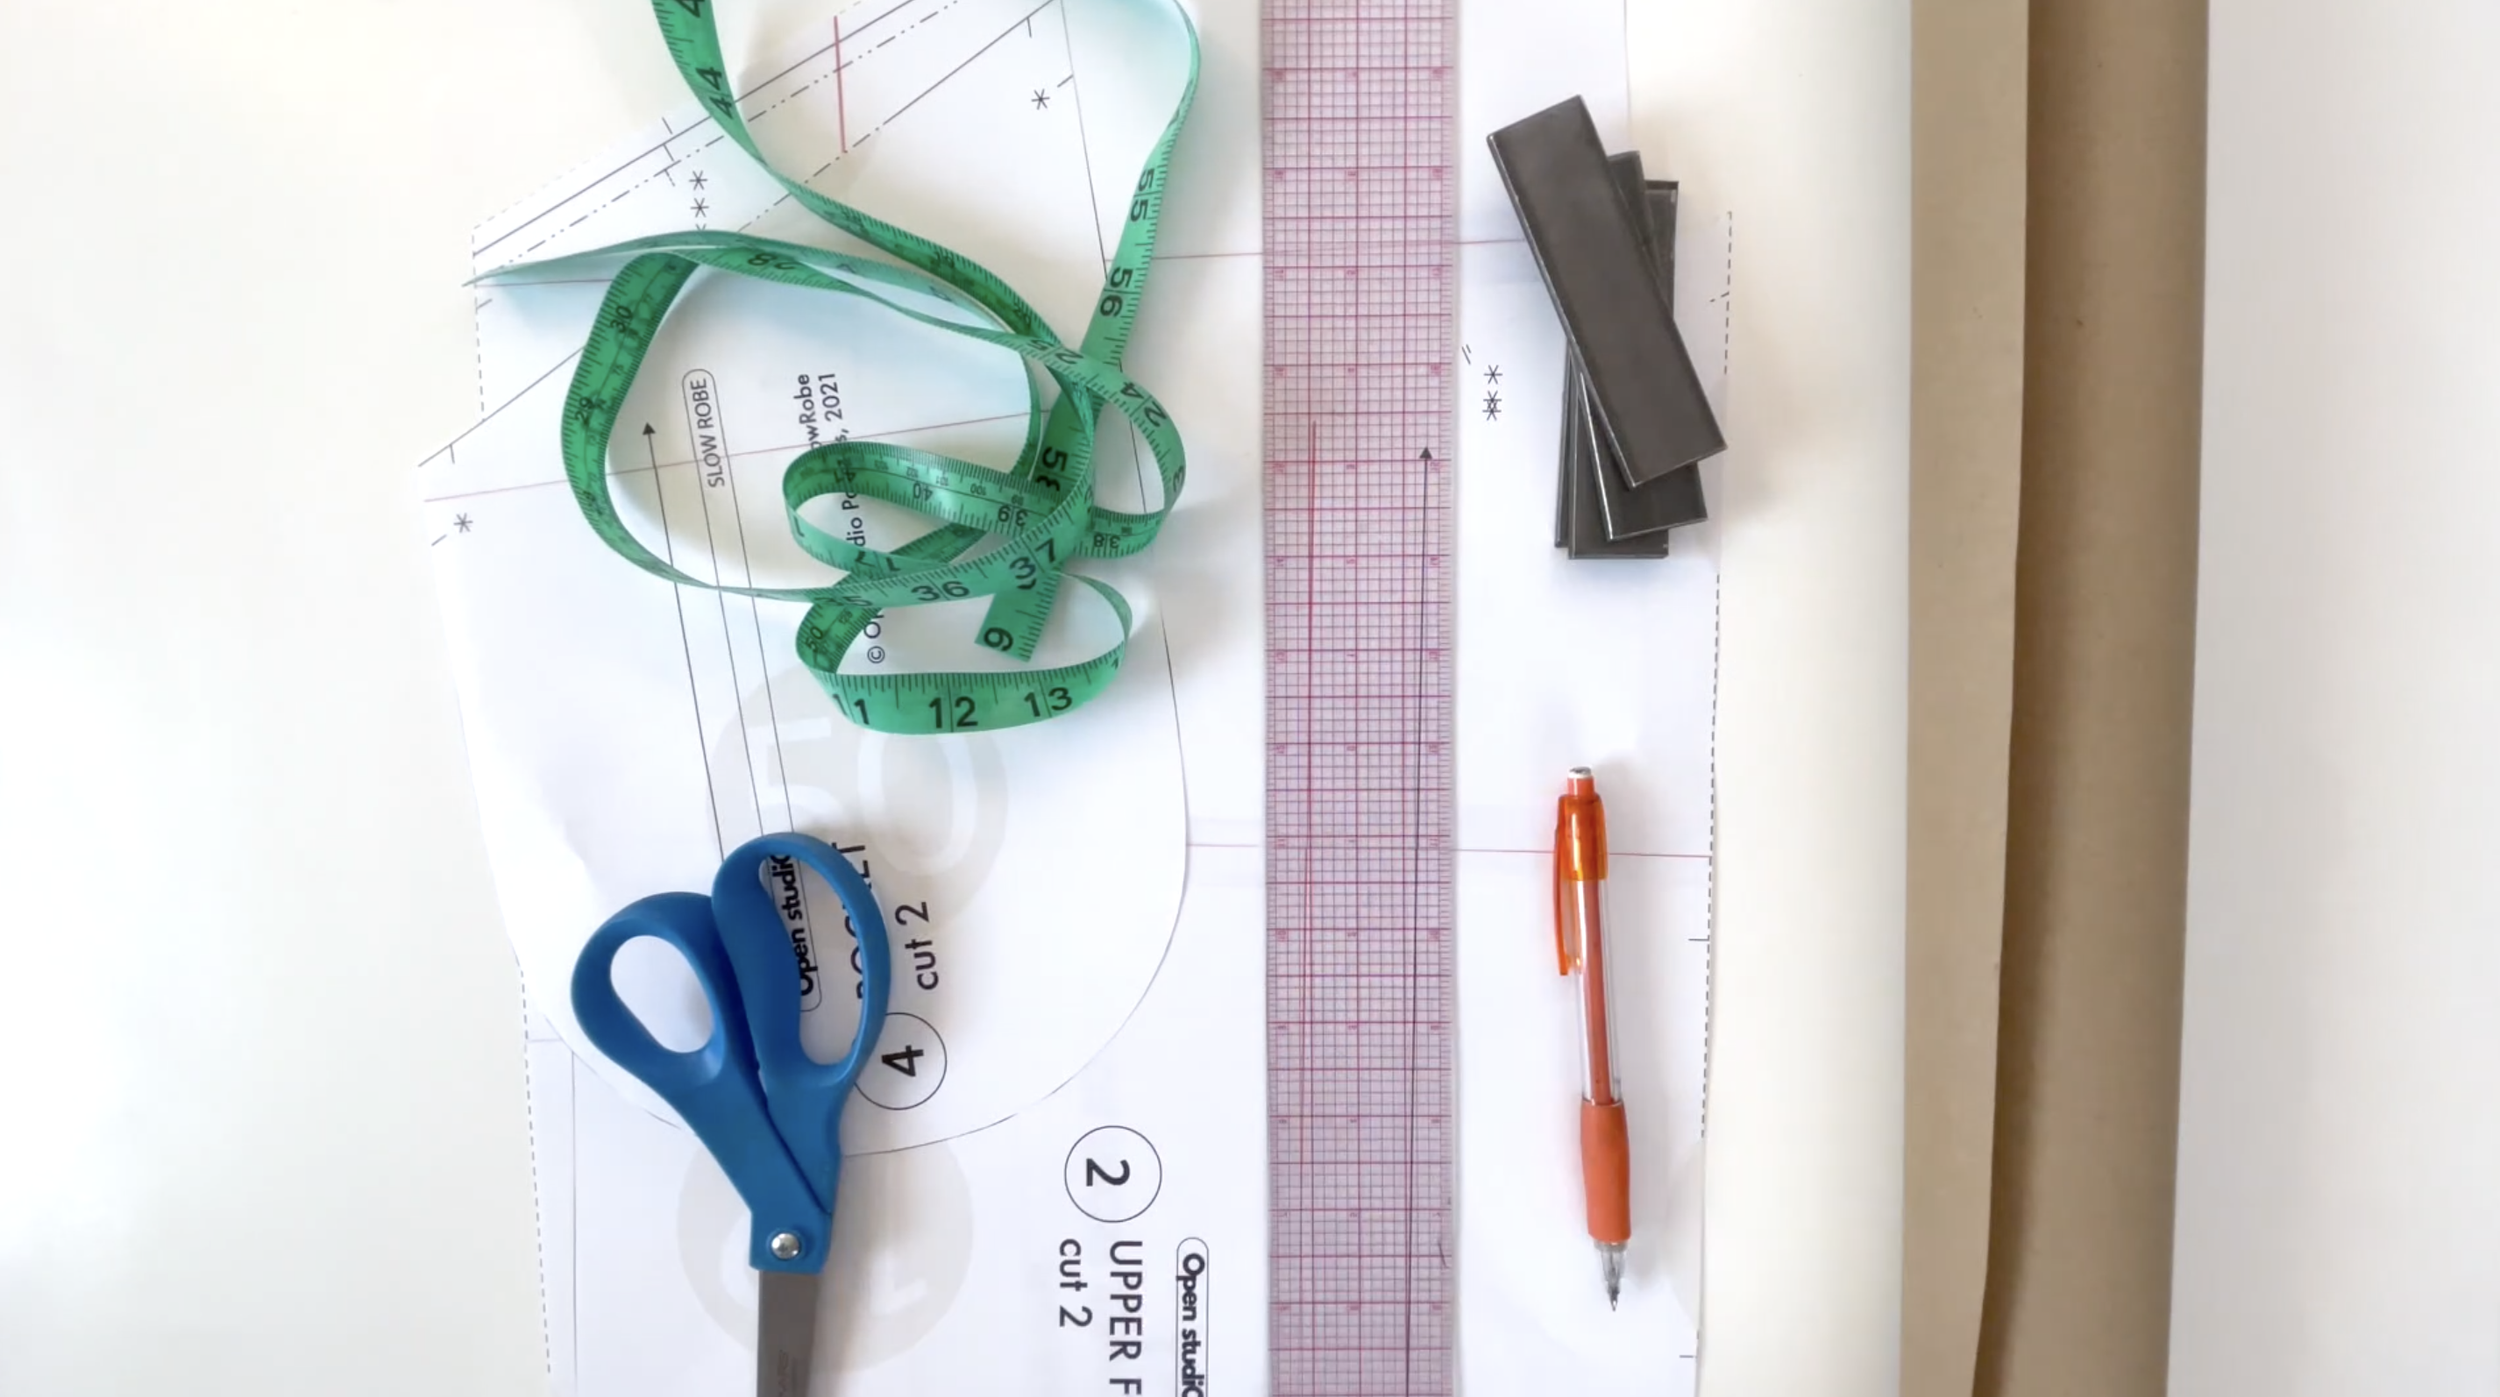
You will need the Slow Robe pattern (minus the Loops and the Belt pieces), paper, pencil, measuring tape, ruler, paper scissors and pattern weights.

- Trace the Upper Front Bodice and the Lower Front Bodice pattern pieces (including seam allowance) on a new sheet of paper.
- I decided to move the pocket seam line up the bodice 3”. To do that, measure down 3” from the top of the Upper Front Bodice piece and draw a line. Then add 3/8” seam allowance below that.

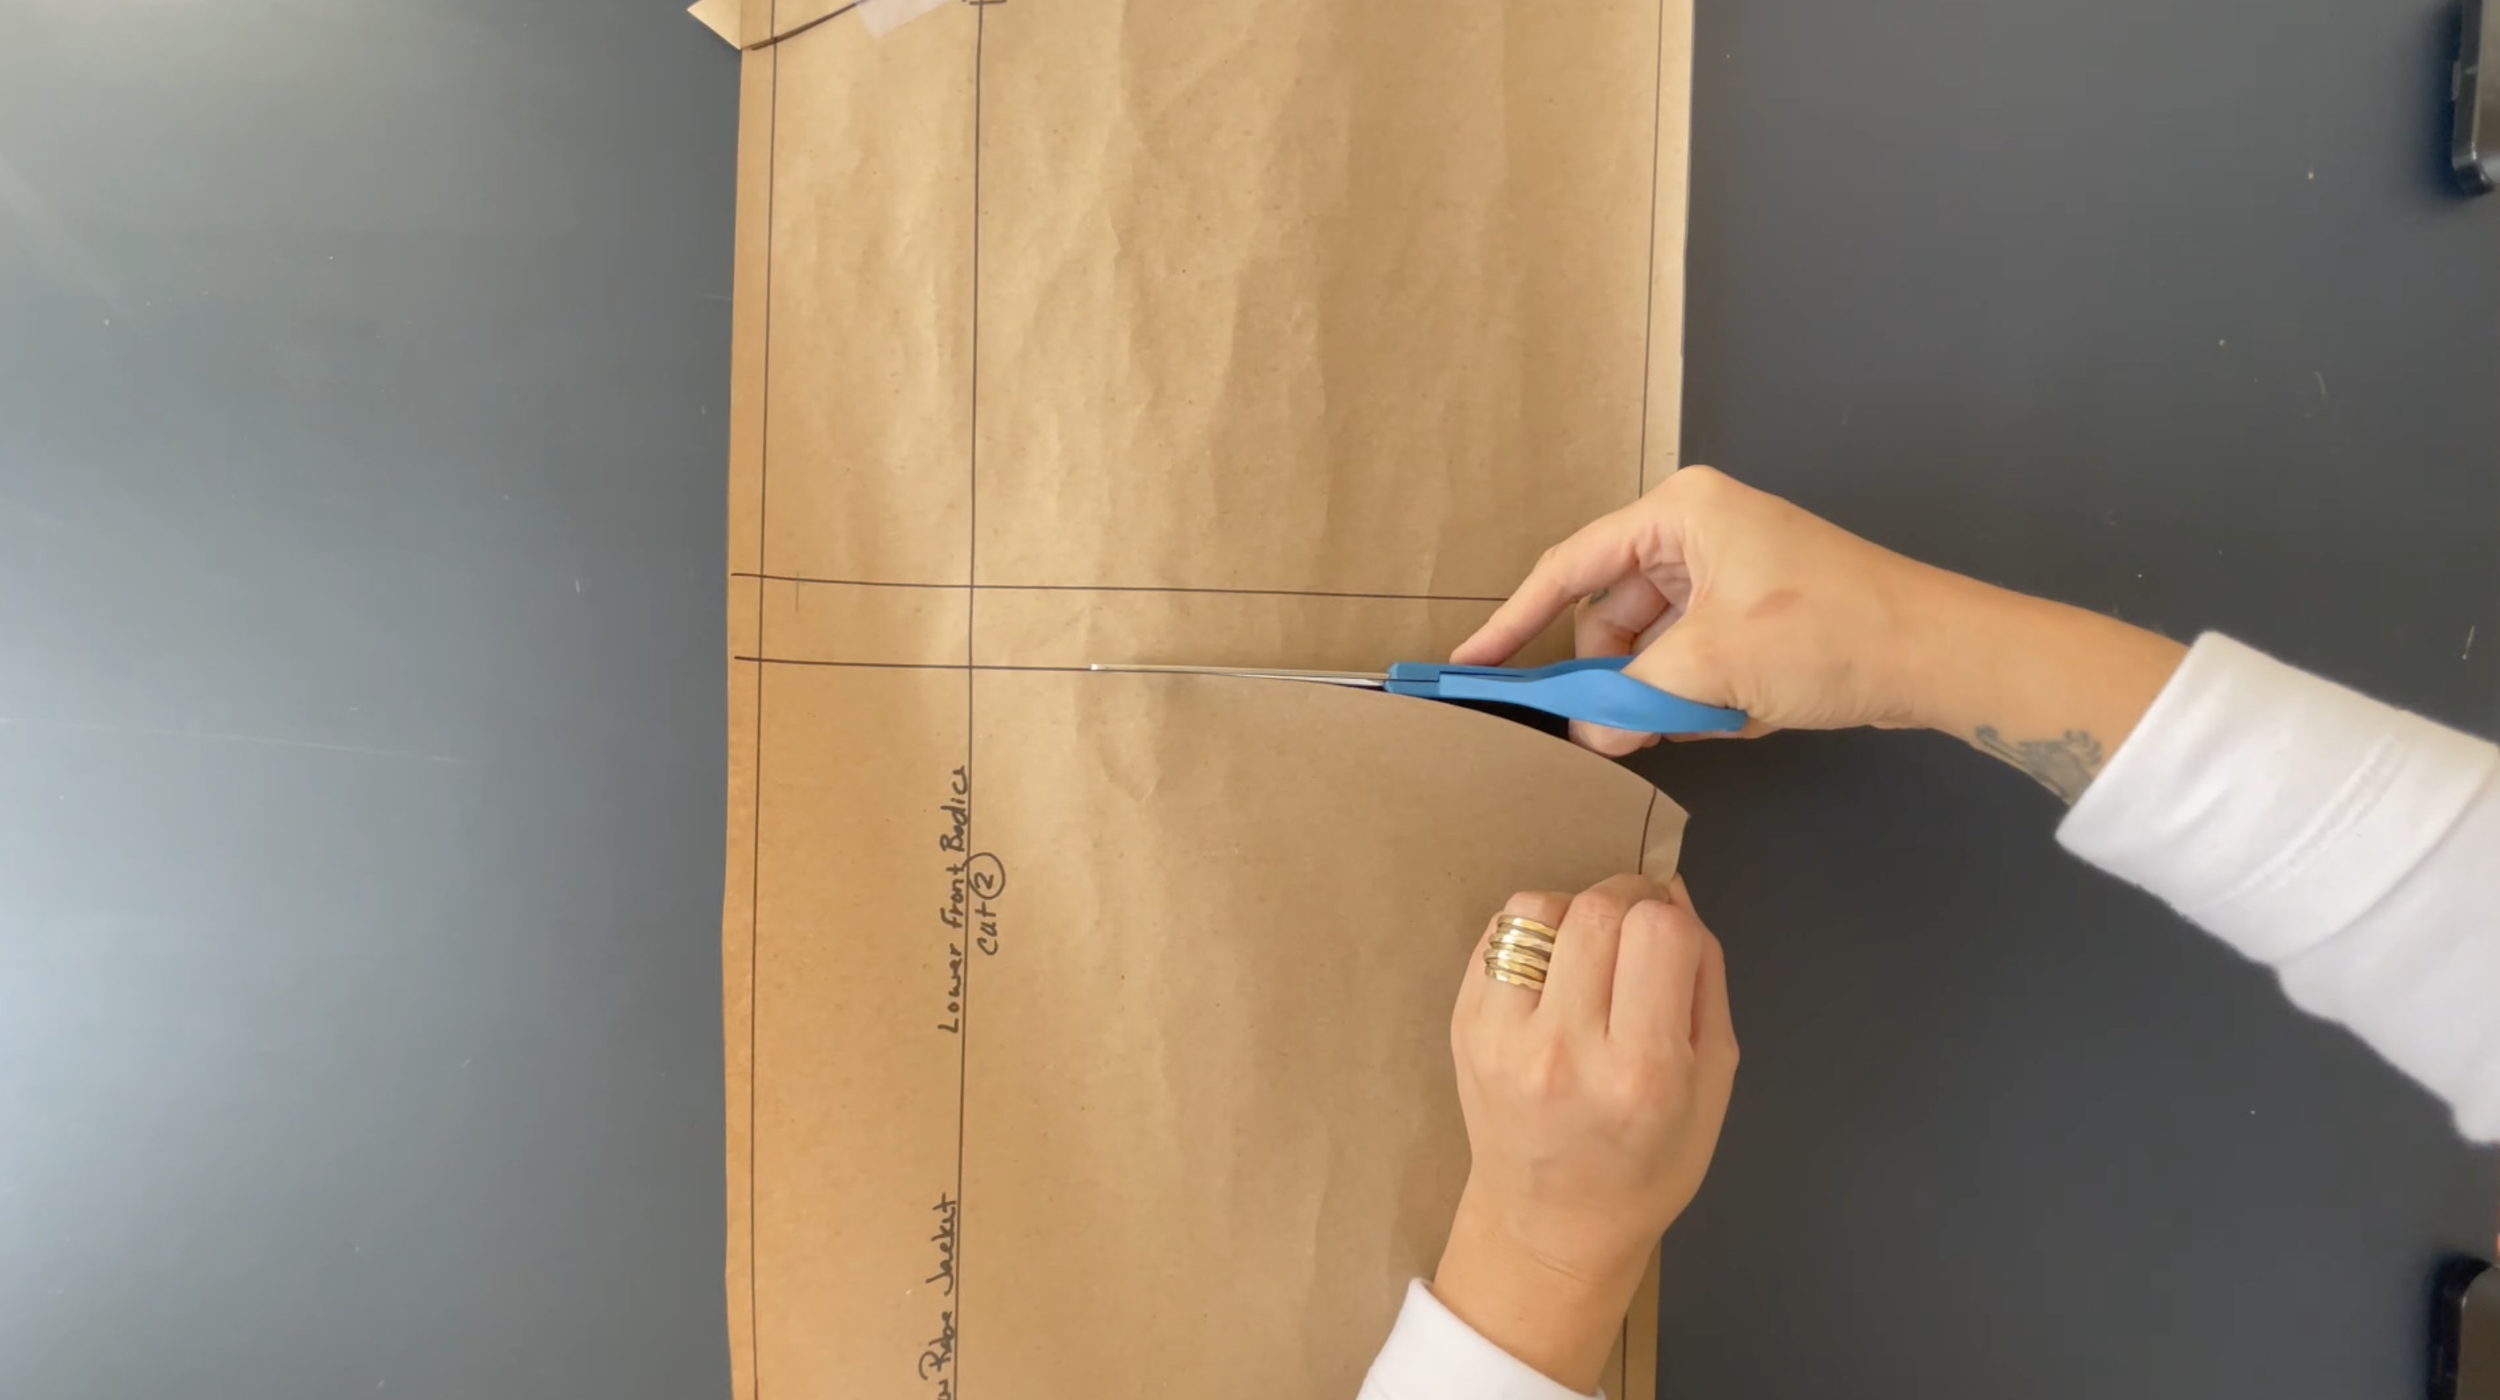
-Trim off the top part of the pattern.
-Cut out the rest of the pattern piece.

-Fold under Upper Front Bodice seam allowance along the diagonal seam.
-Line that piece up with the Lower Front Bodice along the diagonal seam. Tape in place.

-On one side, measure from the top of the Upper Front Bodice down 25” (or desired length) and mark. Seam allowance not included.

-Repeat on the opposite side and connect both marks with a line. This is the new hemline.
-Draw a line 1” below the hemline for the seam allowance.
-Trim off the rest of the pattern piece.
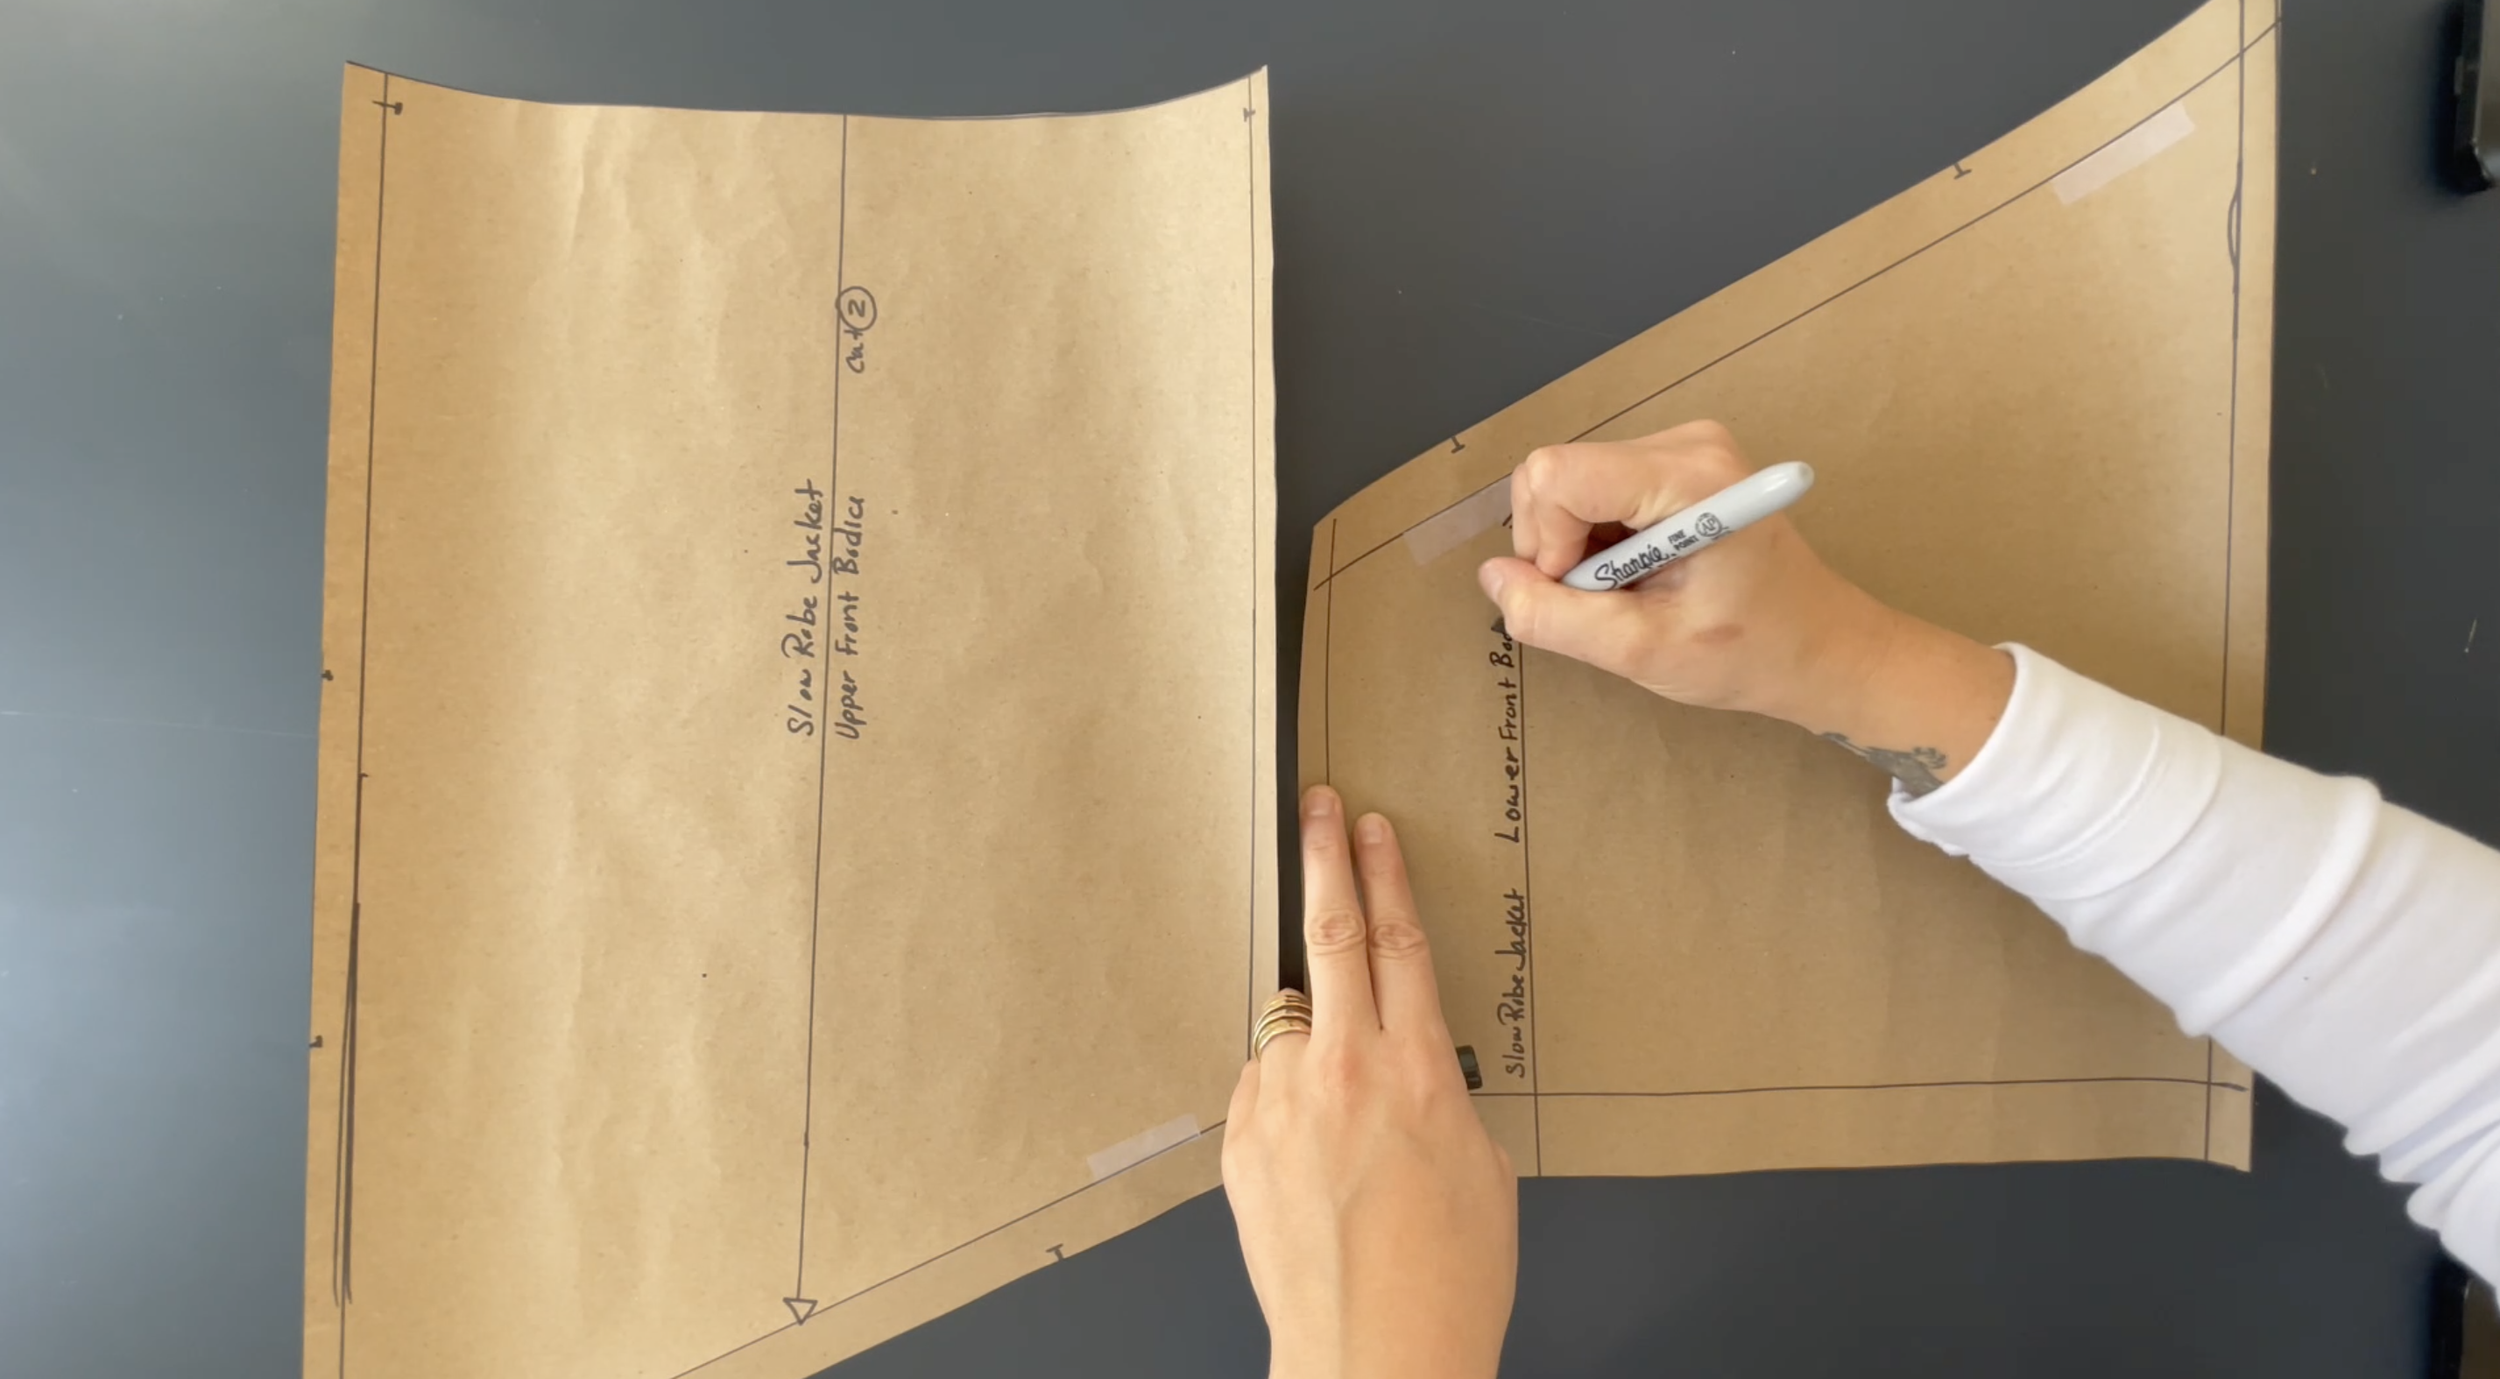
-Draw a new grainline and label the new Lower Front Bodice if both were trimmed off.

I didn’t want to waste more paper on a new Back Bodice piece. So, I just going to folded the original pattern piece and used that to cut.
-On one side, measure from the top of the Lower Front Bodice down 25” and mark. Seam allowance not included.
-Repeat this at the center and opposite side of the pattern piece.

-Connect both marks with a line. This is the new hemline.
-Draw a line 1” below the hemline for the seam allowance.

-Fold the rest of the Back Bodice under and double check that both side seams measure 26 3/8”.

-You can determine the length of the Collar piece after you have hemmed the jacket.
-To do that, measure the center fronts and back neckline of the jacket opening.
-Then add 3/8” to each end.
Full Video
See the full process in the video below, plus how to sew the jacket.