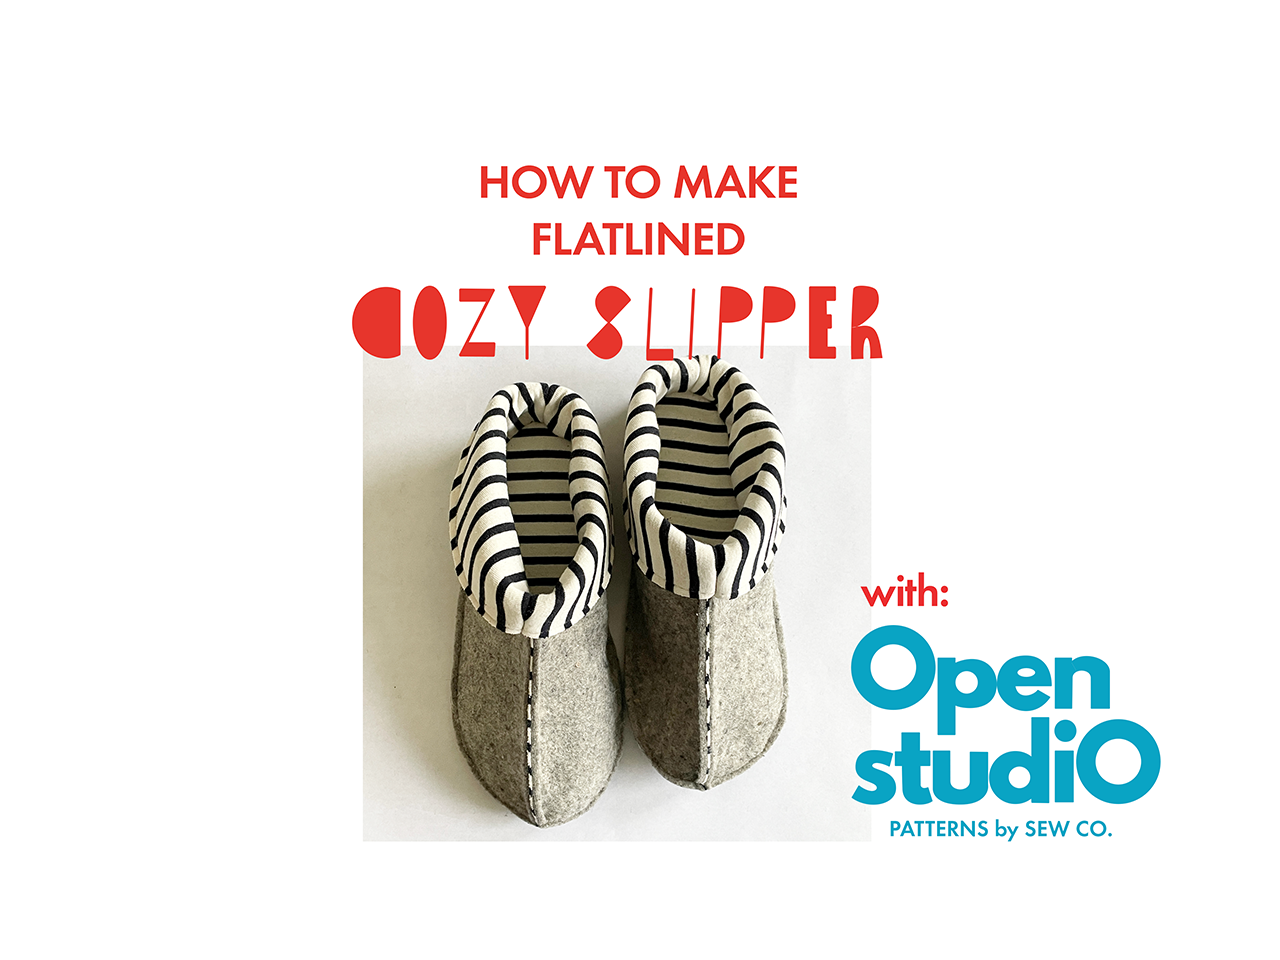
Slippers 3 Ways
Hey ya. Leigh here. Don’t know if you saw, but we have a fun little contest going this month! Sew some of our Cozy Slippers, share your makes, and get your name in the hat for a free Slow Robe pattern, which just released last month. It’s a combo made for quiet winter baths and tea, and you should be livin’ that life right now with the other chaos happening often right outside our door, even if it’s just for a bit.
There’s a great slipper sew along that Jonnie did, if you want to go exactly like the pattern, with lining and batting. I decided to do a few with slightly different constructions just to get the wheels turning for you. The first two I will give you the brief on and some images, but will go into more detail with the third one. Here we go!

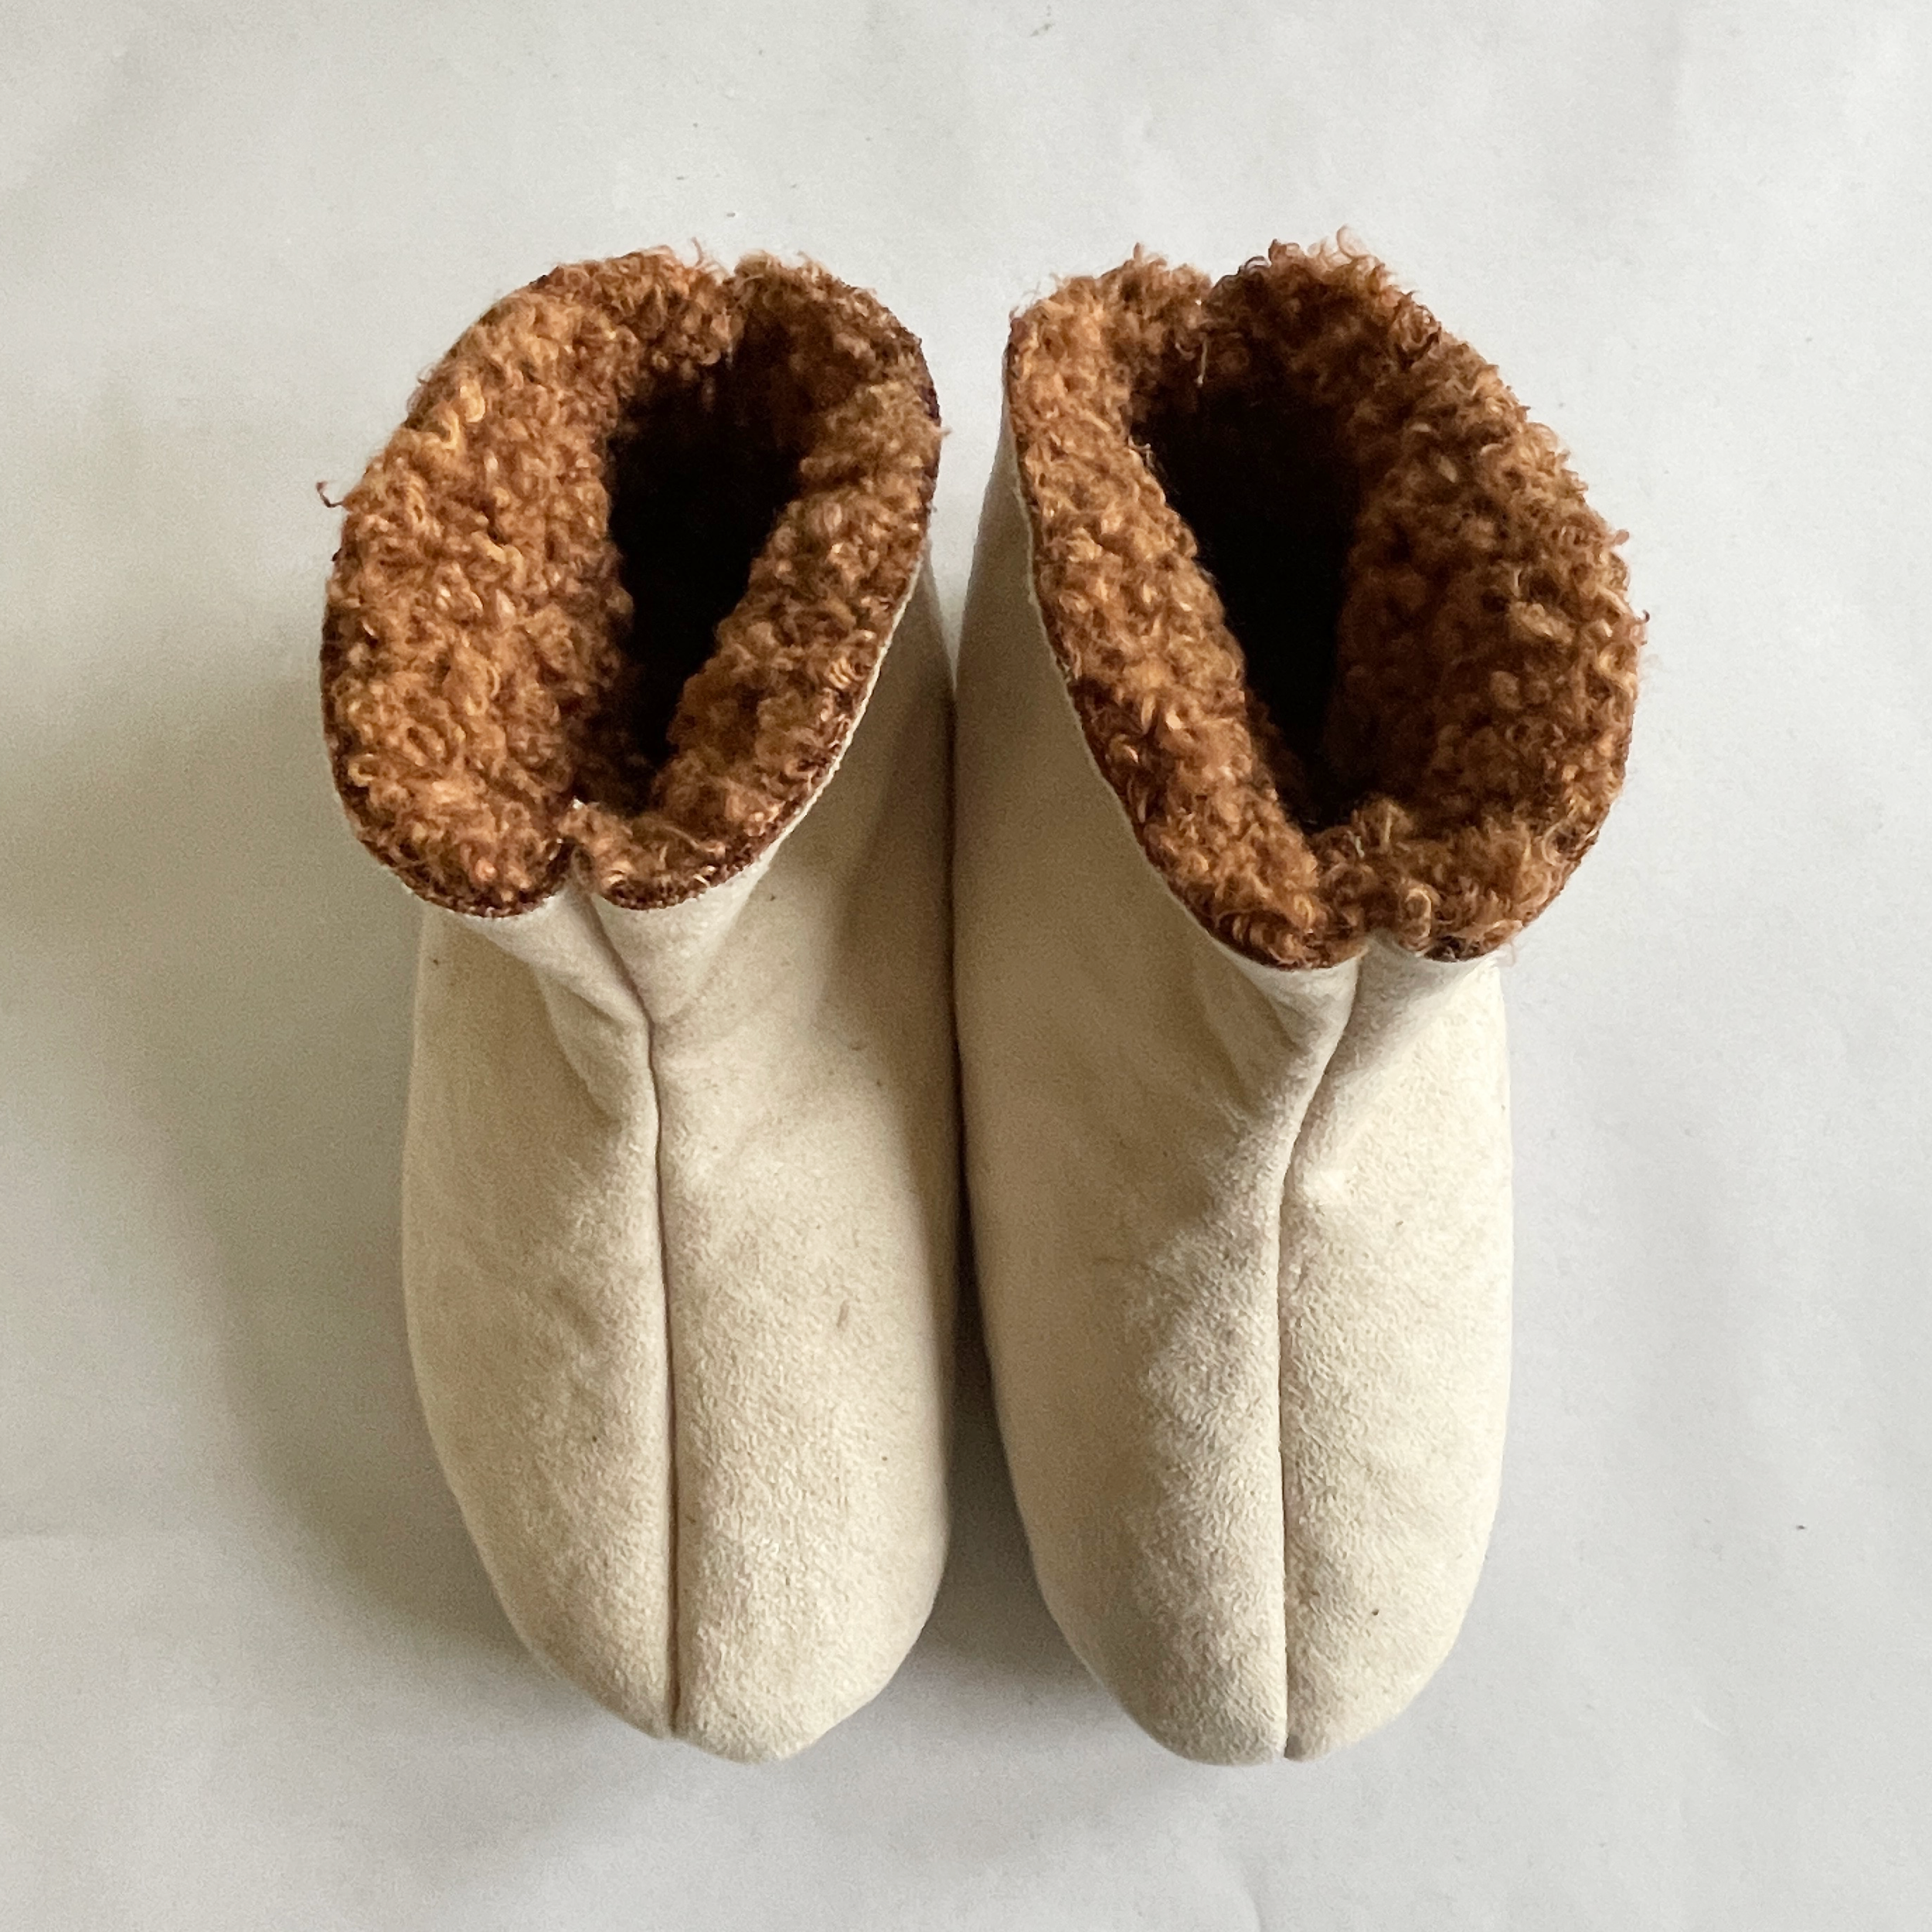
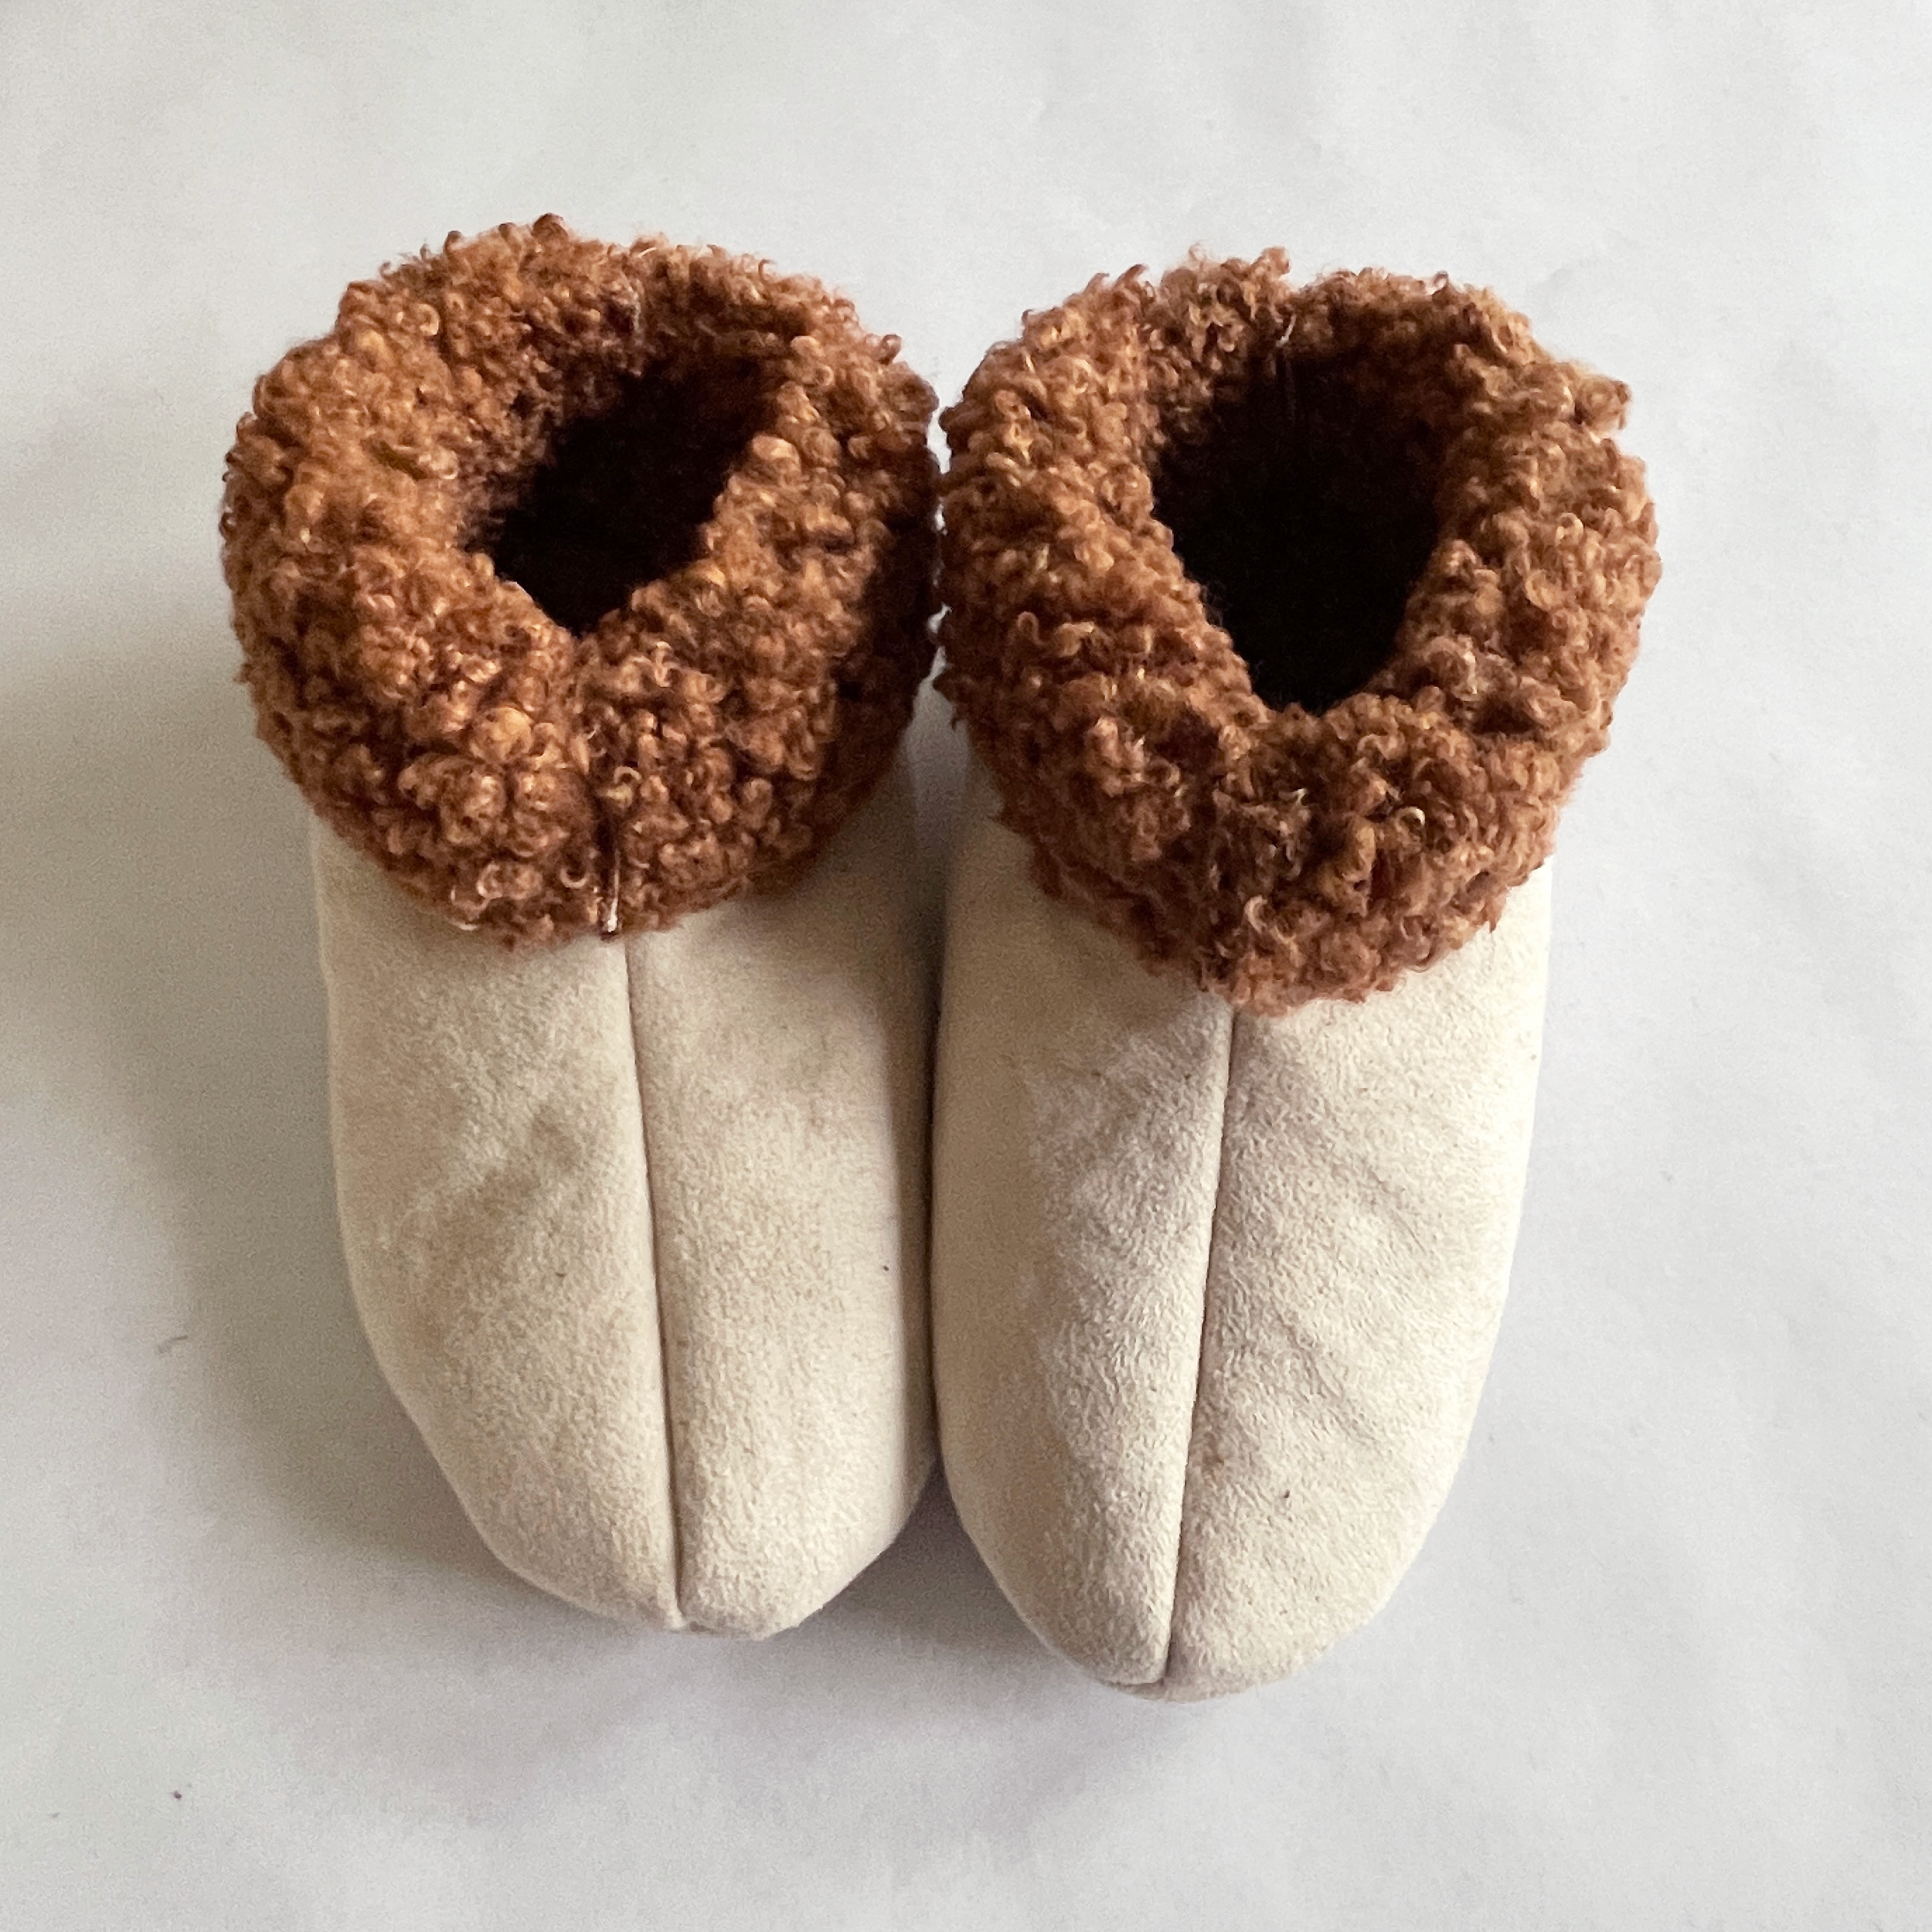
Jack’s Fluffies - Aptly named for my son, these are super warm. I would have loved to use a real sheep skin, but I couldn’t find one locally so I bought a fake one from TJ Maxx’s. I maxxonista’d all over their rug section. This thing is really thick, but fortunately, the “fur” is bonded to the back which is a microseude so it doesn’t continue to shed eeeevverywhere when you cut into it. Once cut, I also shaved down the seam allowance a bit to make it easier to sew. These guys are unlined and just a single layer, so other than the machine wrangling and inability to see where you are driving, they sew up really quick! I did deviate from the pattern by completely closing the backs, at Jacks request. The top is left unfinished.
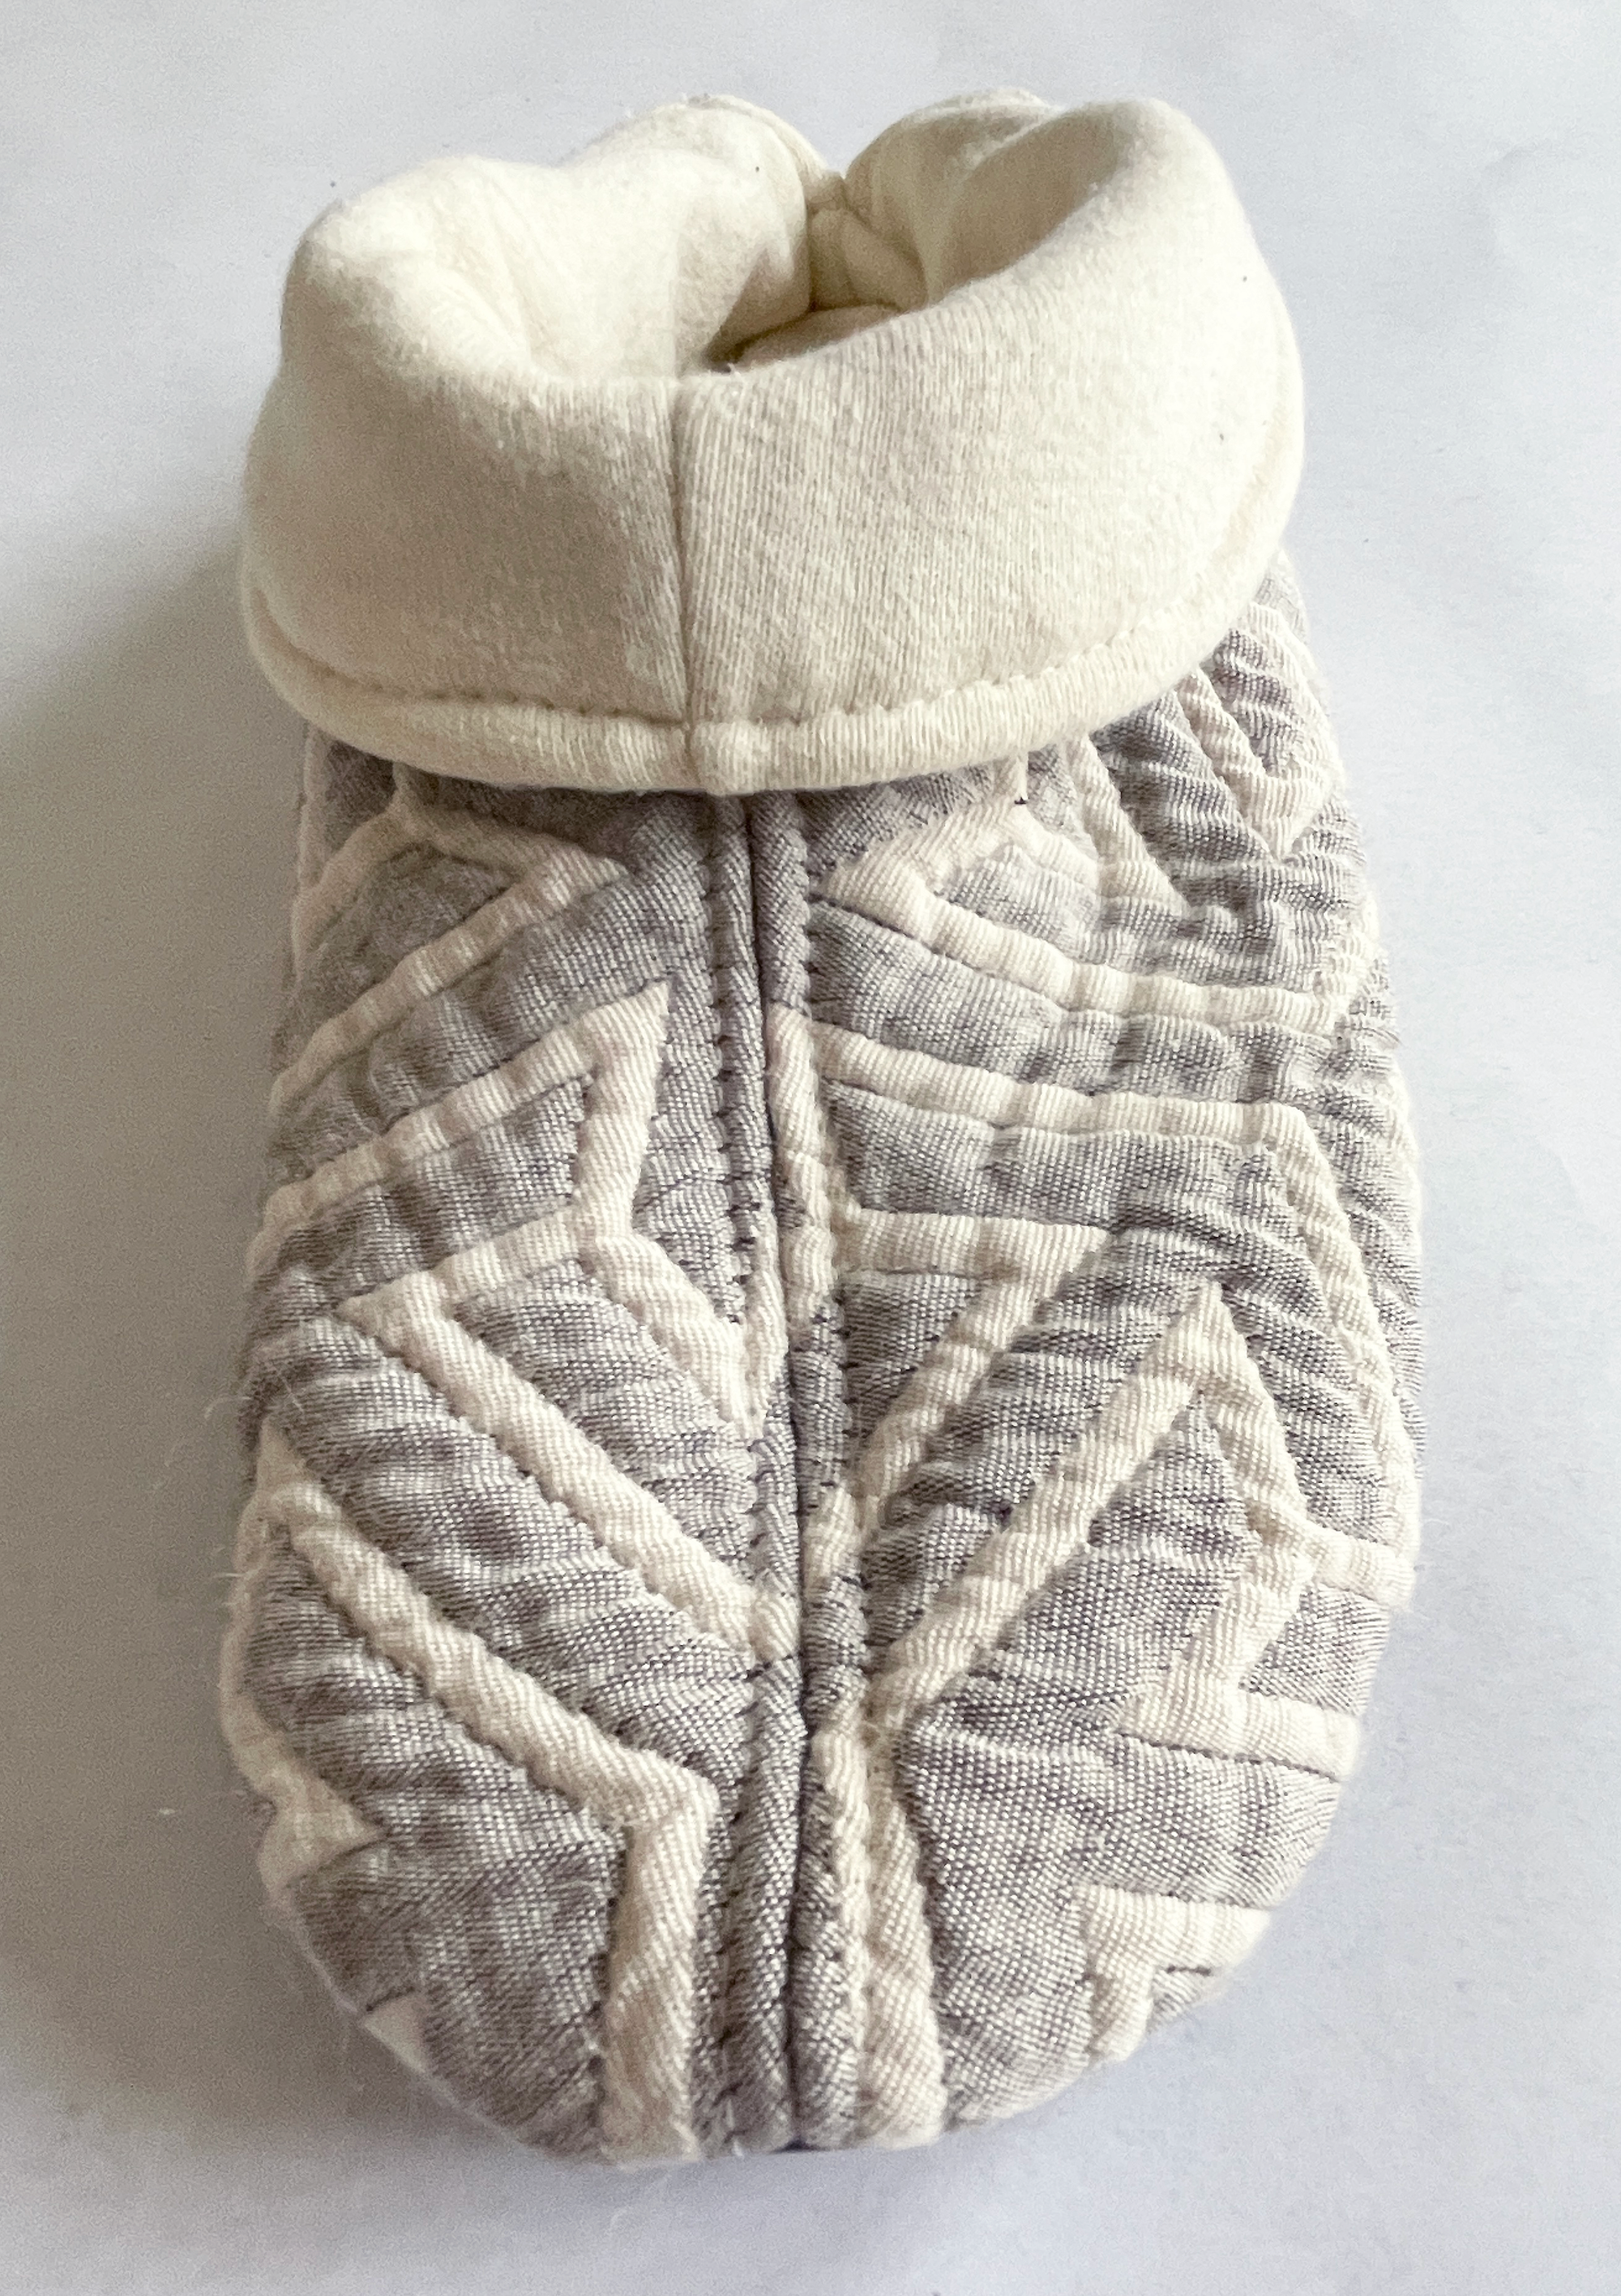
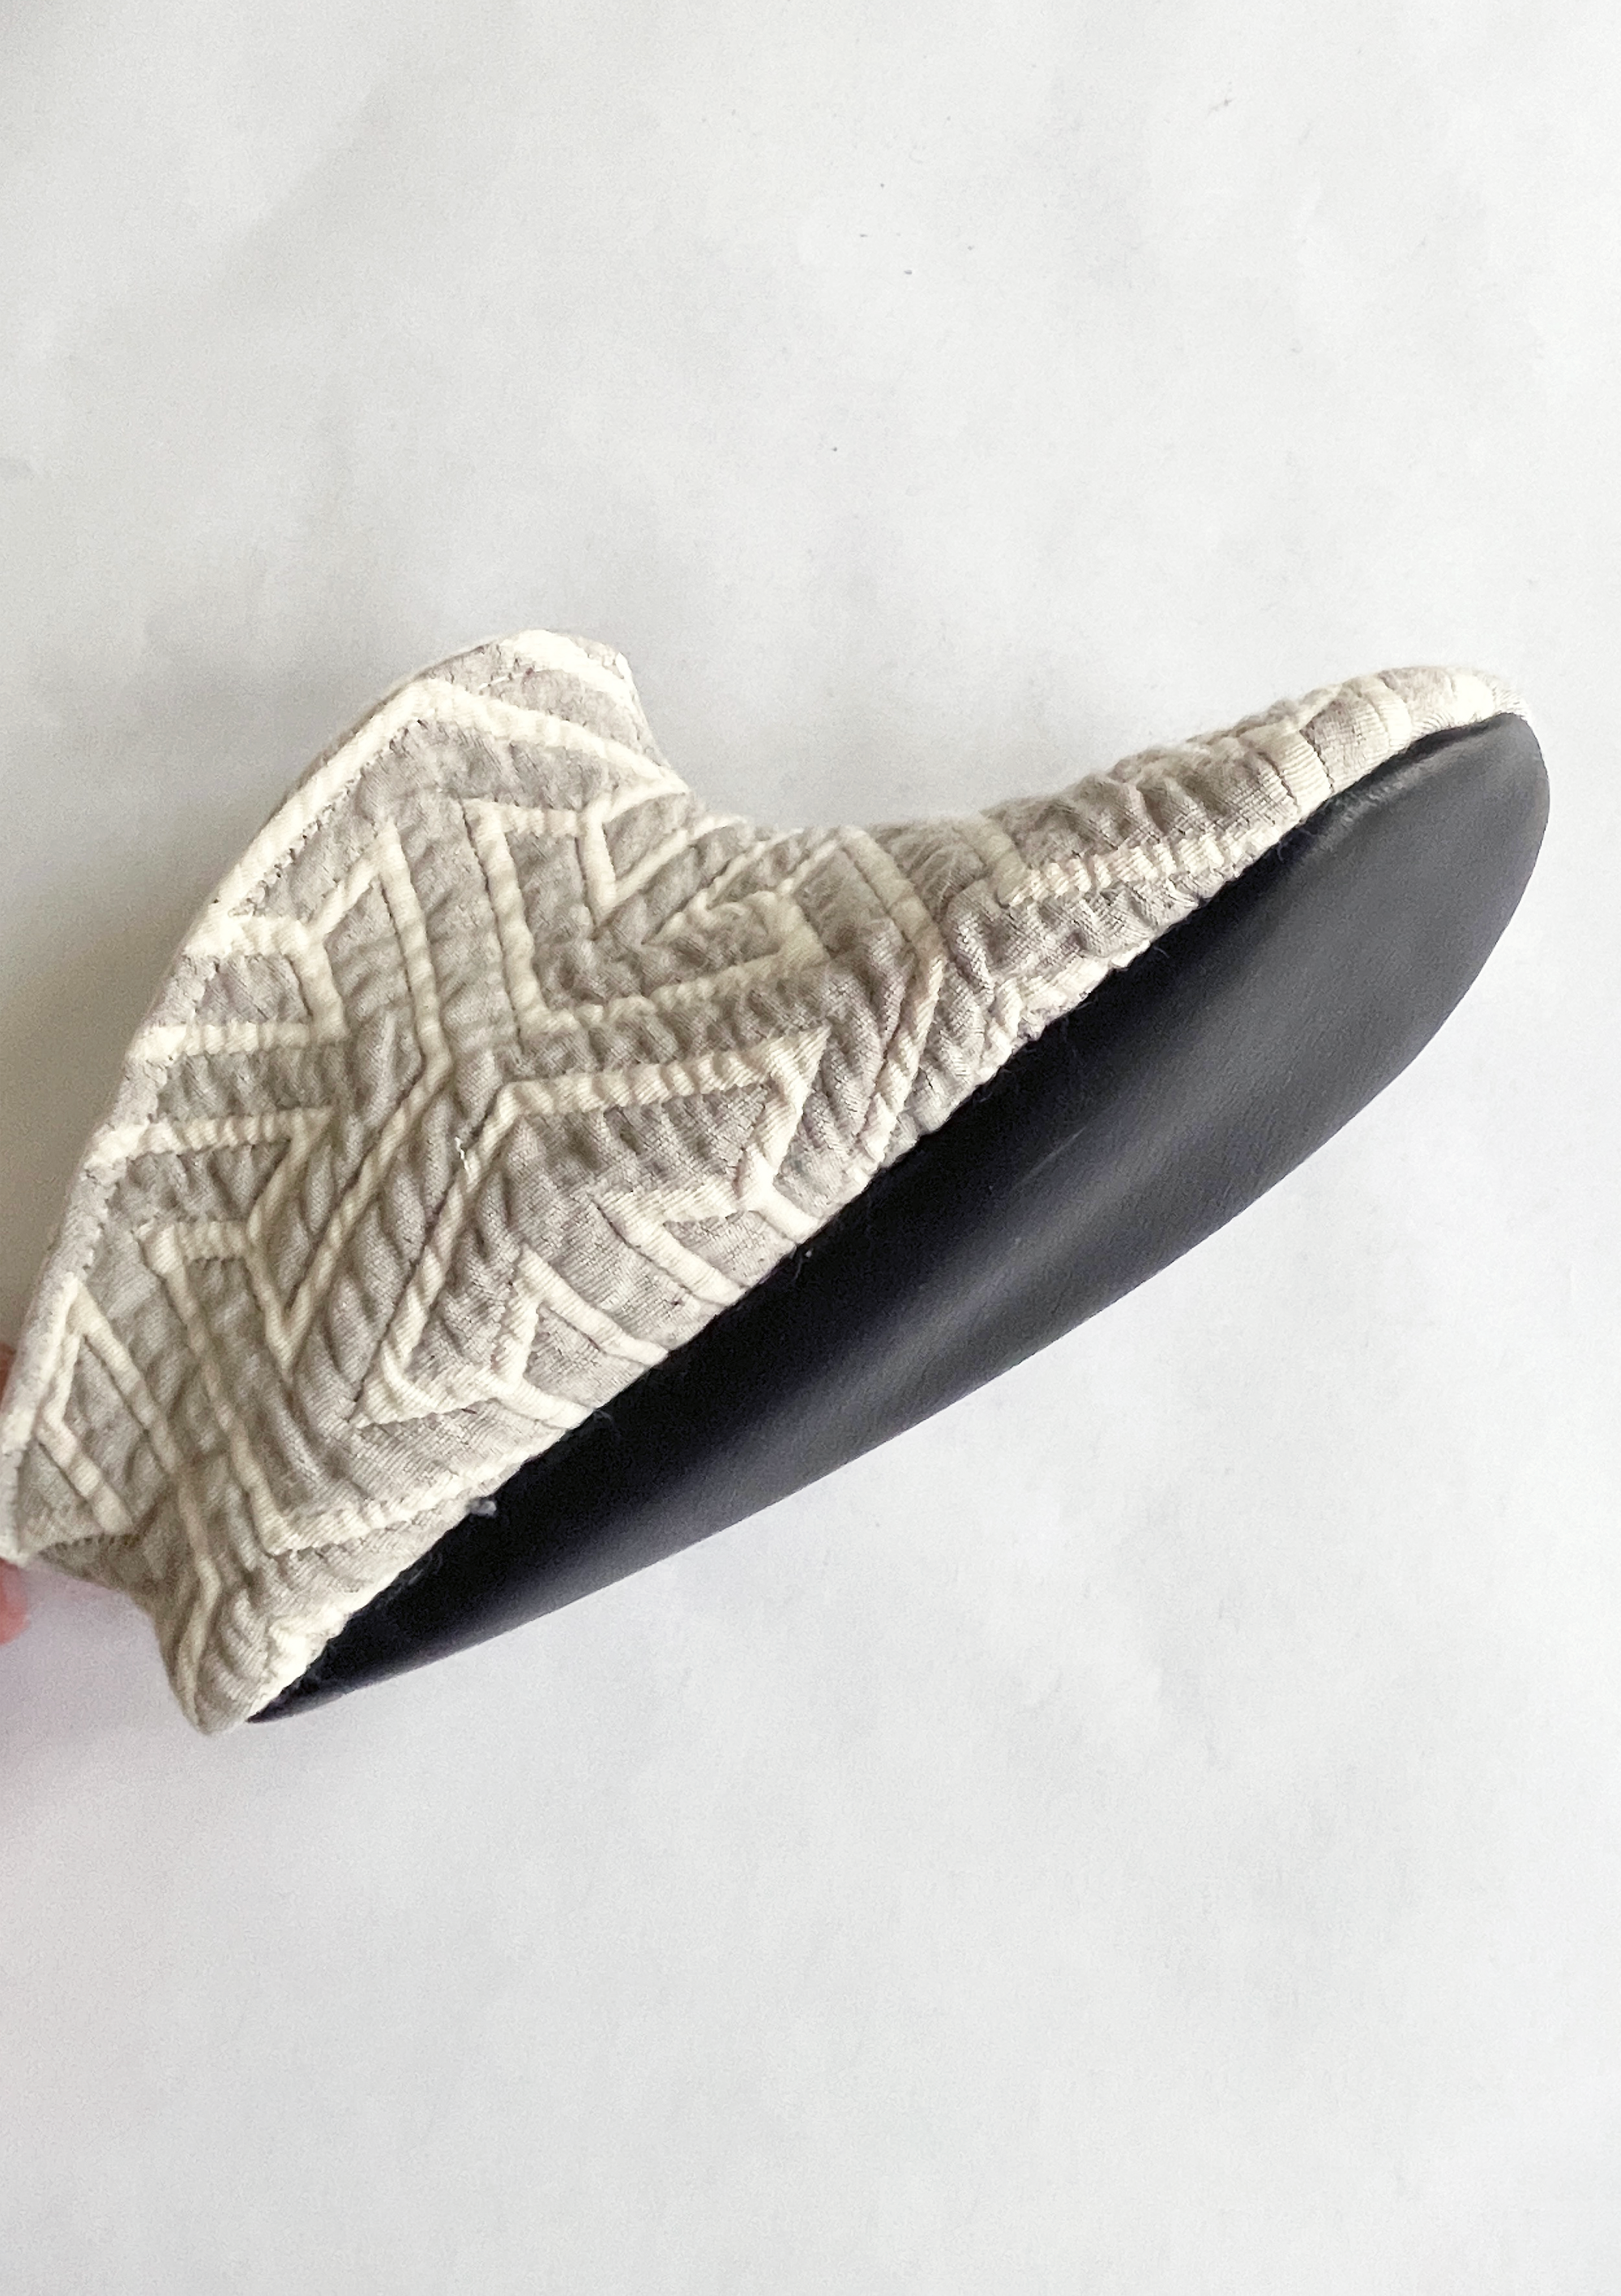
2. Oriole Matelasse - This beauty of a fabric was made at The Oriole Mill in Hendersonville NC, I had a small piece, so this was a perfect scrapbuster project. The fabric construction is double weave cotton that is stuffed with wool, so I also opted for no batting here, but did use a nice organic french terry for the lining. It still feels substantial, and I finished it all off with a leather sole. Only deviation was leaving out the batting, and adding some top stitching down the top front seam.
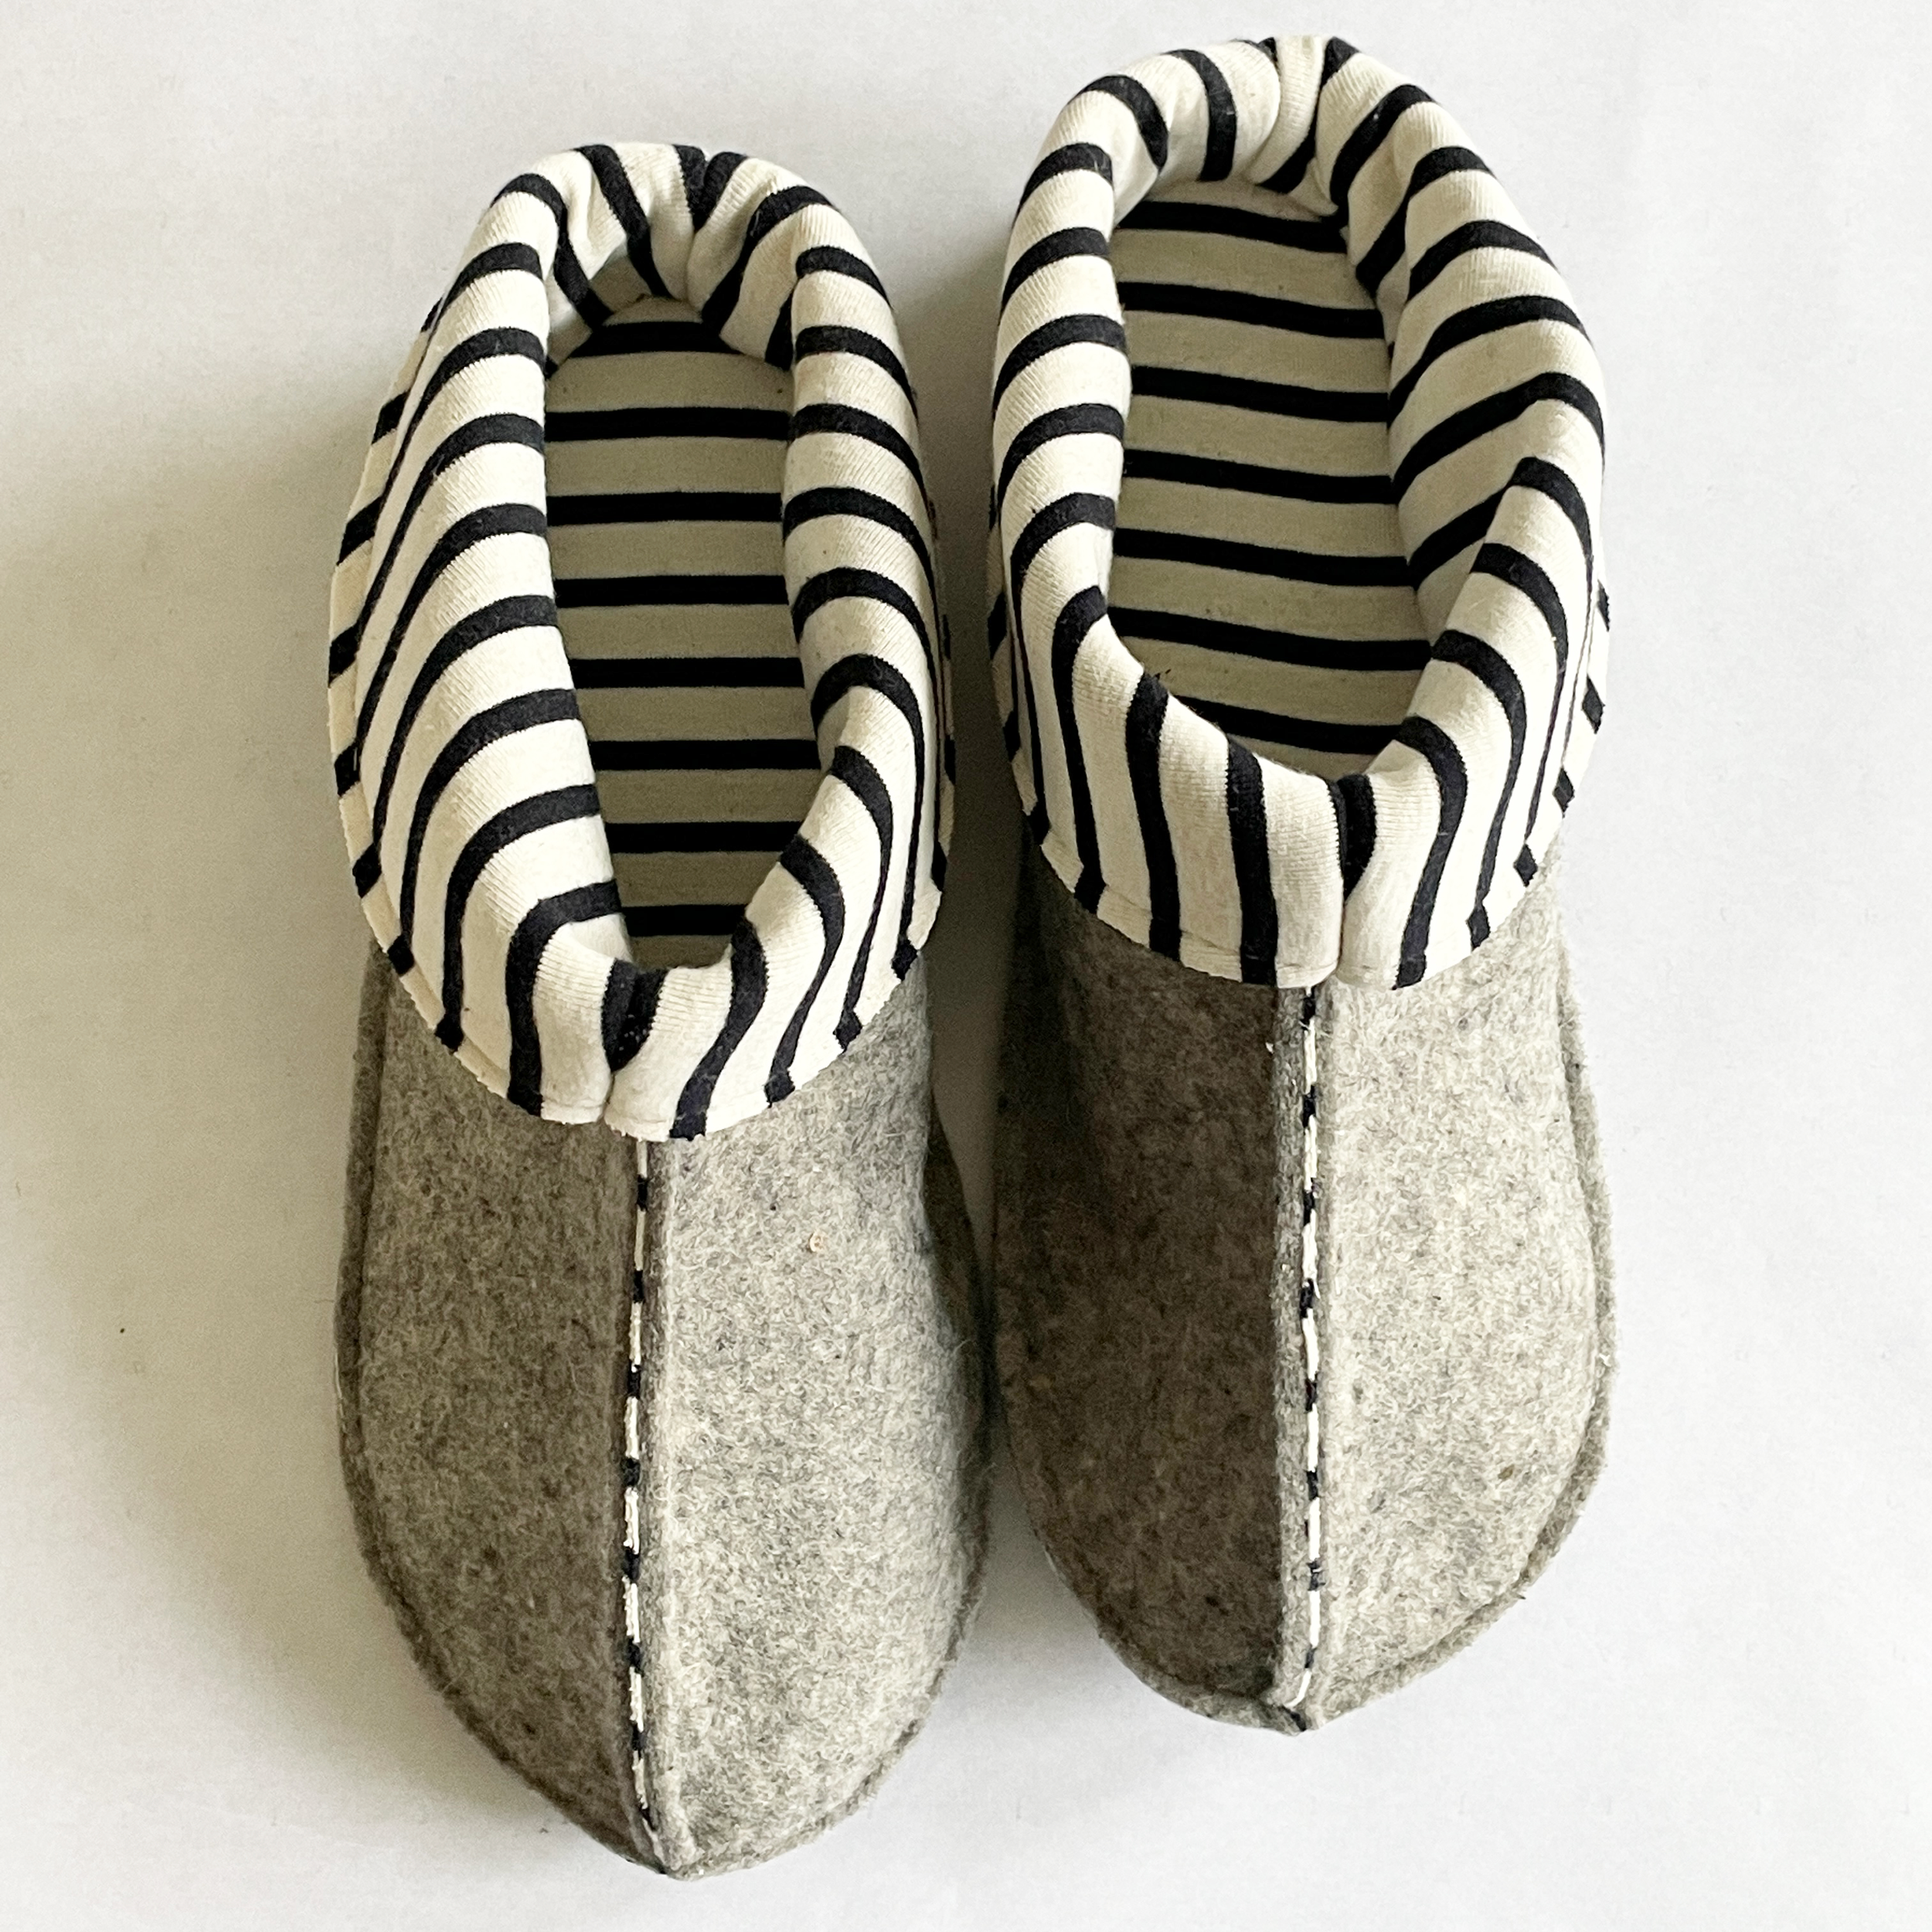

3. Felted Woolies - These were all some nice scraps I had, so I was excited to actually make myself a pair finally! I gave quite a few of these as gifts last year. The wool felt was from Sutherland Felt, a resource that we use at Sew Co, and the organic stripe knit jersey was from Spiritex, another local Asheville company we love to support. I also added the backside of some green leather I had forgone for a purse for the soles - suede side out for extra grip on the floor. The wool is about 3mm, and gets pretty thick at the seams. I wouldn’t go any thicker than this on my home machine, which is a very amazing Pfaff 1530 that I bought about 20 years ago, and ran like an industrial for years. It has the best thing ever - an integrated walking foot! It makes sewing things like this possible, along with a needle meant for leather. You can also find this as an attachment for many machines. Still, I was pushing it here, as I am known to do. A dinky machine probably wouldn’t be able to handle this project. The idea here is that all seams are to the outside, and then get trimmed to be perfectly even. Keep going to the bottom to see the video, but here’s some of my notes:
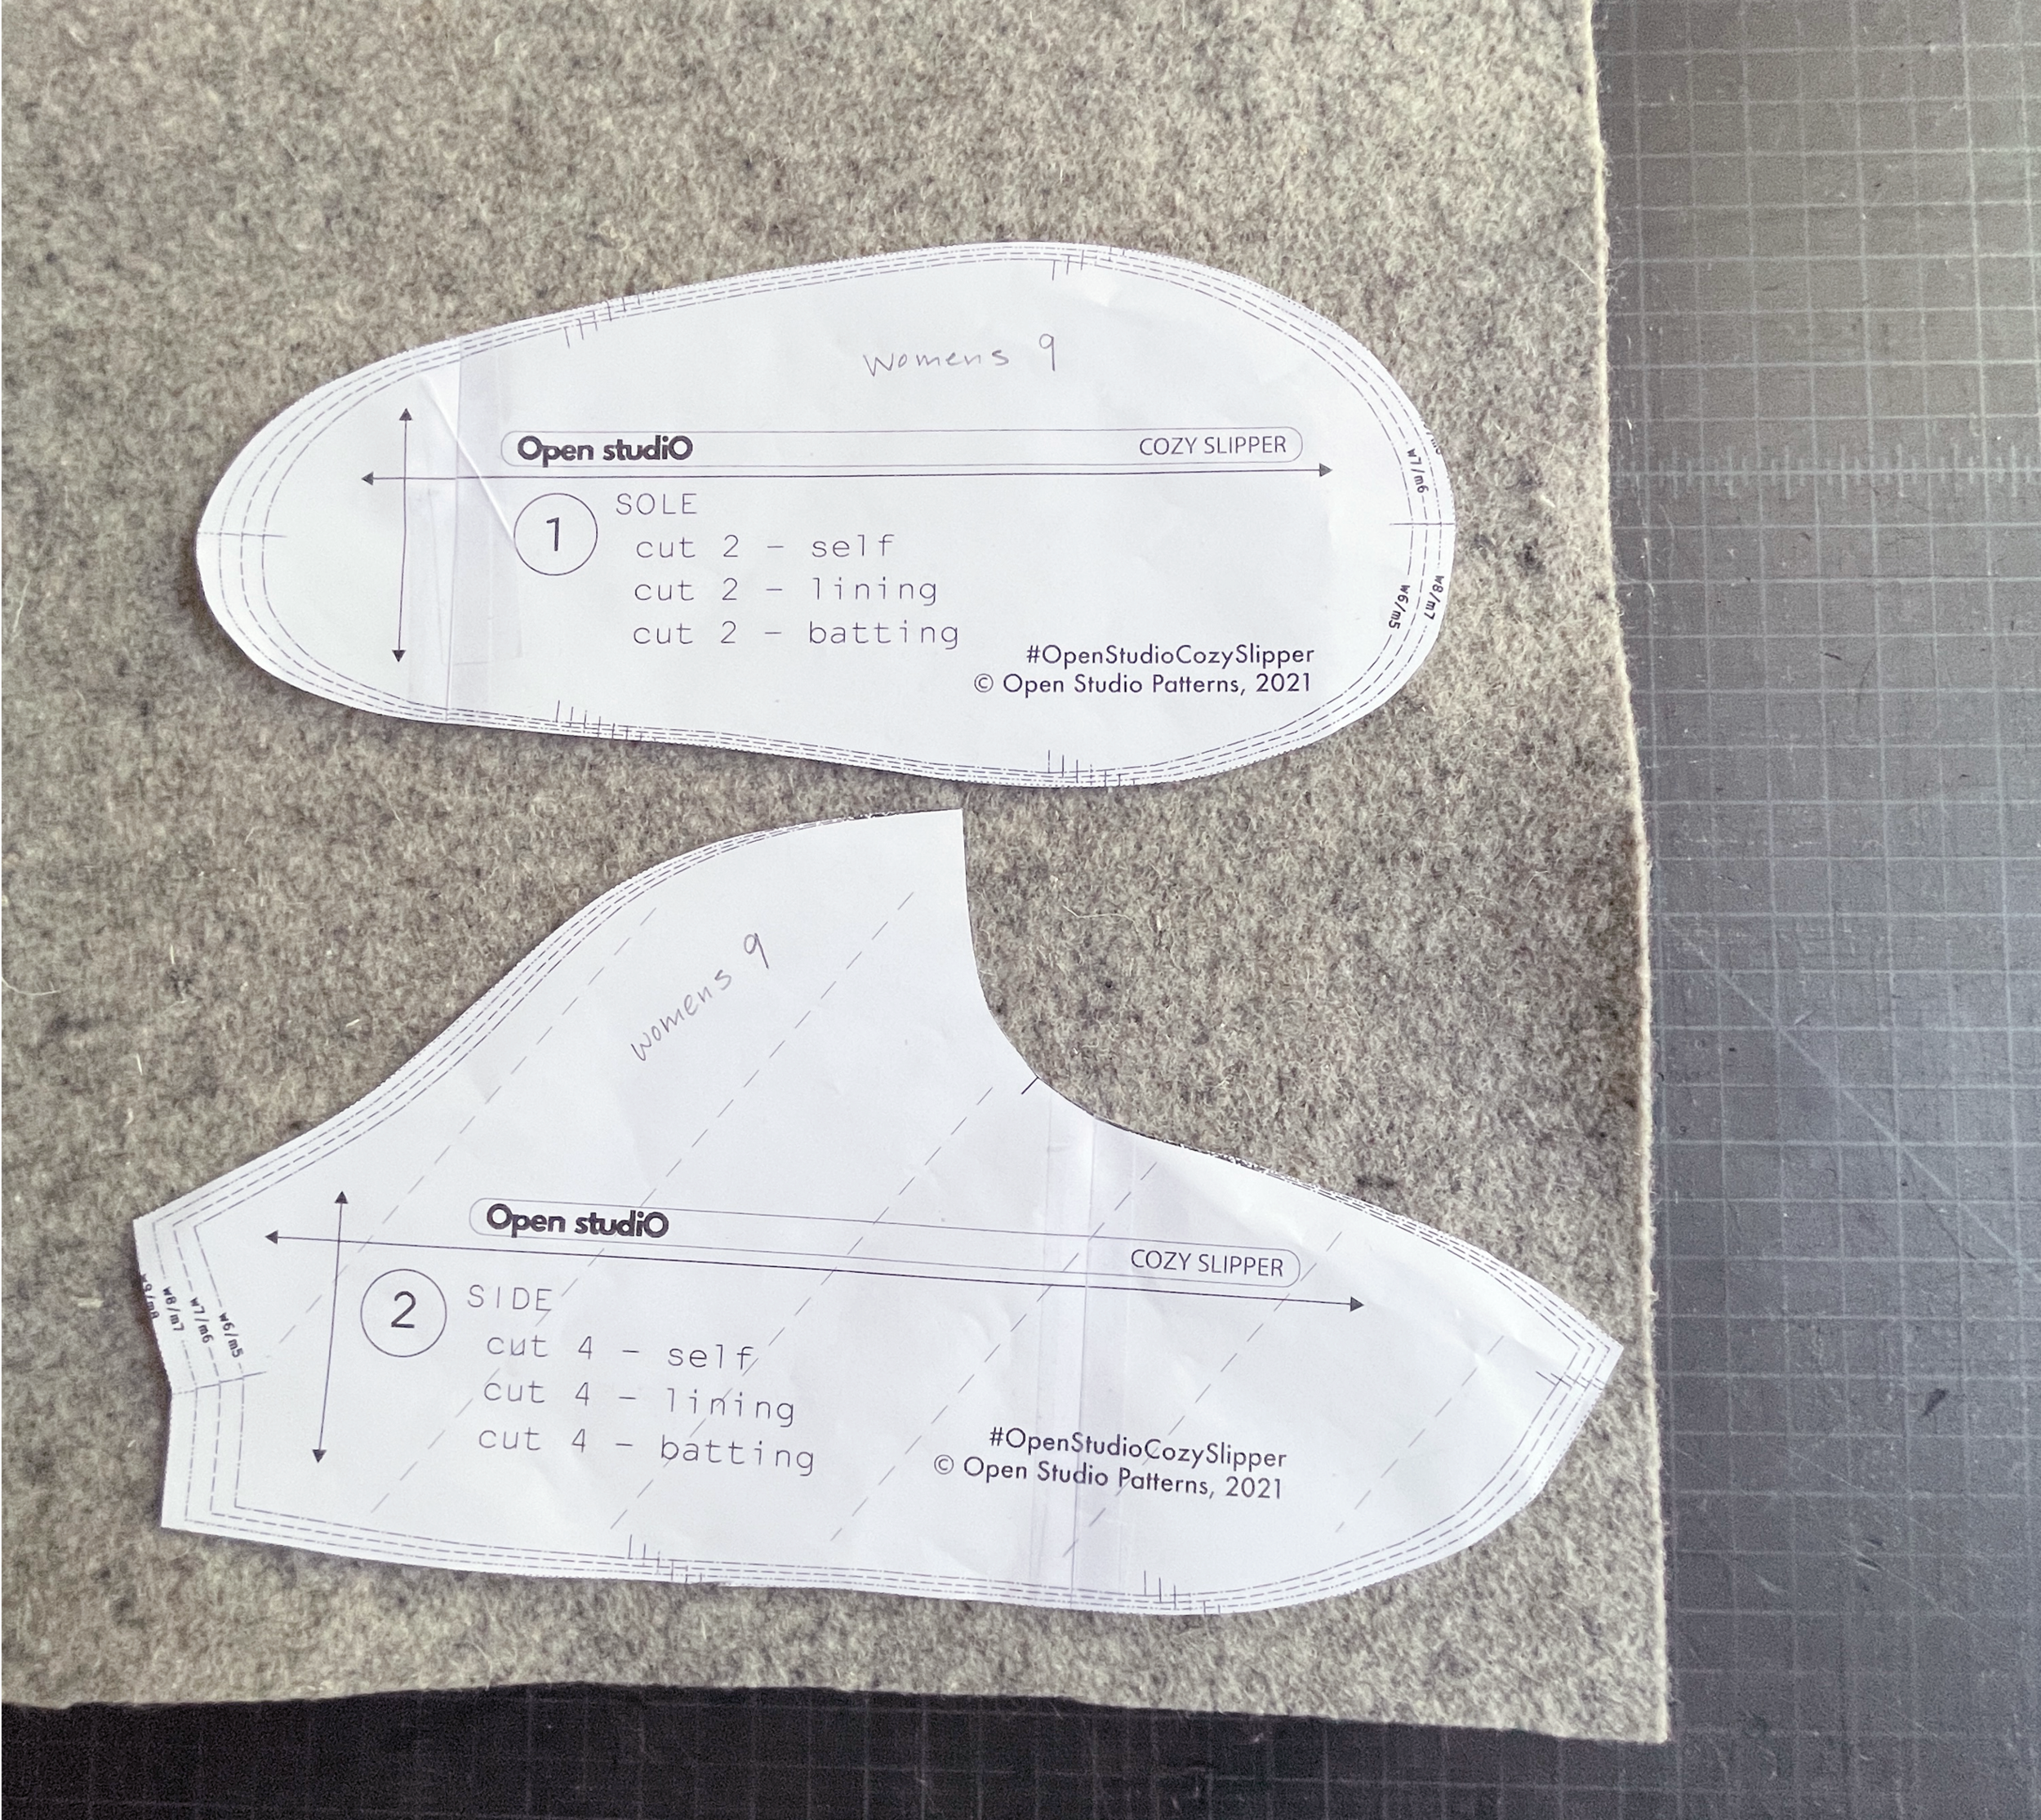
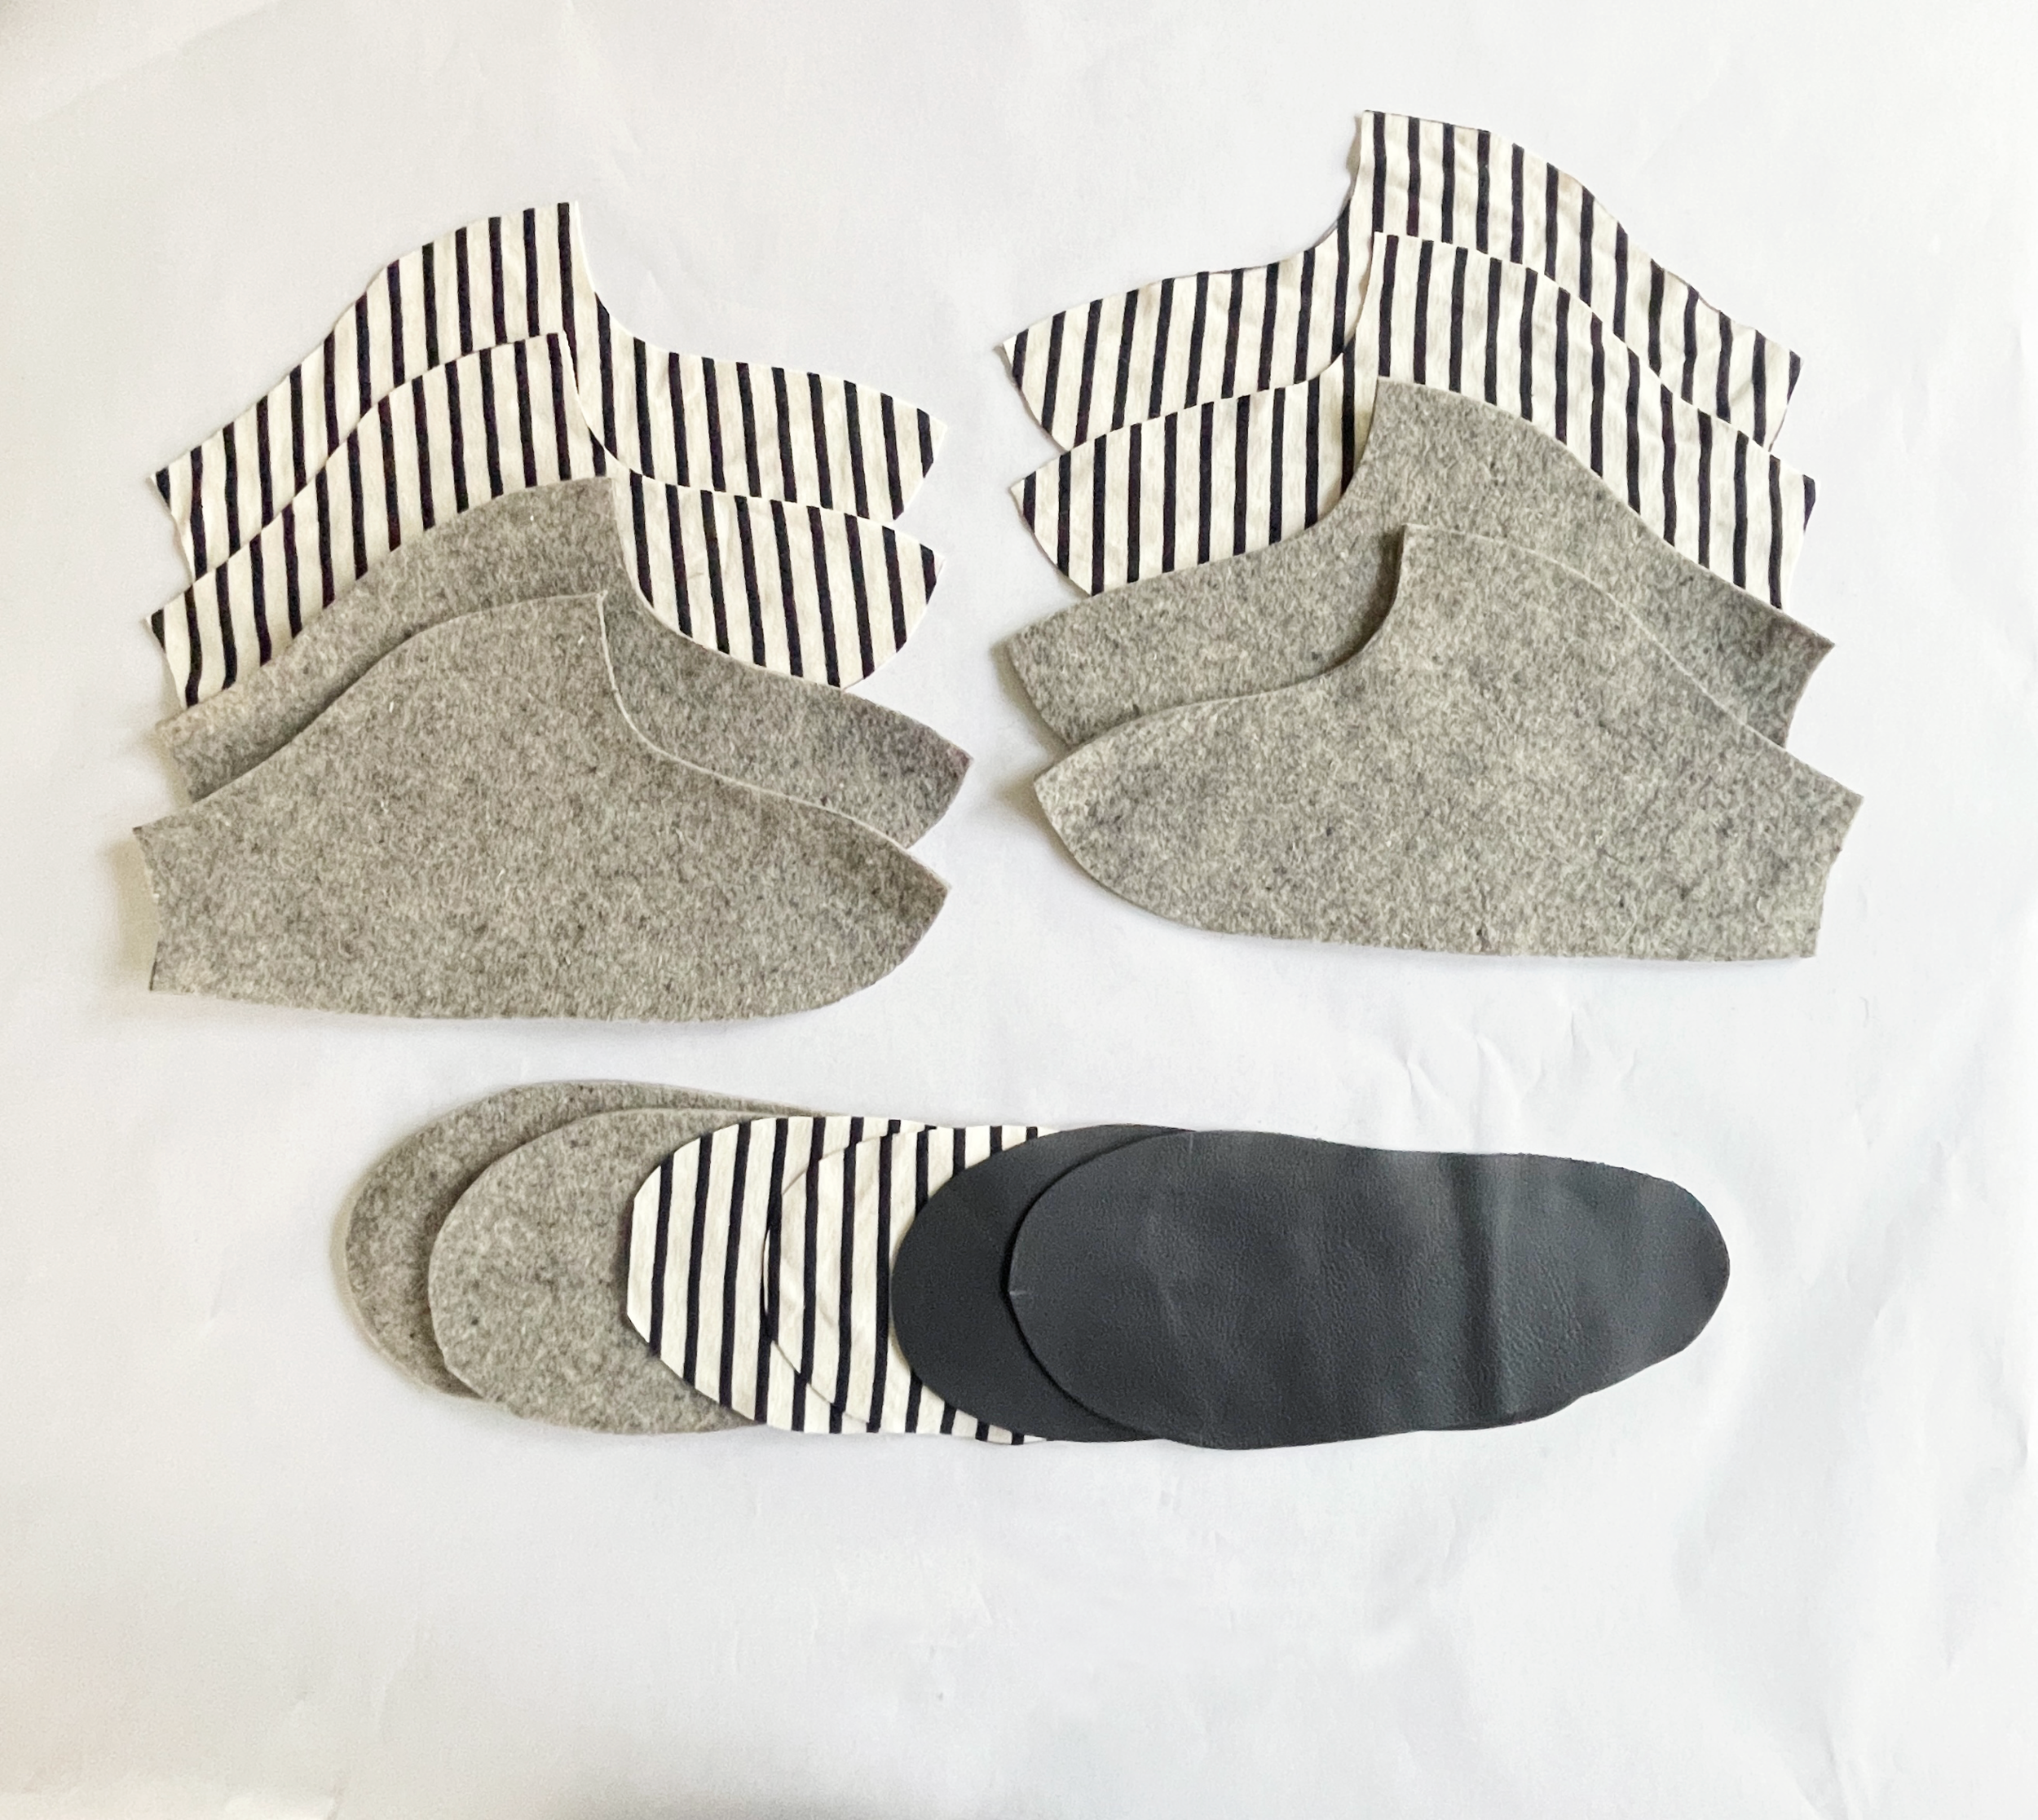
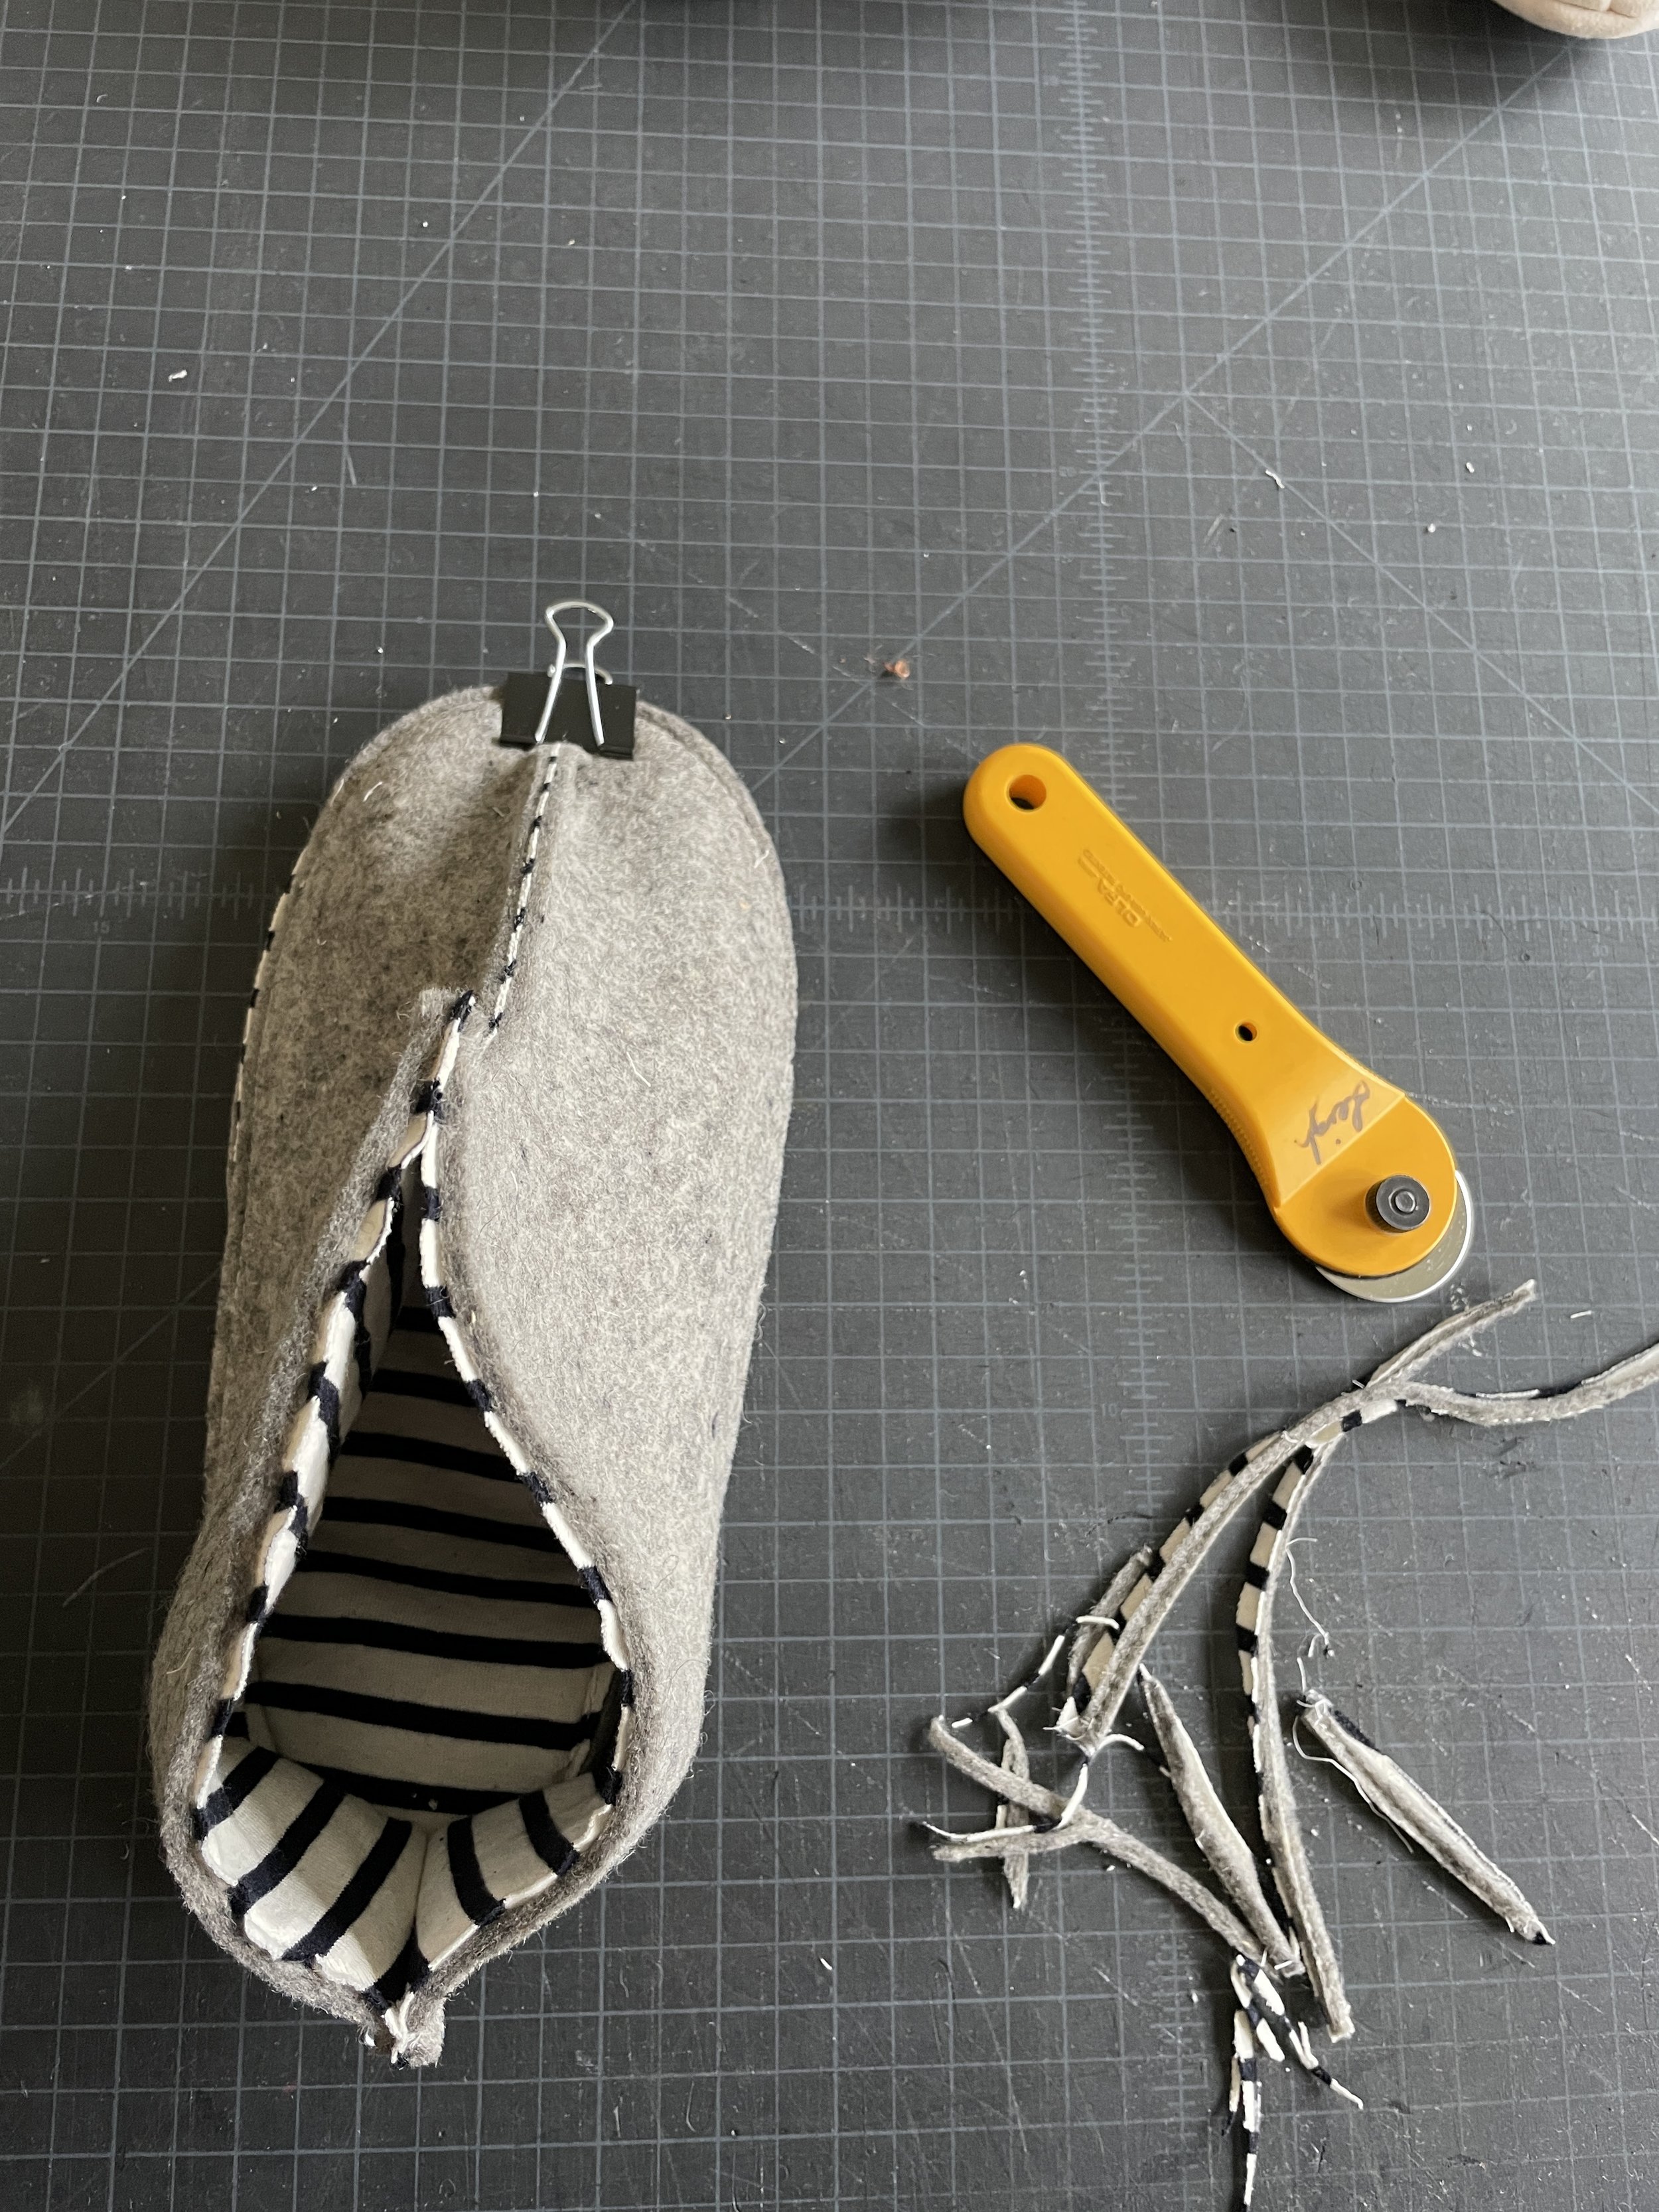
CUTTING - Since this felt does not really have a grain, I cut it whichever way I could to conserve fabric. The jersey definitely had more stretch across the grain, so I ran the length of the sole the opposite way to reduce the stretch when connecting the sole to the body. For marking the leather, I used a regular silver colored pencil. I love using a rotary cutter for things like this. I have a big cutting mat on my table so I can use the entire surface, it’s a dream. You MUST have a sharp blade here, otherwise it gets dangerous when you’re dealing with thicker materials like felt and leather. Another tip is to cut off pieces in sections so that they are easy to maneuver. I turn the material instead of the cutter for more control around curves. This is especially important when you are leaving a raw edge on something. The last thing you want to see is a ragged, mis-cut edge.
SEWING - This moves pretty quick since we are not using batting. Instead we will be flatlining. This means we will sew the lining (stripe knit) directly onto the felt and leather to create a single layer that then can be sewn together. Here’s the breakdown.
Flatline all sides and soles by sewing lining to felt. Don’t forget you need mirror images, so be careful you don’t make 2 left sides of a foot like I did :) When flatlining, make sure your seam allowance is within your final SA, which here is 3/8”. I sewed at about 1/8”. In this construction all seams get trimmed so you never see this stitch line. I then attached the flatlined soles to the leather, and the sandwiched felt created a little padding.
Stitch front seams and back seams, right sides out. Trim down to between 1/8 and 1/4”, depending on your comfort level. Go slow and smooth with the trimming here.
I use wonder clips or binder clips to help hold things that I can’t pin. Match up your notches on the sole to the body, and use some to hold those thick seam places, right side out again. You will probably have to muscle this through the machine a bit. Go slow and use the hand wheel to help walk it over those beefy places. The toughest place is around the tighter curve at the back of the heel. I feel your pain here. Just finagle the material by pressing it flat and shifting it when necessary to get around that.
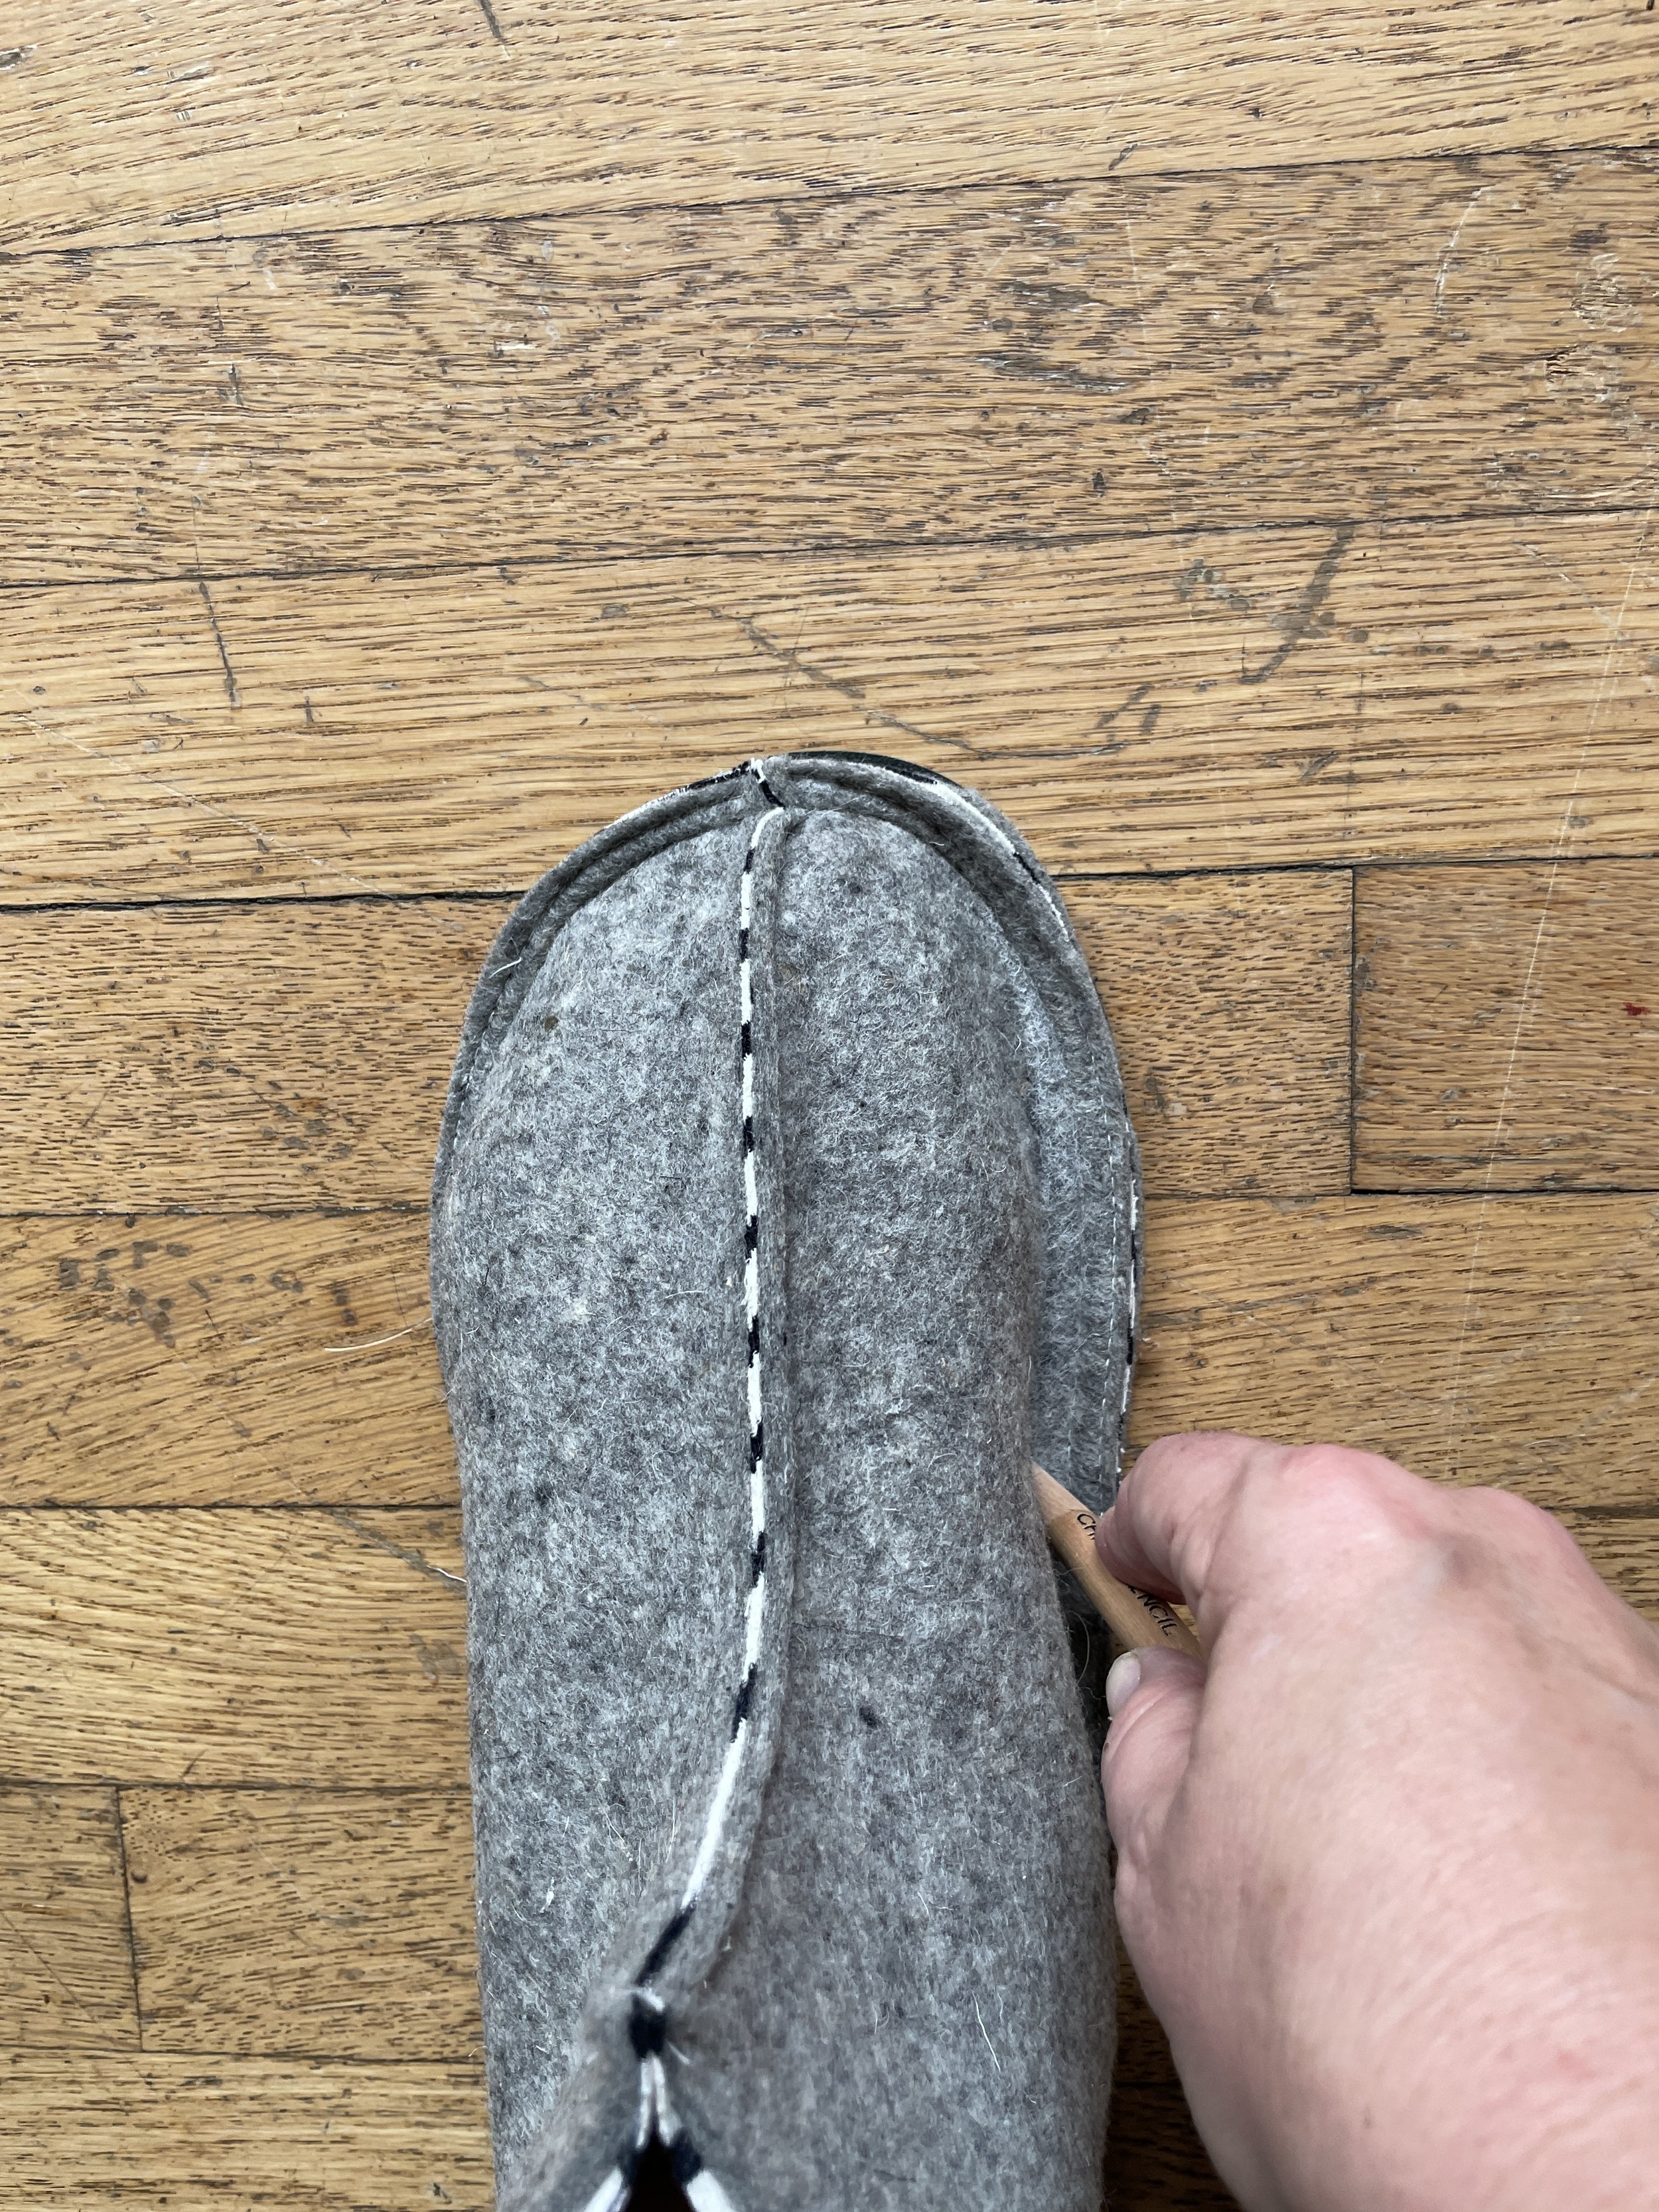
Trimming again. Be extra careful here to not go through your finger or the stitches. Some of you might be finished here, but the cool thing about this style is that it is really easy to customize them to your foot at this point. Slip them on, and use a pencil to mark where you might want to bring them in. I ended up narrowing them a bit as I wanted a snug fit. I sewed along the marked line then trimmed the final edge to about 1/8” . With all that stay stitching, you may have to clean up some stray threads that get cut after the trimming.
There ya go! I really like all three options and hope that this post gives you some mojo for your own slippers. Don’t forget to post and tag them #cozyslipper, and feel free to ask any questions in the comments. We will be posting some little time lapse videos of the other 2 versions, so follow us on Instagram for those!

See our full video here