
Silo Dress Feature

The Silo Dress sewing pattern was released in June of 2022 and has remained an excellent wardrobe staple for all seasons. The deep dive Choice Pattern page published before its release proved to be helpful for sewists interested in details that couldn’t all fit into one product page. So, we thought it would be nice to go in depth about our top hit patterns from the past! This page discusses everything about the Silo Dress sewing pattern beginning with the original design and ending with a top variation, as an idea of how to keep using this sewing pattern more than once.
The Design

This dress sewing pattern was designed to be versatile in most seasons. The collar can be worn as a drapey cowl or a structured standing collar. The deep armholes make it breezy for summer or optimal for layering in the cold months. The barrel-shaped silhouette elevates the shift dress style into a more modern look. Large patch pockets located over the side seams are not only functional but add to the casual style.
The shoulder seams end right at the edge of the shoulder and the armholes are very open, allowing for the wearer to add a pop of color with the garment being worn underneath.
Fitting tip: Consider slashing, perpendicular to the grainline, through the middle area of the armholes on the front and back pattern pieces and shortening the length a bit if you are shorter in the torso.
Front and back center seams
The front and back center seams are a nice design detail that you can either leave simple and clean of topstitching. However, in our instructions we demonstrate adding a line of topstitching along both sides of seams which adds to the detail of the look. You could use a contrasting stitch color here especially if using a solid color fabric.
Fitting tip: These seams also double as an easy way to make a fit adjustment to the entire circumference of the dress. In the chance that you chose a size that ends up being slightly to big or small for you, you could try on the body part of the dress before attaching the collar. Our instructions guide you to sew the sides seams and then attach the side pockets while you can still lay the front and back dress pieces flat. Before attaching the side pockets, baste stitch the shoulder seams and the front & back center seams then try the body of the dress on. Decide if you like how it’s fitting at this point before continuing on with the sewing steps. Be sure to make the same adjustments to the collar piece if changing the circumference of the body. The same amount that was decreased from the bodice should be decreased from the collar, in order for it to still fit into the neckline.

The collar and side pockets
This high stand collar and deep side pockets are a major part of the overall design. The collar height finishes at 4” and can be worn fully open or folded over. The Silo Dress made in a drapier fabric would result in a more cowl-like collar and a fabric with more structure will give it a more edgy-modern look.
The side pockets were designed to be exaggerated and bold. They get stitched onto the garment while the front and backs can still be laid out flat, making it easy for you to topstitch them on. Both the collar and pockets could be a chance for a tasteful color blocking moment.

The hemline
The length of the dress was designed to fall at mid-calf and the pattern was drafted for a 5’ 8” tall person. Making adjustments to the length of the dress for the wearer’s height is best to do before cutting the final fabric, since the silhouette of the dress isn’t straight along the side seams. You can decide on any length adjustments when you fit a muslin or simply measure the wearer from the high point shoulder (HPS) to the mid-calf area. Compare that measurement to the pattern pieces to decide how much to increase or decrease.
Fitting tip: Shortening and lengthening adjustments can be made by using the slash line located on the pattern pieces. Steps for doing this are included in our PDF instructions.
The Skill Level
The Silo Dress sewing pattern is considered an intermediate level for sewists. If you’re comfortable with your sewing machine and are ready to take on sewing bias binding onto armholes and sew some straight topstitching, you’re ready for the Silo Dress pattern. If you’re new to cutting bias, check out our video tutorial for cutting a lot of bias as once.
Fabrics, Notions and Tools
The Silo Dress can be made with woven or knit fabric. Use something with drape to get that cowl neck look or make it stand up straight with a stiffer fabric. The body has a slight funnel shape which lends well to a fabric with a little structure. Try it in a knit and make it the most comfortable outfit you own. We do give some extra guidance on sewing knits in our PDF instructions for this sewing pattern.
Some options include: linen, denim, gauze, twill, canvas, double weave, cotton fleece, tweed…
The armholes are finished with bias binding, which can be made with the self fabric. Use pre-made bias tape if that is what you prefer. The type of machine sewing needle which depend on your fabric choice. Use a universal needle for all standard weight wovens. Knit fabrics would call for a jersey needle. Use a denim needle if using a denim fabric or heavier weight.
Your typical sewing tools will be necessary for this project and we also give some advice on using a hump jumper for sewing over thick seams when using a heavy weight fabric.
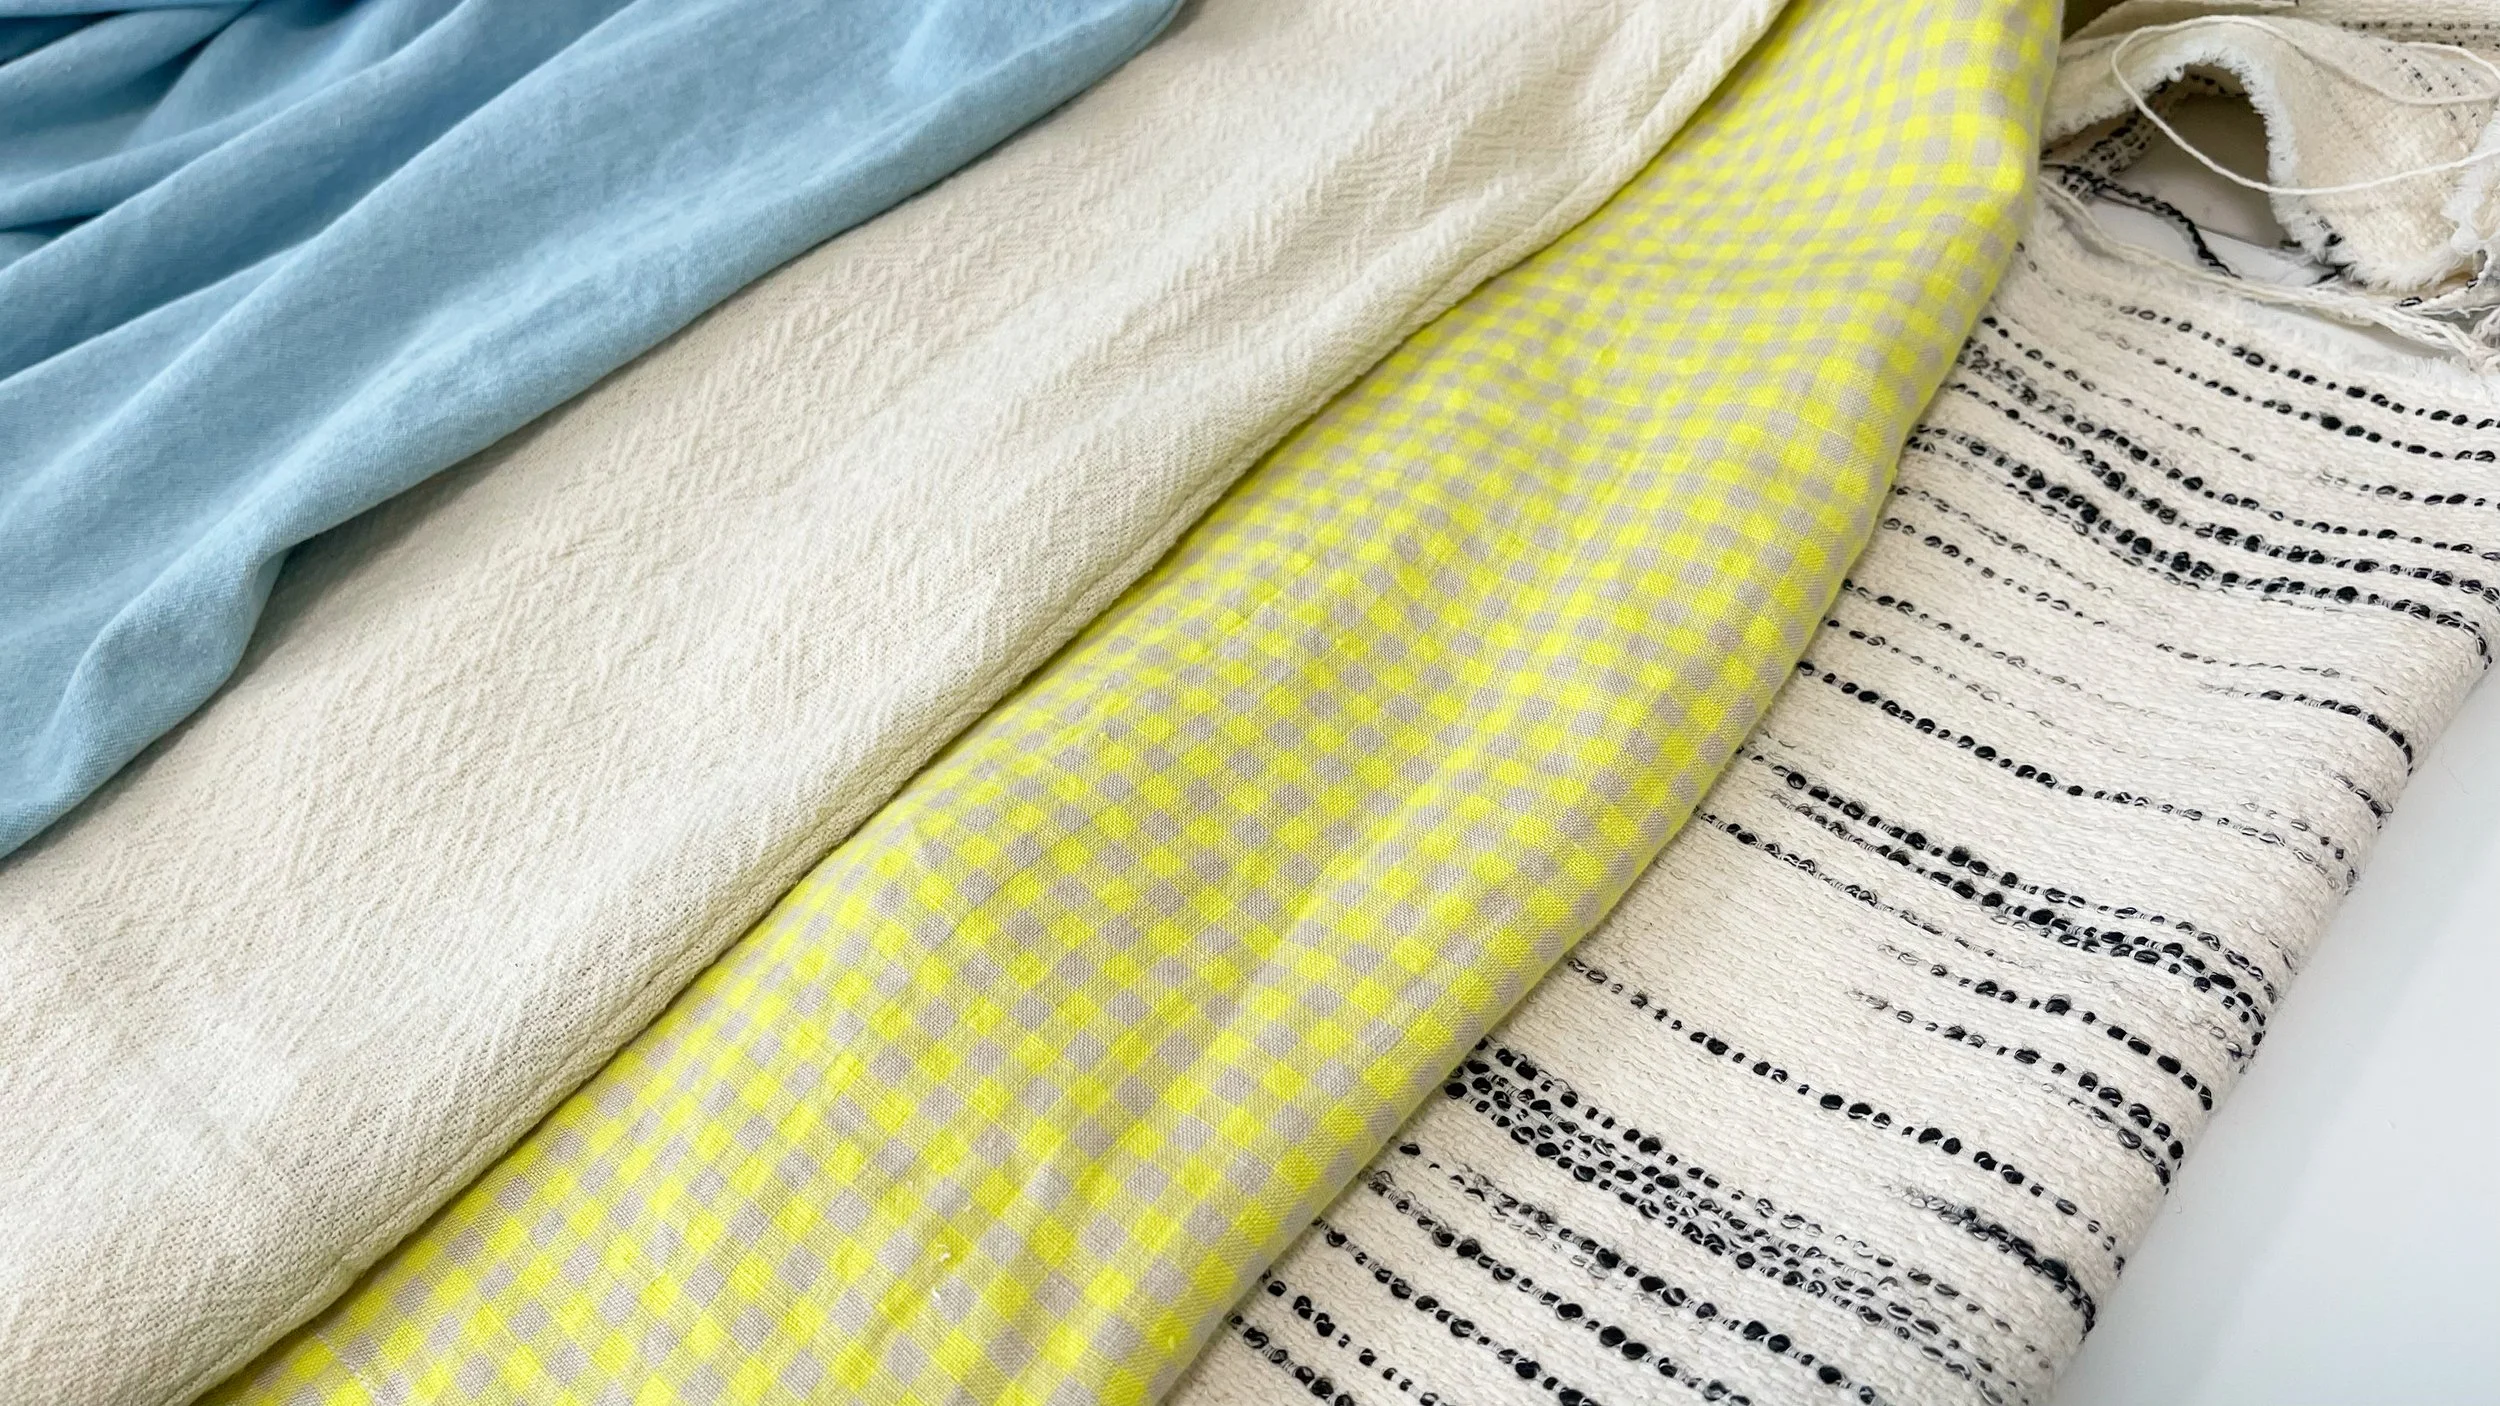
Left to Right: chambray, texured woven, gingham and tweed
Seam Finishes
We leave seam finishing choices to individual sewists based on their preferences and available equipment. Our standard instructions call for stitching right sides together, pressing seams flat, and finishing raw edges with either a serger or zigzag stitch. However, you're welcome to use alternative methods like bias binding on the edges or French seams.
French seams aren't recommended for the front and back center seams if you plan to follow the original design's topstitching detail along both sides of these seams. If you prefer not to serge or zigzag the raw edges, bias binding offers an excellent alternative. Another option is to press and fold the raw edges under the seam allowance, then catch them while topstitching—this creates a clean finish while maintaining the design's intended appearance.

Wrong side of garment view: French seams along the side and shoulder seams

Wrong side of garment view: Bias bound armholes and encased seam allowance along neckline
Make It a Top

We like designing sewing patterns that can be used more than once. You could certainly make this style in more than one type of fabric and feel that they are different enough from one another or you could make it at top! The Silo Dress pattern is easy enough to just cut off a distance below the bottom of the armhole and not make many more pattern adjustments. Measure the wearer’s body from high point shoulder (HPS) to the point along the waistline where you prefer the hem to fall. Be sure to include the seam allowance for the hem.
We hope you enjoy adding this new addition to your home sewn wardrobe. Watch the sewing video tutorial for this pattern if you would like a visual: