
Collar Finishing: Stitching in the Ditch
This guide covers all techniques for finishing collar stands, with detailed focus on the stitch-in-the-ditch method. While sewists typically develop preferred approaches, many avoid attempting stitch-in-the-ditch for the final seam that closes the collar stand. In this resource, we highlight all the possibilities for this final step and sprinkle in a little encouragement to try something new.
Scroll to the end for the full-length video showcasing stitching-in-the-ditch.

Wrong sides together and finished with a topstitch
This technique creates a clean finish by encasing raw edges with a separate piece that's secured with visible topstitching on the garment's right side. We recommend this method in our instructions because it's accessible and forgiving for sewists at every skill level. Applying bias binding to cover a raw edge is another time when you may choose to assemble the pieces in the order. For example, like how we instruct sewists to finish the collar on the Gable Shirt.
Start by stitching the right side of your collar or bias piece to the wrong side of the garment, aligning the raw edges. Then wrap the collar or bias around the raw edge and secure it with topstitching on the garment's right side. This approach gives you complete control over the visible stitching line, ensuring a professional-looking result while effectively encasing and finishing the raw edge.
Attaching right side to wrong side

Topstitching on right side of garment
Right sides together and finished with a topstitch
This technique follows the same principle but finishes on the garment's interior, creating a completely smooth exterior seam line. It's more challenging than the previous method because you'll be topstitching from the wrong side without being able to see how your stitching appears on the garment's right side. This advanced approach delivers superior visual results—a clean, uninterrupted seam line on the visible exterior.
Start by stitching the collar or bias piece to the garment with right sides together, aligning raw edges. Wrap the collar or bias around the raw edge, then secure with topstitching from the garment's wrong side. Since you're working blind from the interior, achieving a neat exterior stitchline requires careful alignment of the tucked seam allowance with the original seamline. This precision takes practice to master, but the payoff is a beautifully smooth finish that appears seamless from the outside.

Attaching right side to right side

Topstitching on wrong side of garment
Hand stitching the final seam closed
This third method gives you the ability to create a smooth exterior seam line while keeping some control of how closing the final seam on the interior of the garment. There will not be any topstitching visible on the exterior of the garment, so it’s something to consider as you are making design decisions. A more casual look lends well to topstitching and a look that is more formal might like a seam that is finished by hand stitching.
Stitch the collar or bias piece to the garment with right sides together, aligning raw edges. Wrap the collar or bias around the raw edge. Close the final seam by hand stitching. You could use a fell stitch (also called a hemming stitch or blind hemming stitch). This stitch catches only a few threads of the garment fabric with each stitch, making it virtually invisible from the right side. You'd work from the wrong side of the garment, taking tiny bites of the main fabric while securing the folded edge of the collar stand. There will be visible stitches along this seam. Alternatively, you could use a slip stitch if you prefer working with the fold of the collar stand. The stitches would be invisible with this type of hand stitching.

Slip Stitch
Fell Stitch
Stitching in the ditch
This is the most advanced method a sewist can use to finish the interior of a collar stand or any seam on a piece encasing a raw edge. It’s intimidating but worth the effort if you’re looking to level up your sewing skillset. The section of the Choice Pattern sewing tutorial where this method is demonstrated is below if you prefer a thorough visual. Our guest designer for that pattern, Abigail Glaum-Lathbury, broke it down for anyone ready for the challenge. This method can be accomplished by working either on the right or wrong side of the garment, but we are demonstrating how to do it by working on the wrong side. Some might argue that this is a more challenging approach to the method, but they both take practice. Try it out by working on the right side of the garment as well, if you like.
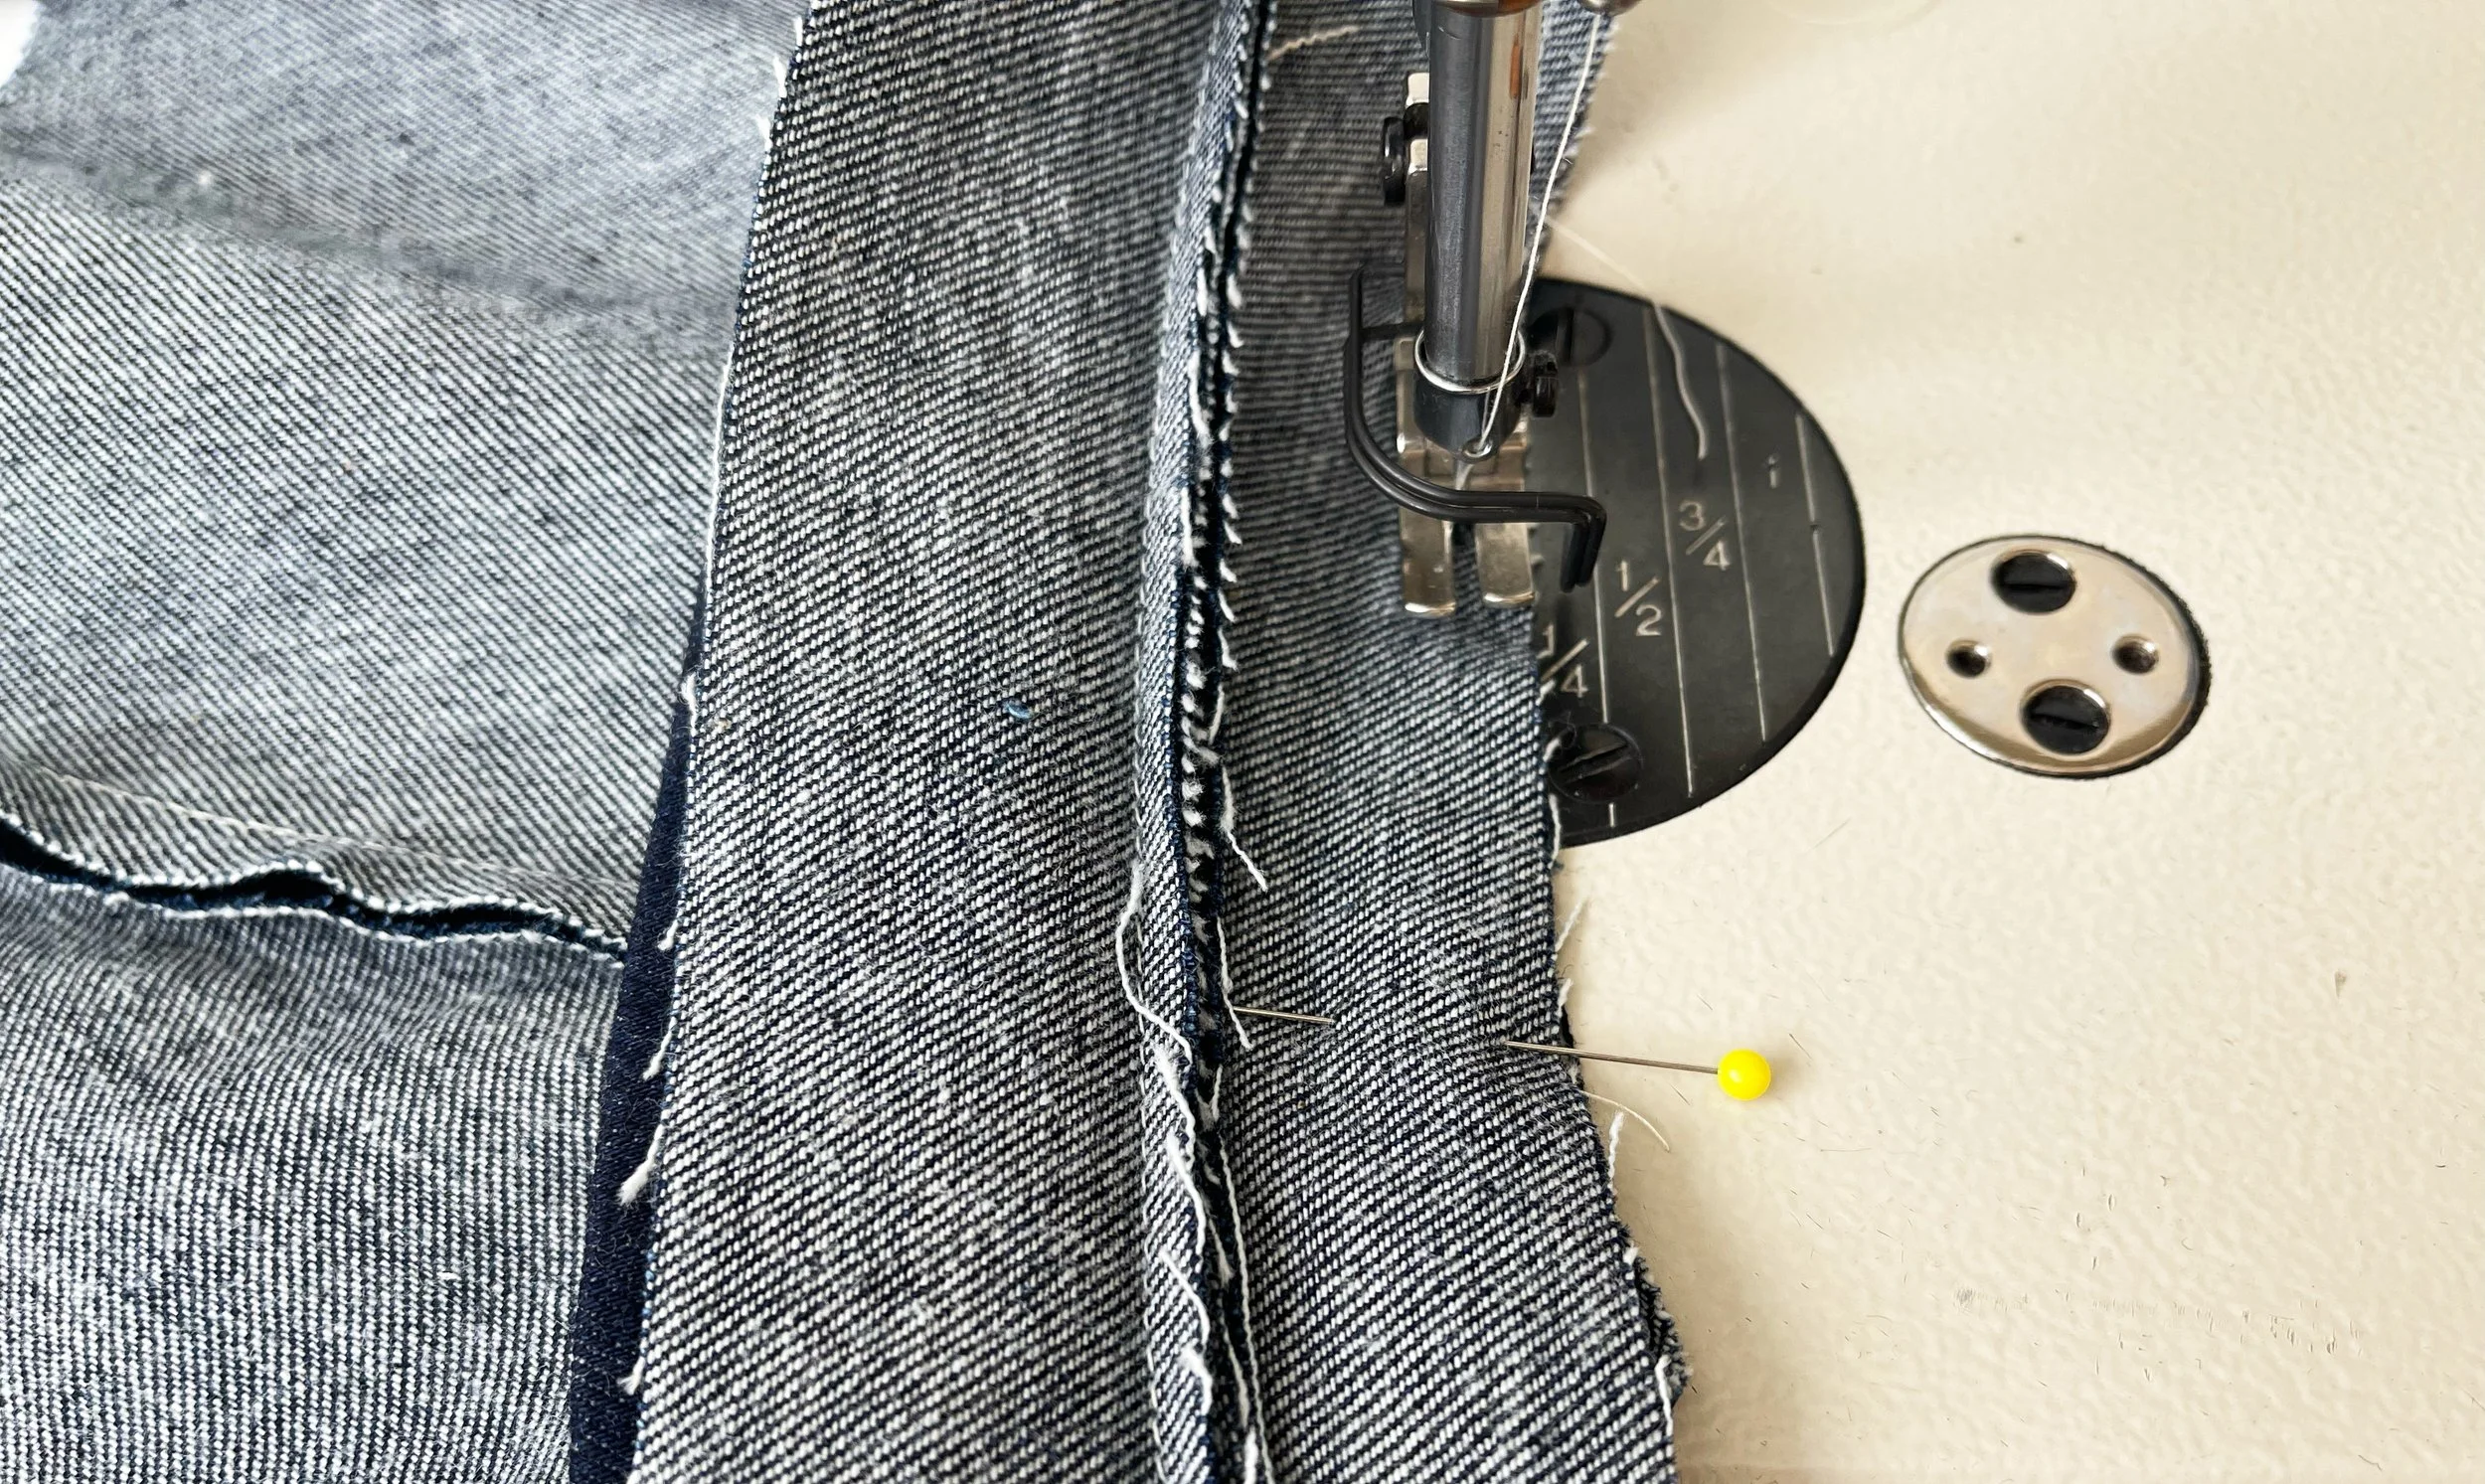
The setup: Stitch the collar or bias piece to the garment with right sides together, aligning raw edges. Wrap the collar or bias around the raw edge. From the wrong side, the pre-pressed seam allowance will be folded under the piece that is about to be stitched, creating a raised ridge where the fabric layers overlap. The "ditch" you need to hit is on the opposite side of this ridge—directly along the original seamline.
The technique: The folded edge will cover the “ditch” just slightly. Position your needle to stitch right along the folded edge. You're essentially stitching into the fold line created by the pressed seam allowances. Your stitches should catch the main fabric layer while staying as close as possible to the original seamline (the “ditch”).
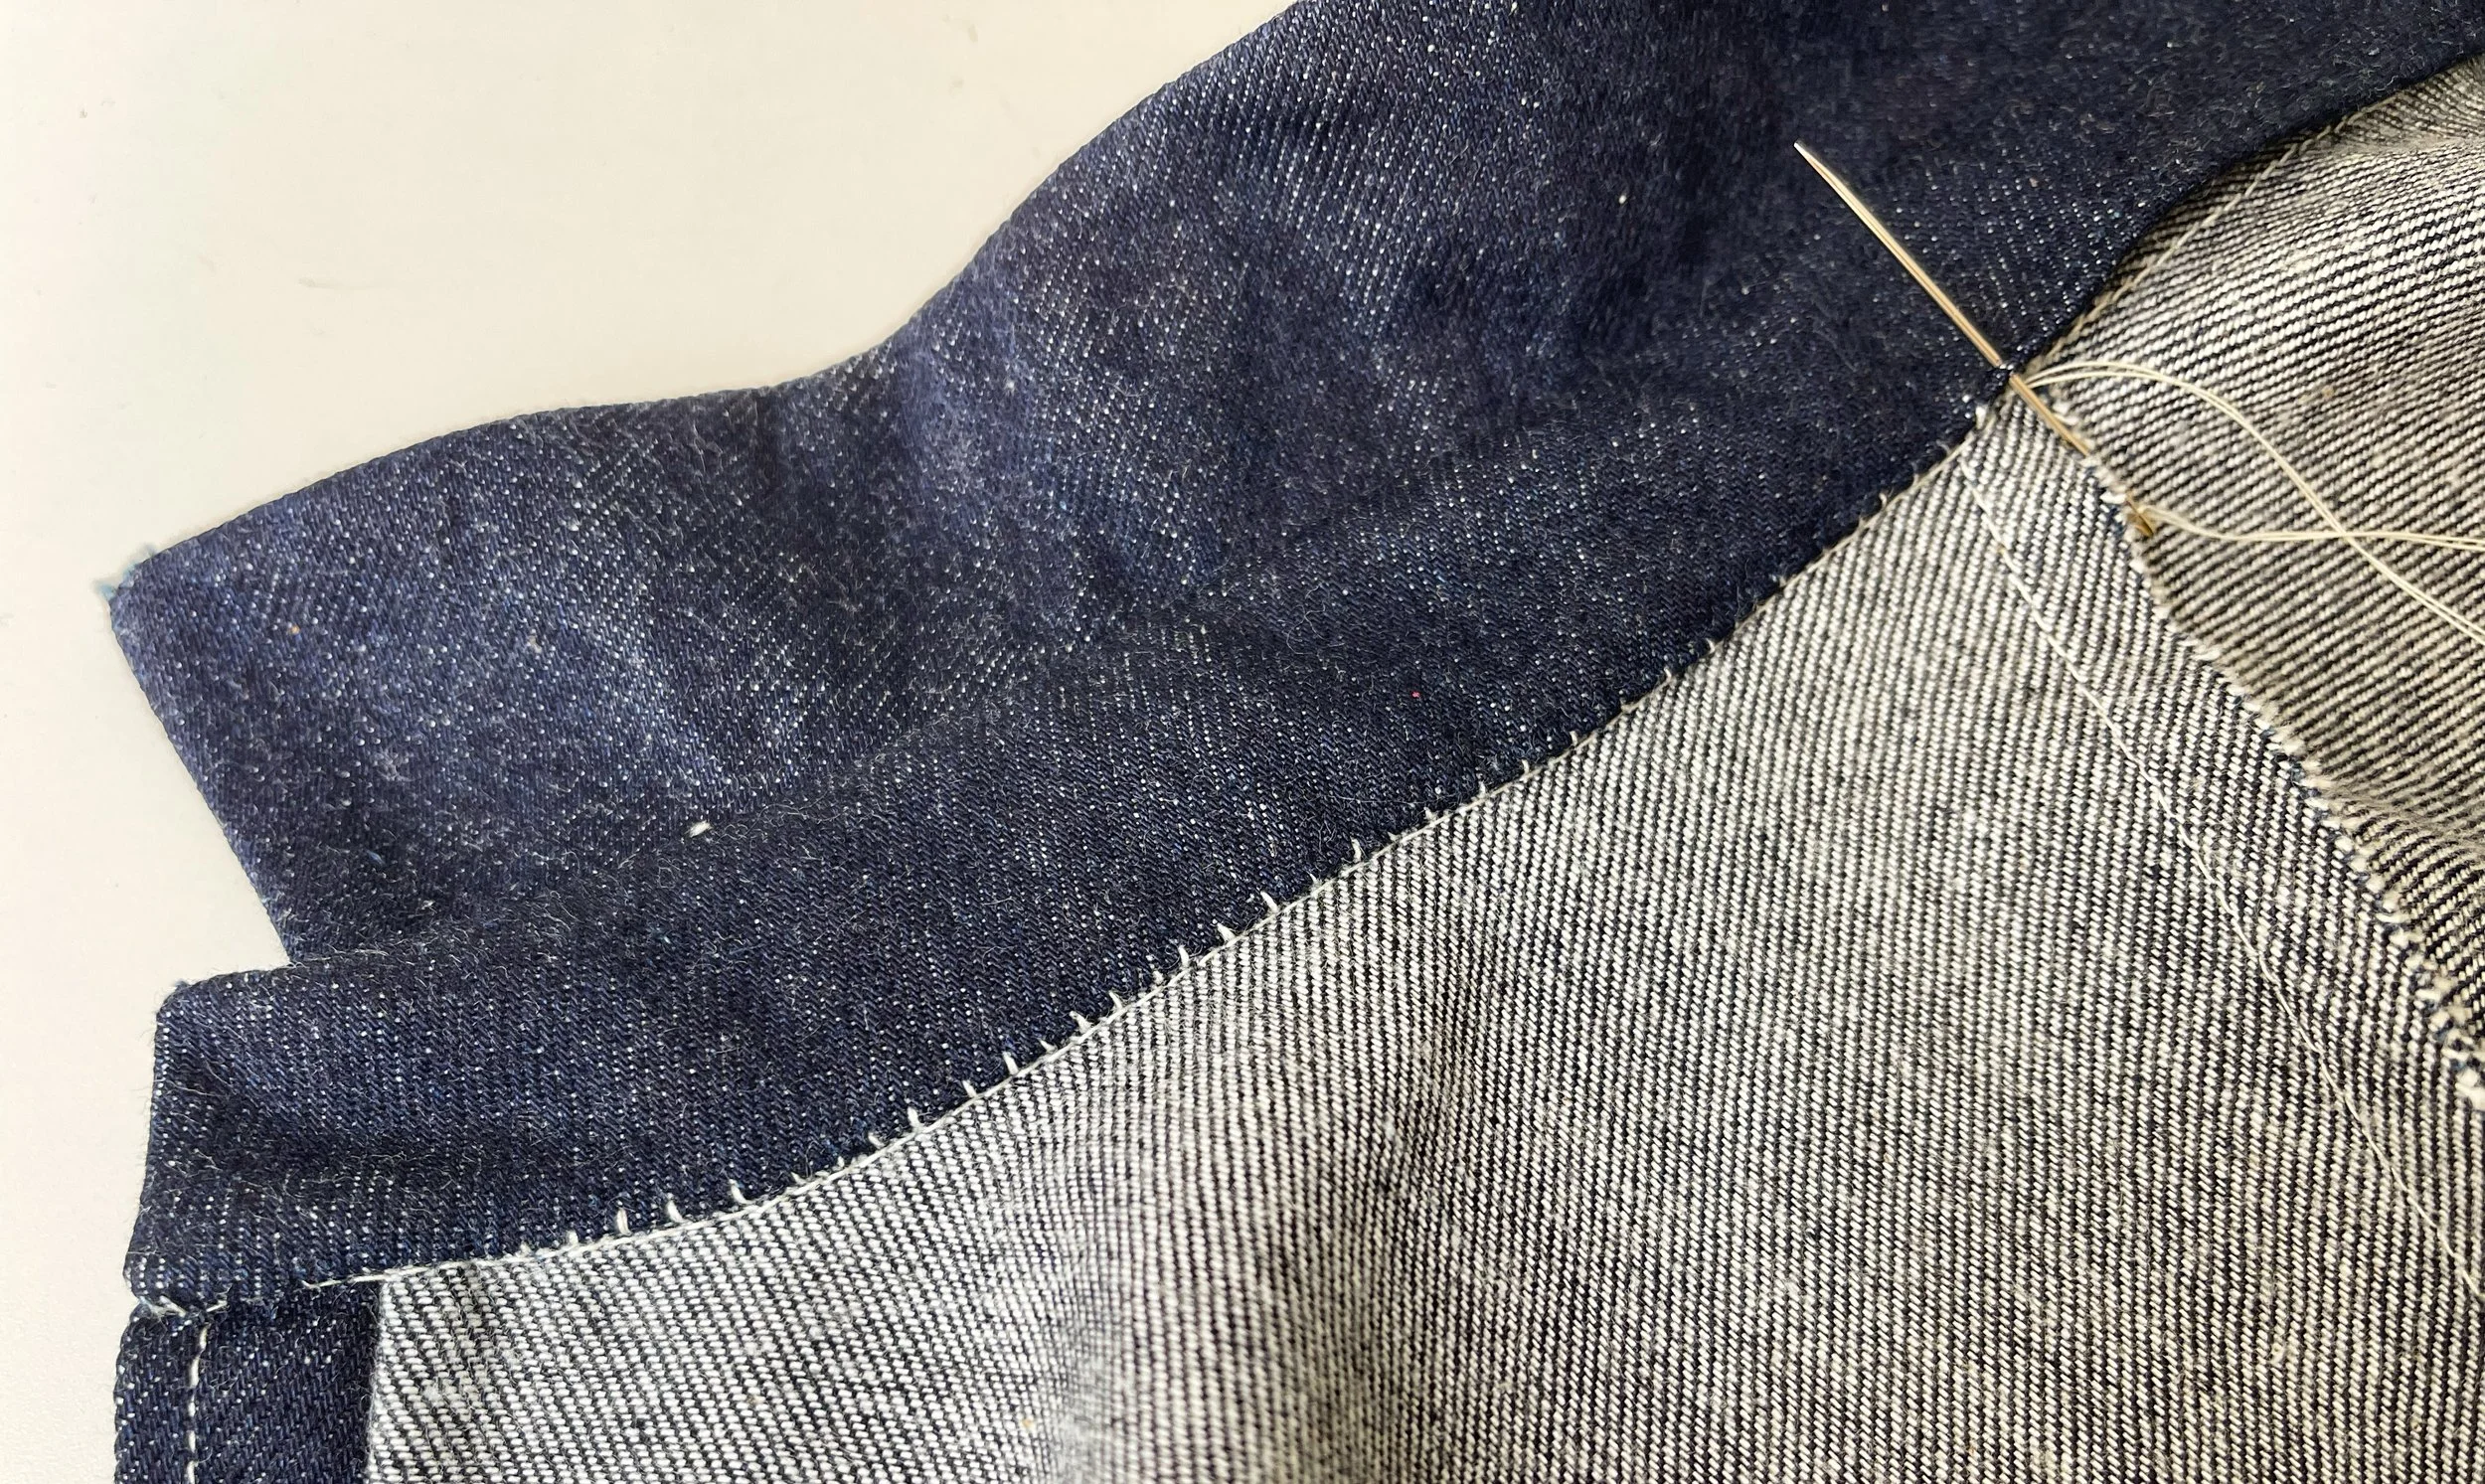
Visual cues from the wrong side: Look for the slight shadow or indentation that runs parallel to the seam allowance edge—this indicates where the ditch lies on the right side. The fabric will have a subtle change in thickness and texture along this line.
The challenge: Since you can't see the right side, you must rely on feel and consistent seam allowance width. Start slowly and check your work frequently by peeling up the piece on top, which is being stitched down, to ensure that the folded edge continues to cover the “ditch” and stitches are landing in along the original seam line and not wandering onto the visible fabric surface.

Stitching in The Ditch
Each method produces excellent results, so choose whichever approach feels most comfortable and gets you to that exciting moment of wearing your finished piece. We'll continue featuring the first method in our pattern instructions to ensure accessibility for sewists at every level, while directing those eager to explore new techniques to this resource page.
Experimenting with different methods is always best done during the practice phase rather than on your final garment—yet another compelling reason to make a muslin when tackling a new pattern! This trial run gives you the perfect opportunity to test techniques, build confidence, and refine your skills before working with your precious fashion fabric.